Showing posts with label diy. Show all posts

Wednesday, 9 April 2014

Get Creative with Easter Eggs


Who knew that silk fabric transfers onto eggshells as easily as the dye in a decorating kit? Regular old vinegar plus hot water does the trick.
Step 1: For each egg, cut out a 5-inch square of patterned 100 percent silk. (We limited ourselves to black-and-white prints to achieve the effect above; colored patterns yield more vibrant results.) Lightly dampen the fabric, then lay it flat, right side up, and place your egg in the center. Gather the fabric tightly around the egg, like a beggar's purse, and secure with a rubber band. Repeat this step for the same egg, using a same-size square of plain white cotton and a second rubber band. Note: Use blown eggs if you'd like to keep your handiwork longer.
Step 2: Place eggs in a single layer in a nonreactive pot and add enough water to cover them by 2 inches. Add 4 tablespoons of white vinegar. Bring the water to a boil, then reduce heat and simmer for 40 minutes.
Step 3: Remove eggs with tongs and cool about 20 minutes. Then unwrap the fabrics to reveal the exquisite designs.

Thursday, 3 April 2014

DIY ~ Easter Craft: What to Do With Those Plastic Eggs


I got out my Easter bins a few days ago. Why is it that I always think I have way more cute holiday decorations than I actually do – lol? What I discovered is that I have approximately 5 million of those cheap, plastic Easter eggs.


So I decided to do something with some of them. I took my leftover fabric scraps and decoupaged the eggs. So if you’re like me with a million of those eggs, take some of them and transform them into something that you actually want to keep!


This is what I did:
First take your eggs and apply some glue to keep them closed. I used super glue.
Then take your fabric and cut it into small strips. It depends on how big your eggs are, I cut mine in 1 inch x 4 inch strips. Then I made some cuts around the edges of the material — this will make the material mold to the egg’s shape much better. To save time I cut about 6 layers of material at once into strips, then took all six layers and made cuts in the sides of the strips. I cut some of the strips in half – 1 x 2 inches to fill in gaps at the end.

{Note: I used a bristle paintbrush to do this — actually a stenciling brush. I found that if you use a brush with bristles, you can apply pressure at the end and smooth out wrinkles and air bubbles.}
Apply a coat of decoupage medium to the back side of the first strip, not directly onto the egg. Now lay the first strip onto the middle of the egg, right over the opening. Smooth it down with your fingers. Don’t put any decoupage medium on the outside of the fabric until the whole egg is covered. This will cut down on having your hands covered in Mod Podge. I also kept a damp washcloth right next to me. After each egg I wiped my hands off. 


Now apply the next strip of material, making sure to cover the back of the fabric in decoupage medium. I applied the strips to the naked parts of the egg first and then covered up the holes at the end. 


Once the whole egg is covered, smooth down the wrinkles. NOTE: your egg is going to have wrinkles, you are just trying to make it as smooth as possible. 


Then add a thick layer of decoupage medium over the whole egg and lay it on wax paper to dry.


Tuesday, 1 April 2014

Creative Ways to Dye Easter Eggs

Hop to it! These pretty Easter egg dyeing techniques are perfect for the kid in you. These dyeing and decorating ideas, including pretty egg coloring ideas and embellishments you can create with crafts supplies, ensure you'll have a very happy Easter.

Drizzled Easter Eggs


To make these swirled Easter eggs, simply pick a few complementary colors and get started! Drizzle egg with rubber cement, let dry, then dip in a dish of dye. When dry, gently peel off the rubber cement. Repeat two (or even three!) times with additional colors.

Chirping Chick Easter Eggs

These so-cute (and so-creative) Easter egg chicks are surprisingly easy to make. Dye white eggs canary-yellow, let dry, and glue a quill feather to the top. Cut out a beak from orange construction paper and glue it on. Use a marker to make two dots for eyes and place your feathered friend in a piece of cracked eggshell set in a nest of raffia.

Natural-Dyed Easter Eggs

For a fresh take on dying your Easter eggs, go all-natural! These Easter egg dye recipes are all food or plant-based and create beautifully subdued shades. Just simmer beets, blueberries, or other natural ingredients in a cup of water with a dash of vinegar to create the colors. Leave eggs soaking in the dye in the refrigerator overnight for the richest colors; just a few minutes will work for more subdued variations.

Metallic-Dipped Easter Eggs

We love the way golds and silvers add a sophisticated touch to even the simplest of decorations. To make this Easter egg design, turn to metallic-hue paint pens after dying your eggs. Simply draw whatever suits you, from polka dots to stripes to a dip-dyed effect.

(Better homes)

Thursday, 27 March 2014

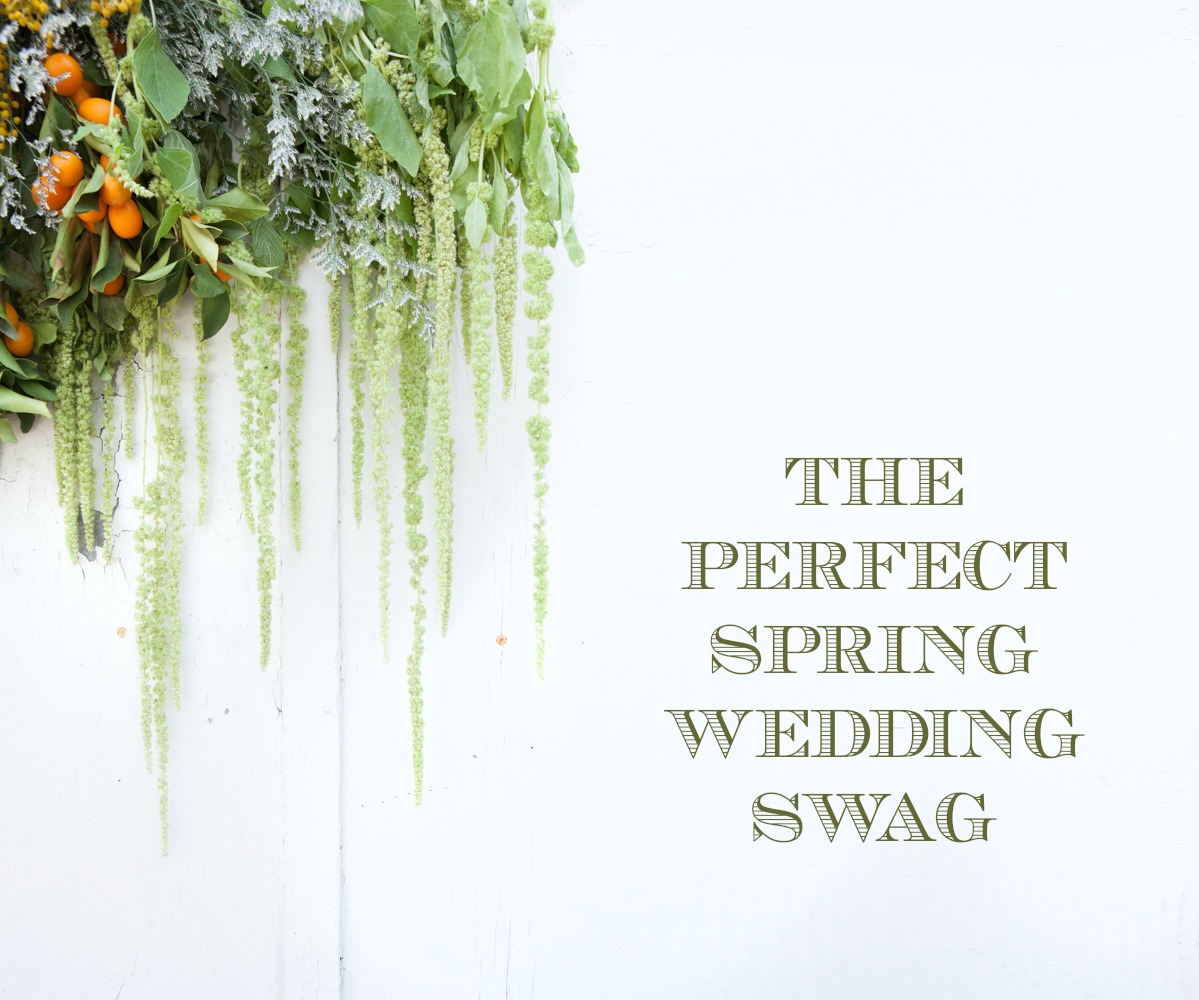
DIY ~ How to Make a Springtime Wedding Swag


 Springtime Wedding Swag Tutorial
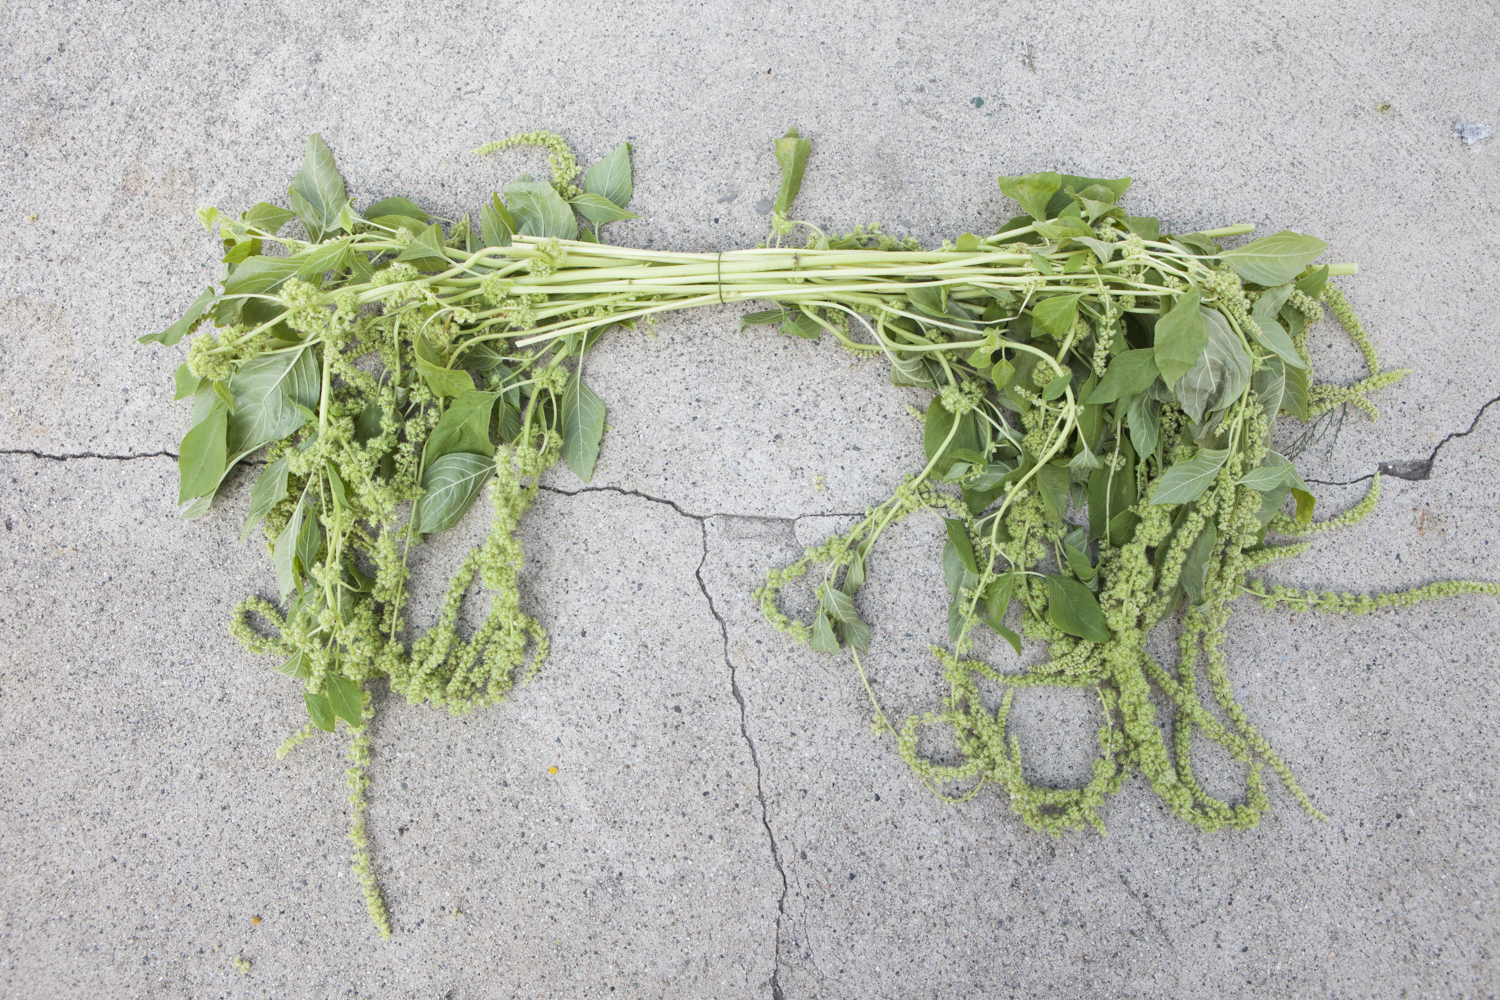
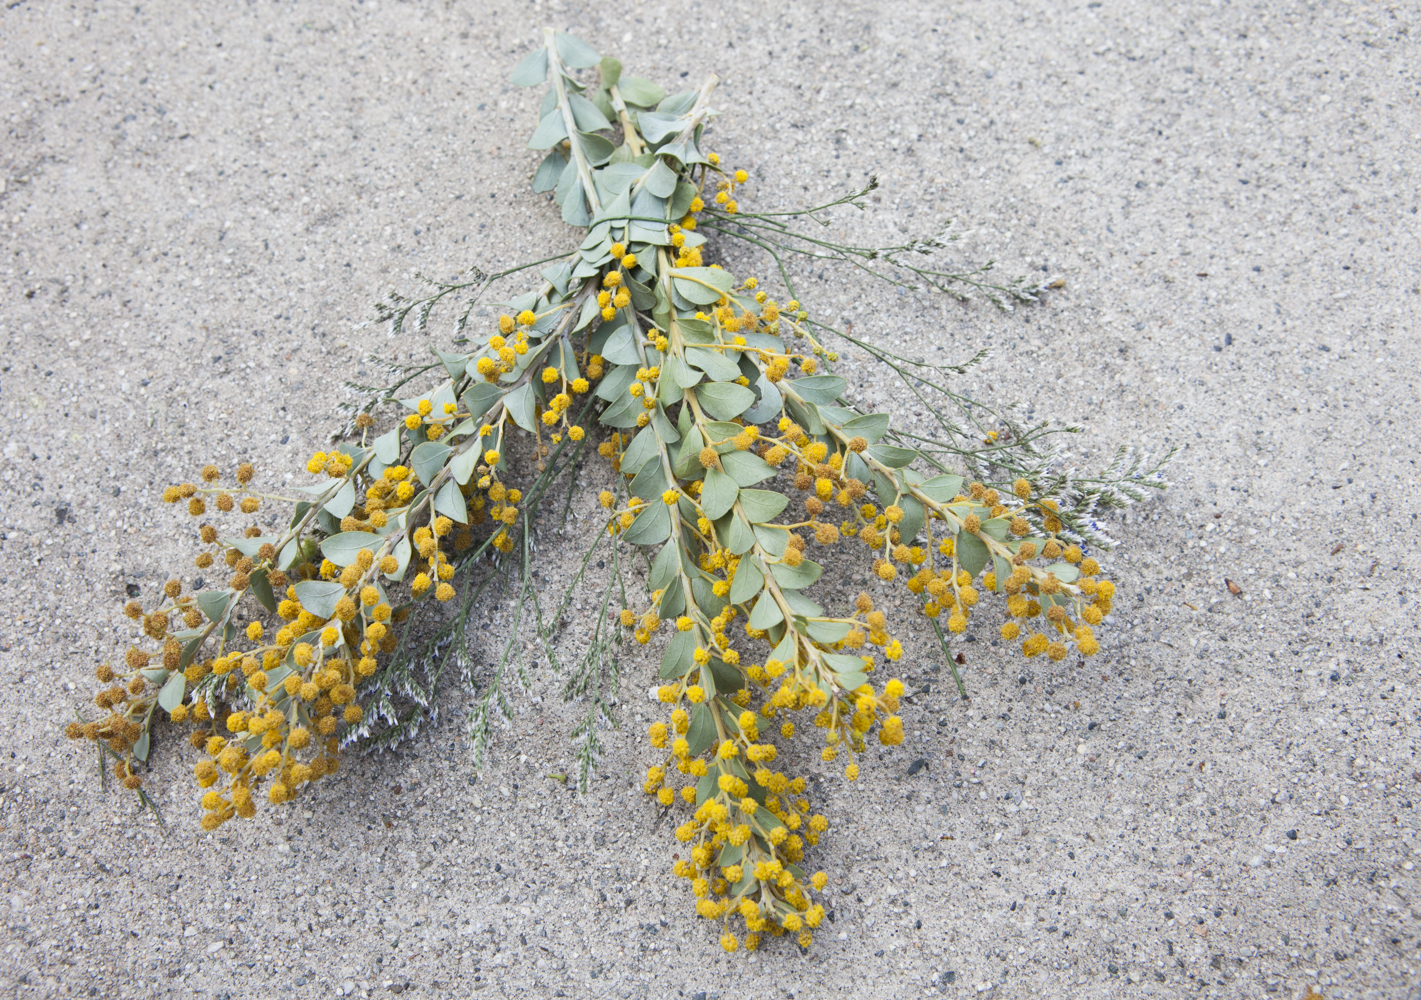
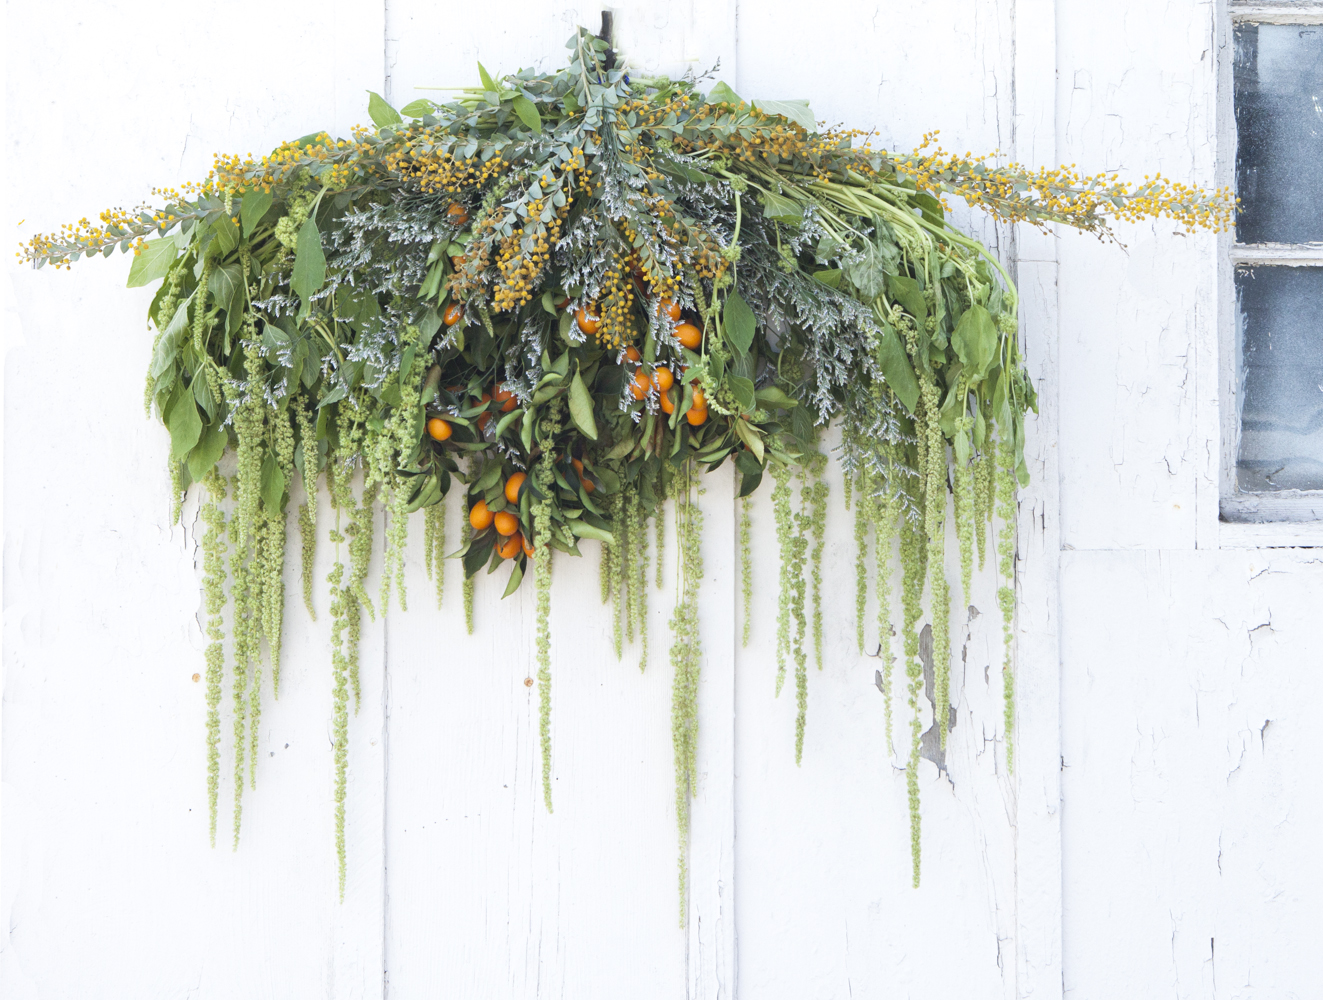
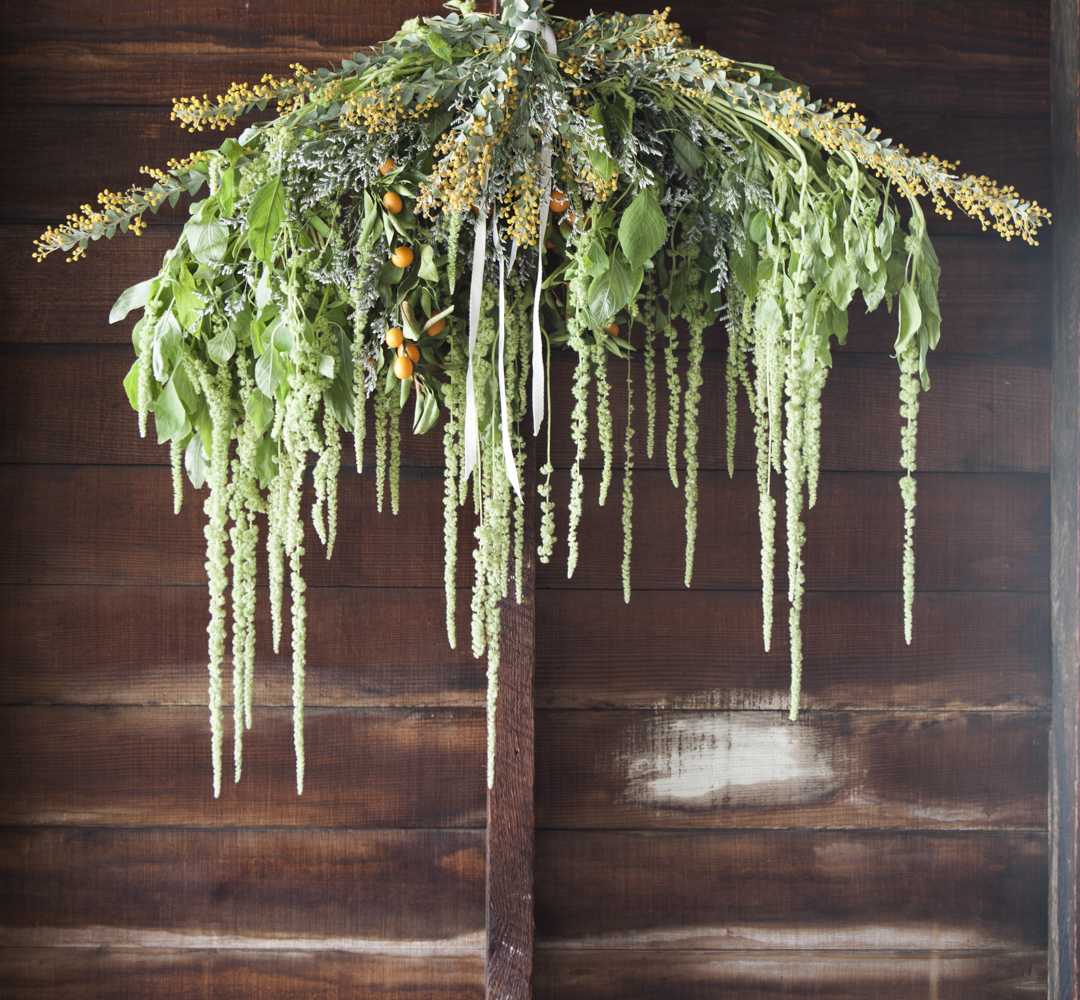
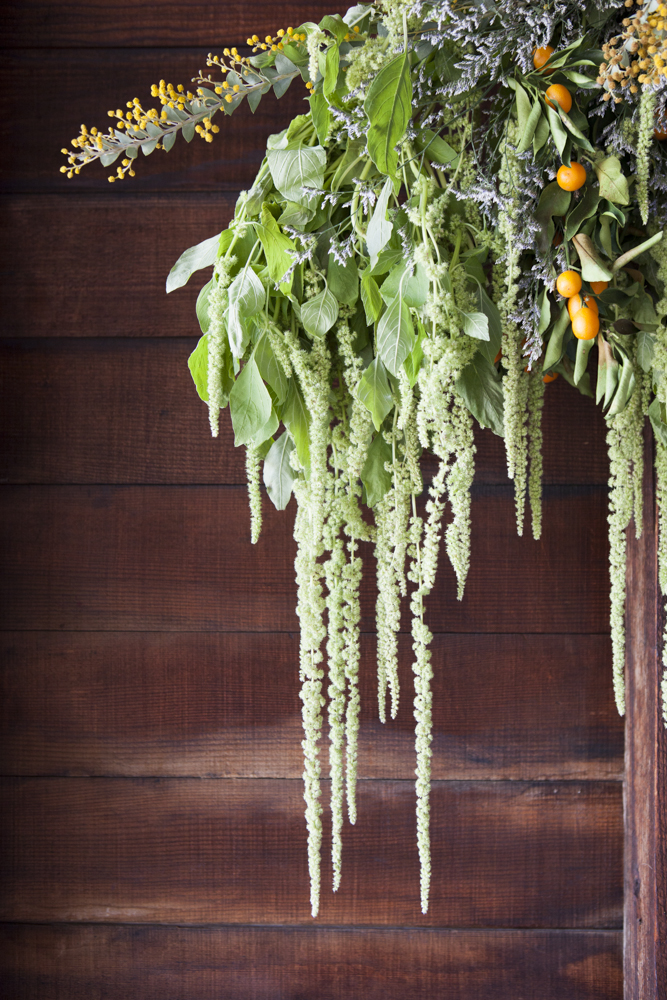
If you are planning an early spring wedding, you will have all kinds of great greenery to choose from because everything will be budding and blooming! We found these kumquat branches at the flower market and knew we had to use them! So here you have a springtime wedding swag that we made just for you! These types of arrangements can be great for ceremony backdrops, to hang above entryways or use to adorn interior or exterior barn walls. You could also design one to decorate the front of your sweetheart table. Since you are designing it yourself you can make it the perfect size to fit a hearth, doorway or table depending on how far you want to build out the side branches. One of the best things about these is that you can use florals that you otherwise might not like these awesome kumquat branches! Happy building!


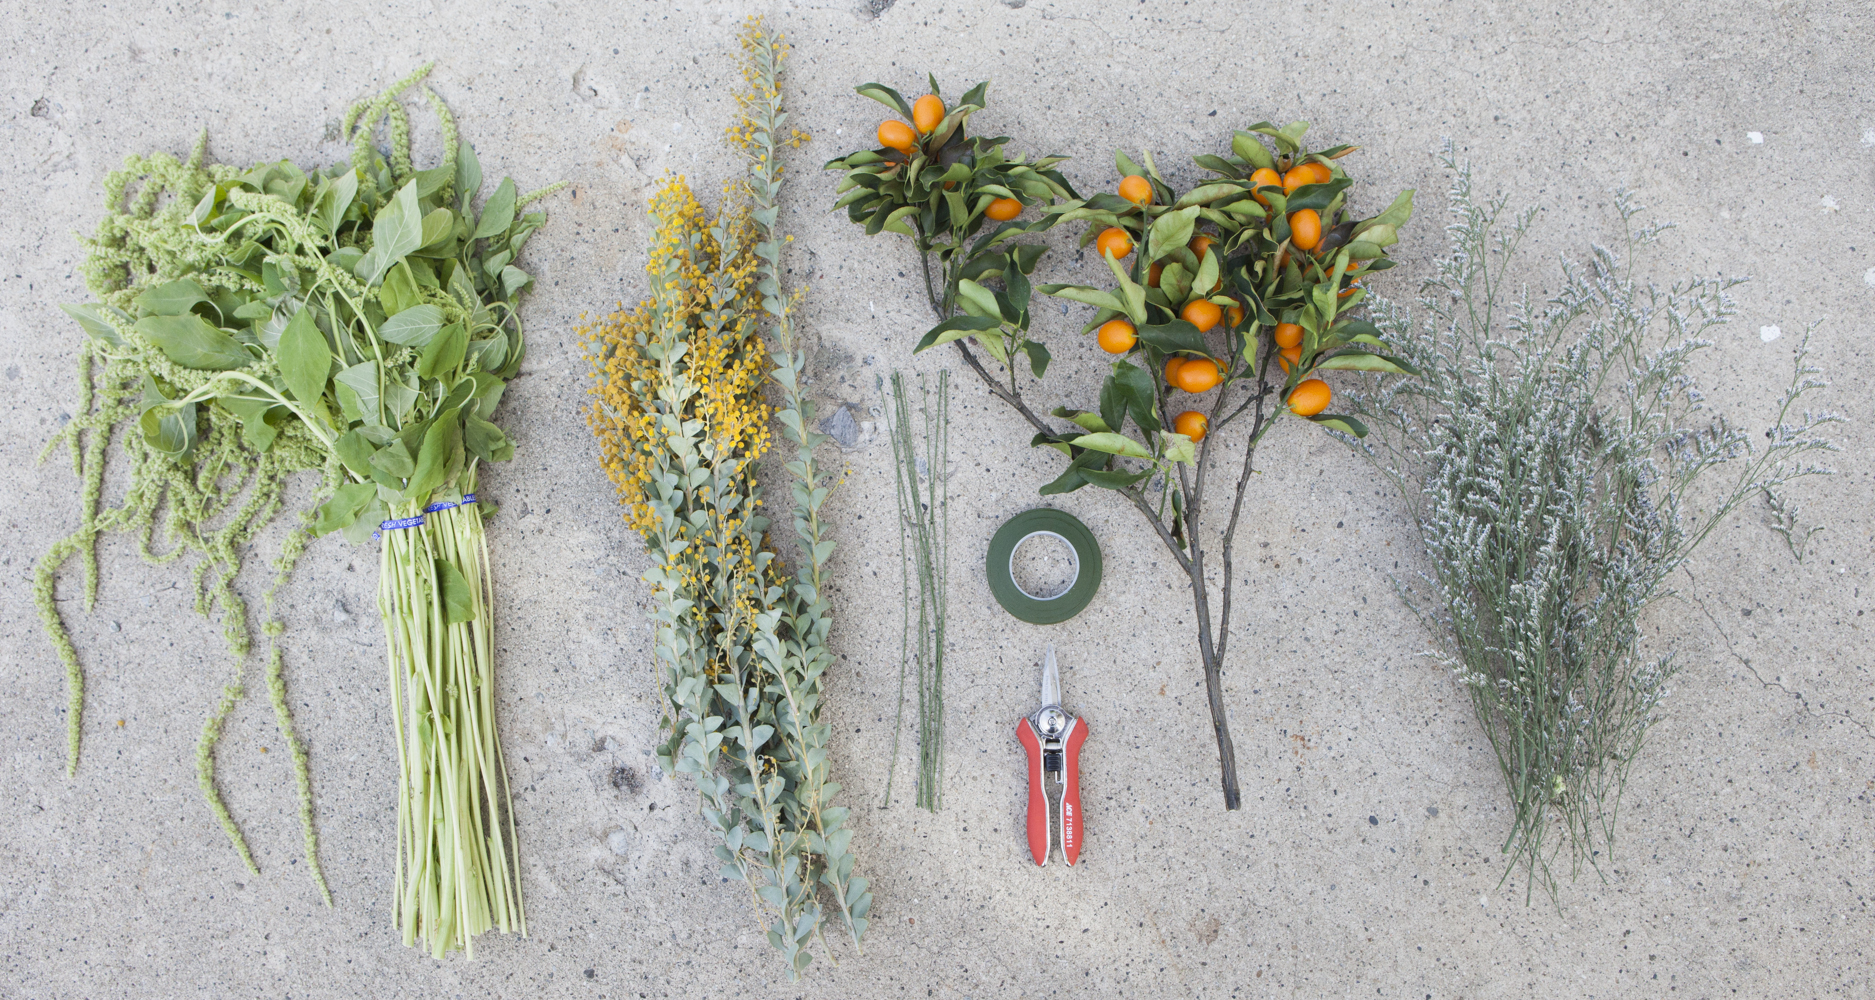
What We Used :  Amaranths / Flowering Eucalyptus / Kumquat Branches / Purple Limonium / Floral Wire / Floral Tape / Shears / White Ribbon
Spring Flower Arrangement Tutorial
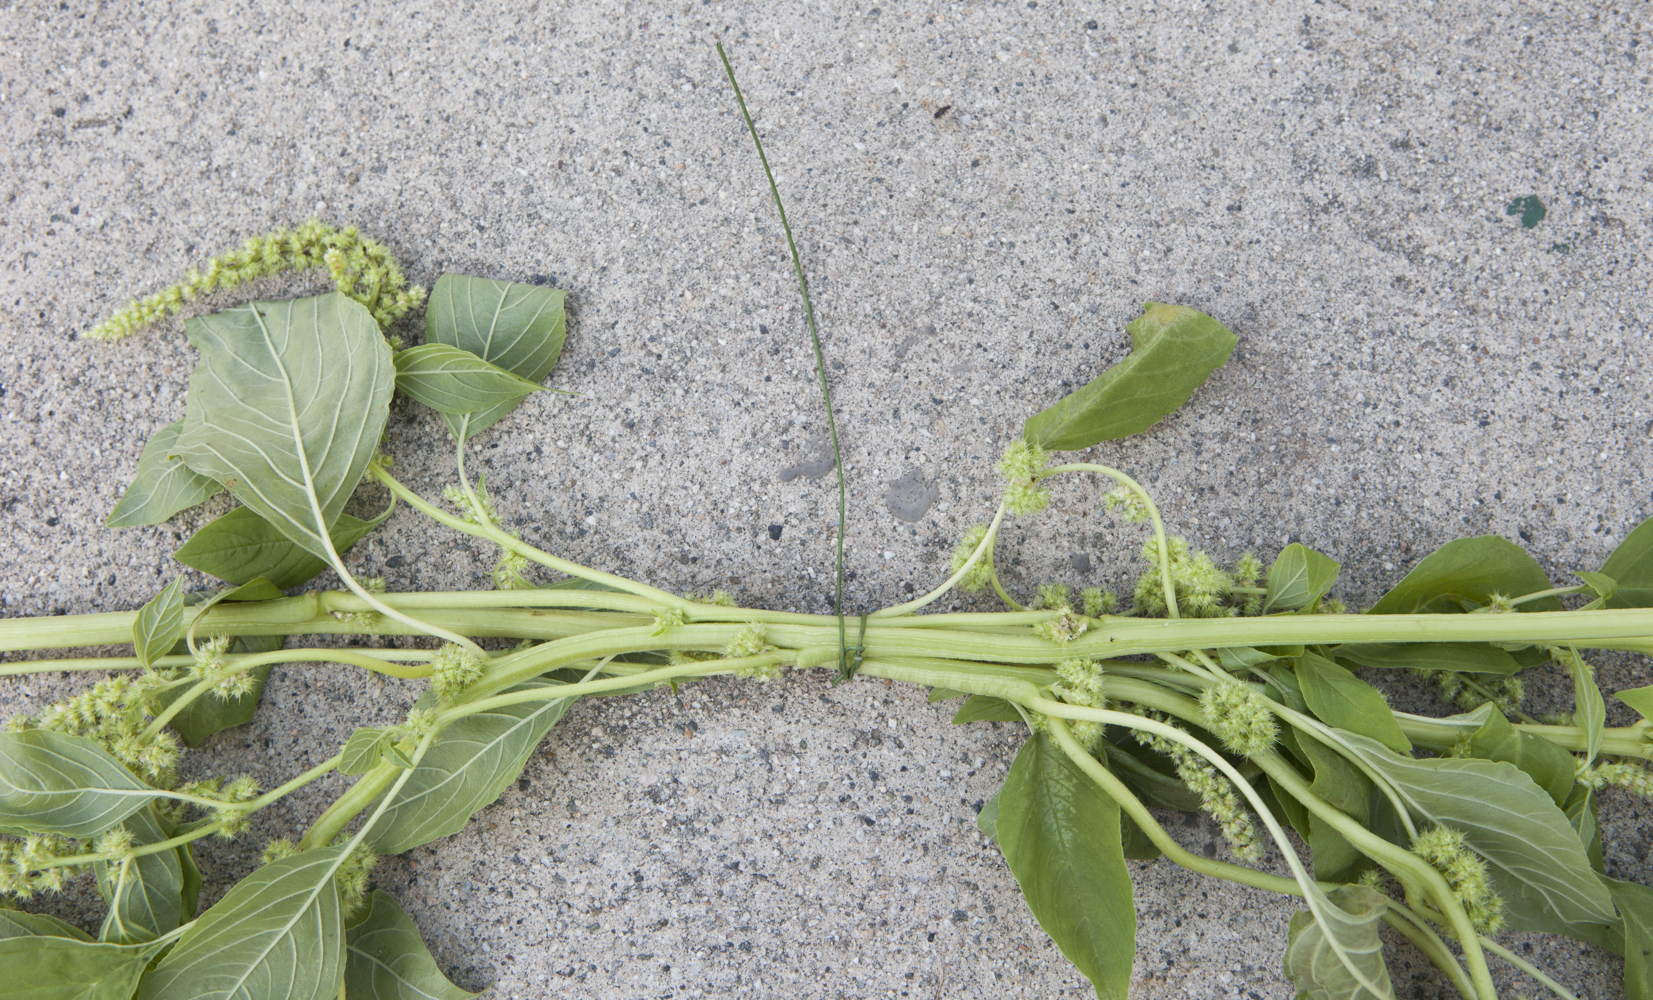
First, cross the stems of the Amaranths and secure with wire.  Leave a small open space between where the spires will fall down.
Spring Flower Arrangement Tutorial
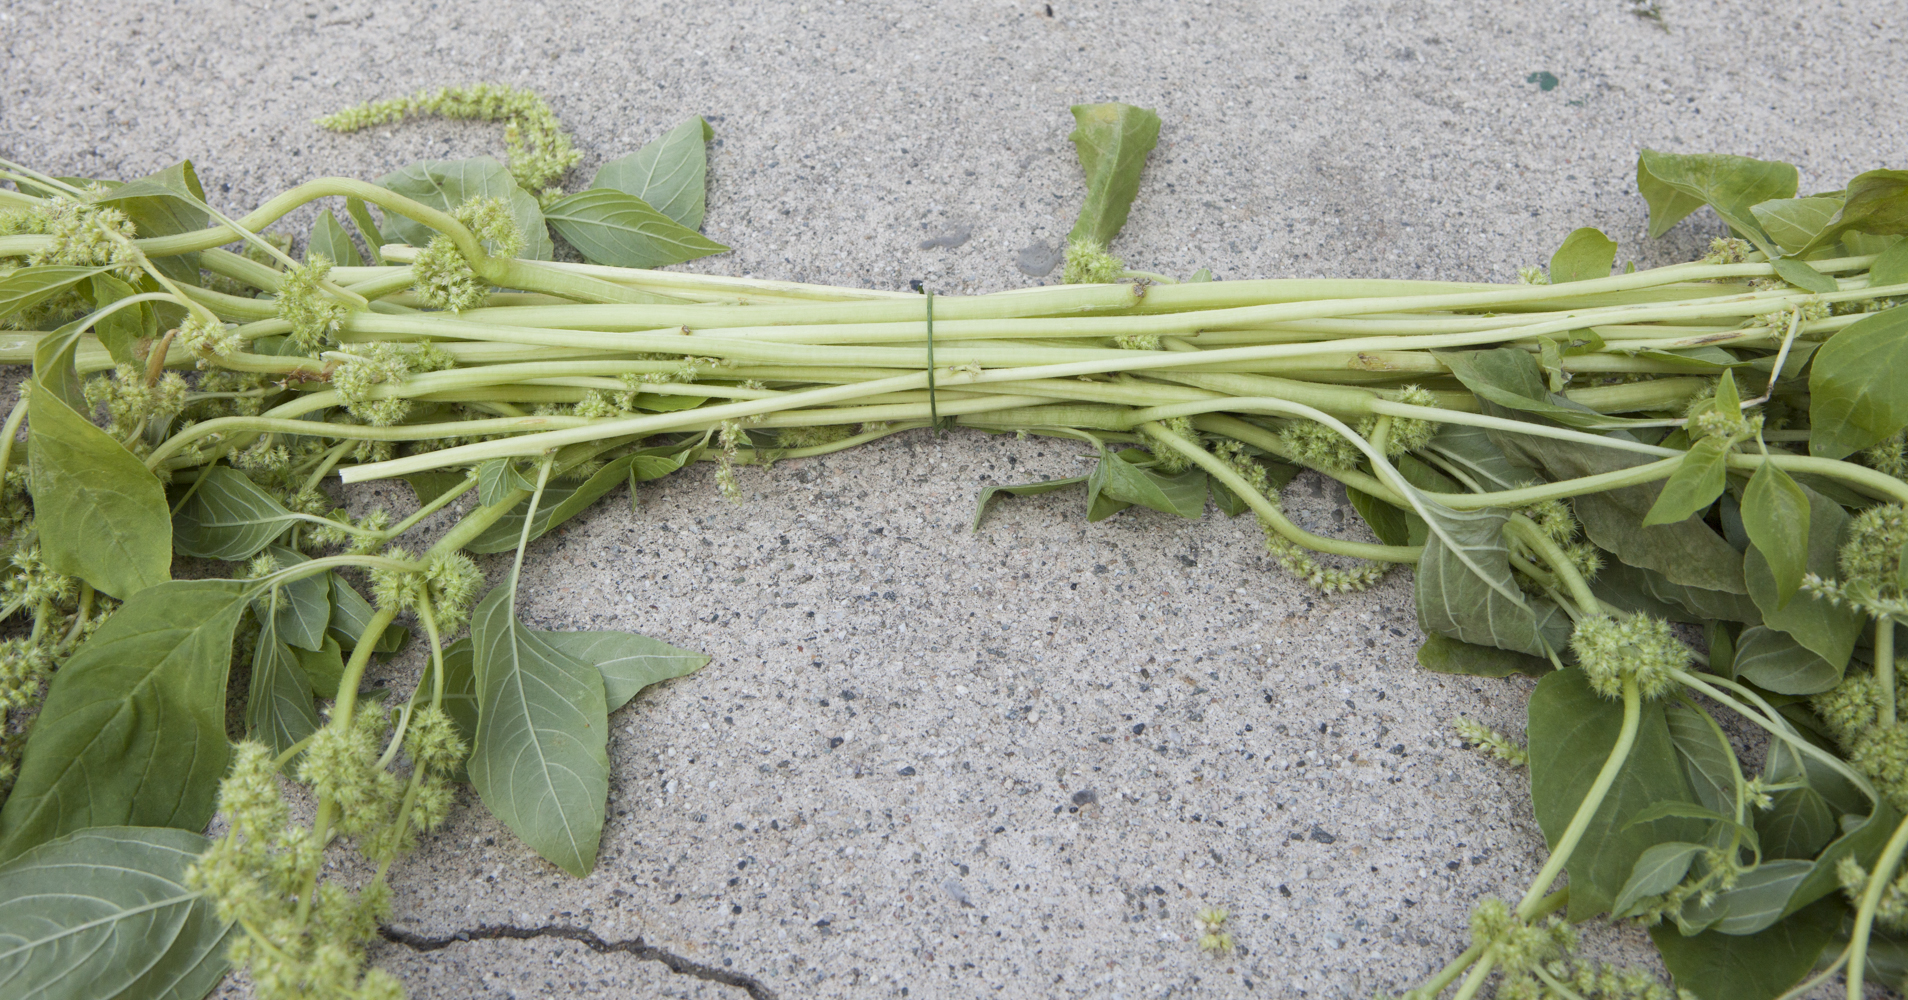
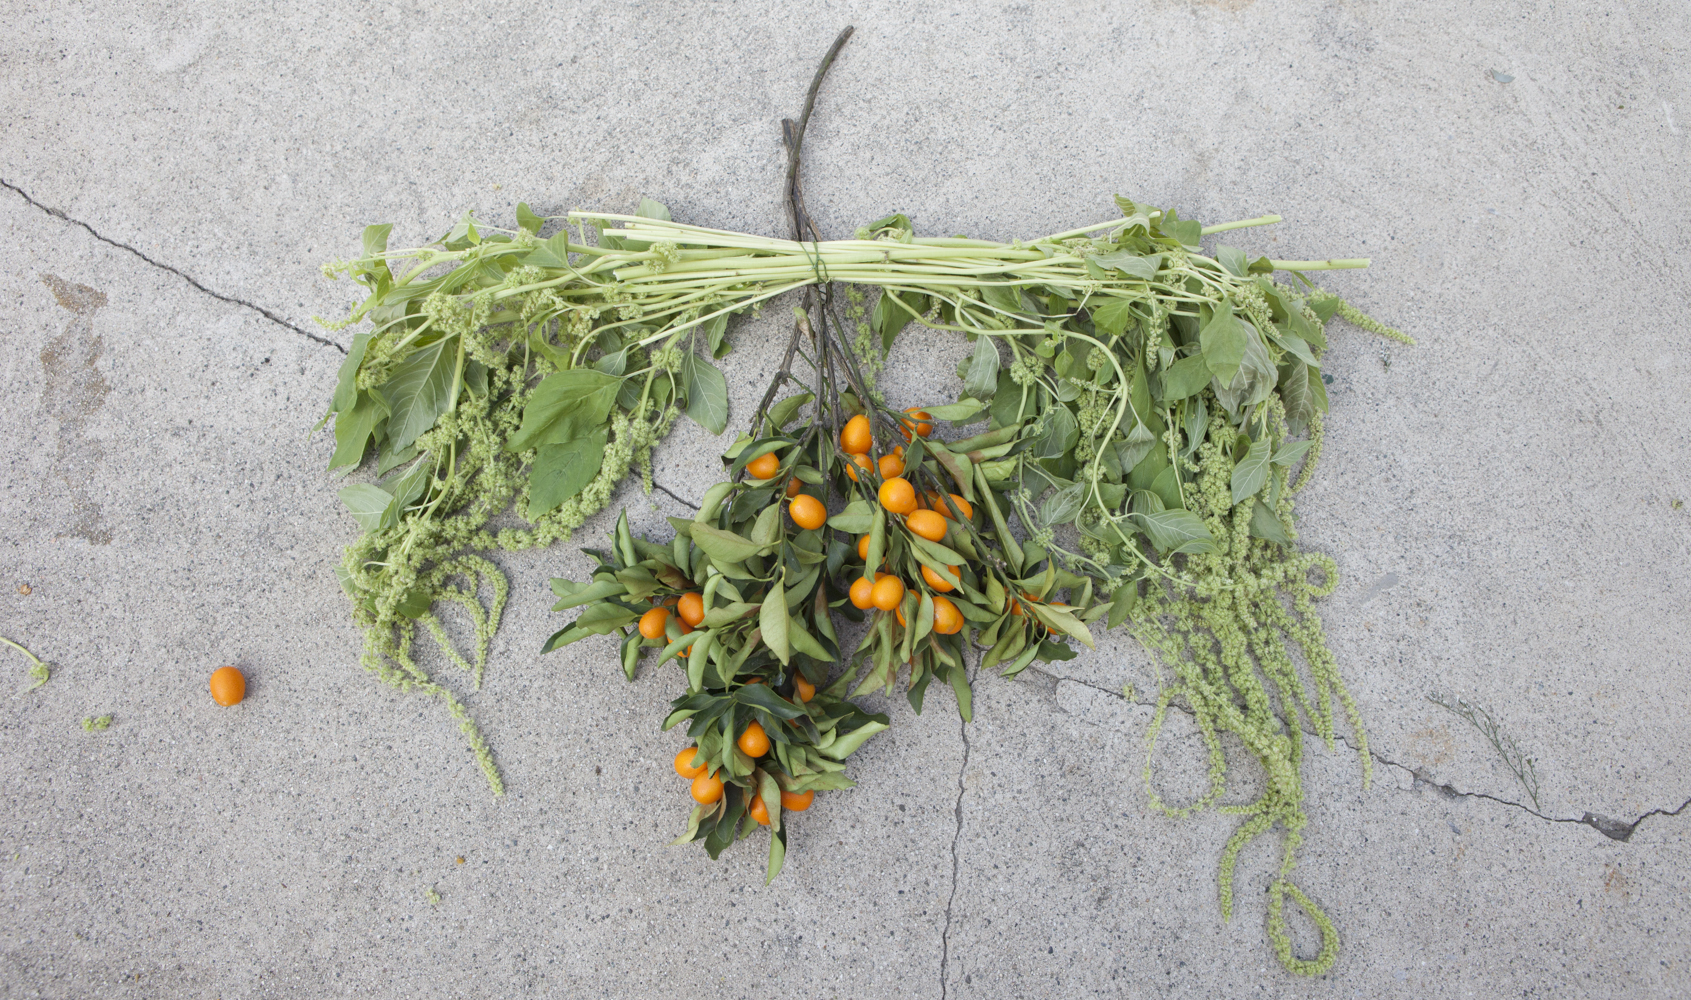
Next, build out from the center, adding stems to either side and securing with wire as you go.  You may want to use some floral tape too to keep stray stems from poking up.  The more secure the better.  It is ok if some of the wires show as you will be covering up the base in a later step.
How to Make a Springtime Swag
Step back and see how the arrangement is balanced. Add and takeaway until both sides feel even.  You may want to hold it up to see how the spires fall naturally. 
How to Make a Springtime Swag
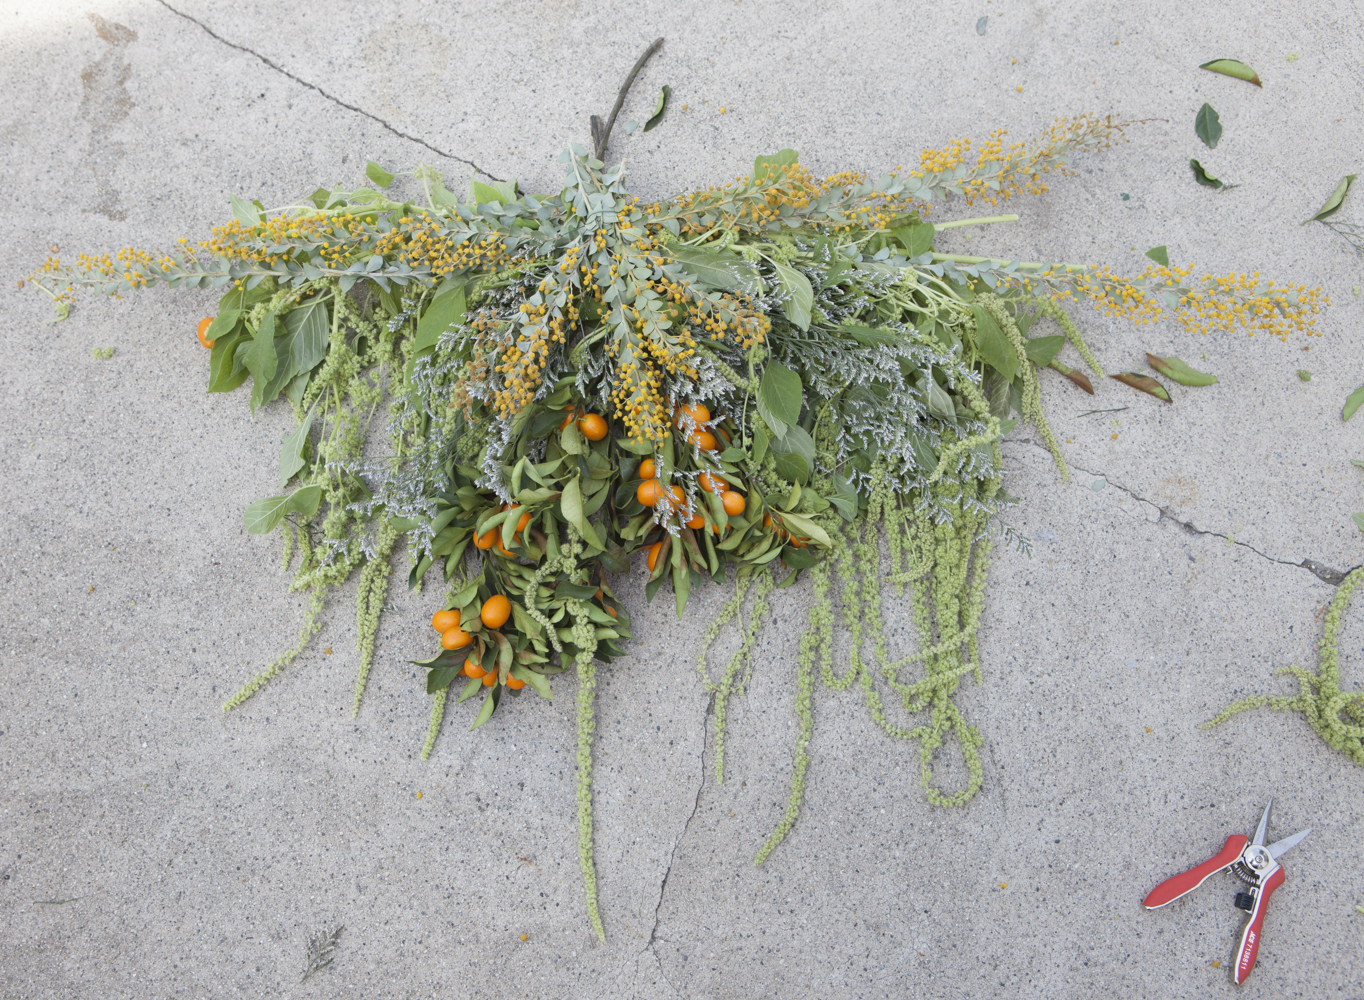
Next, add in your kumquat branches.  Secure the branches with wire first to one another, and then attach them to the back of the base.  Make sure they are secure as they can be heavy.
How to Make a Springtime Swag
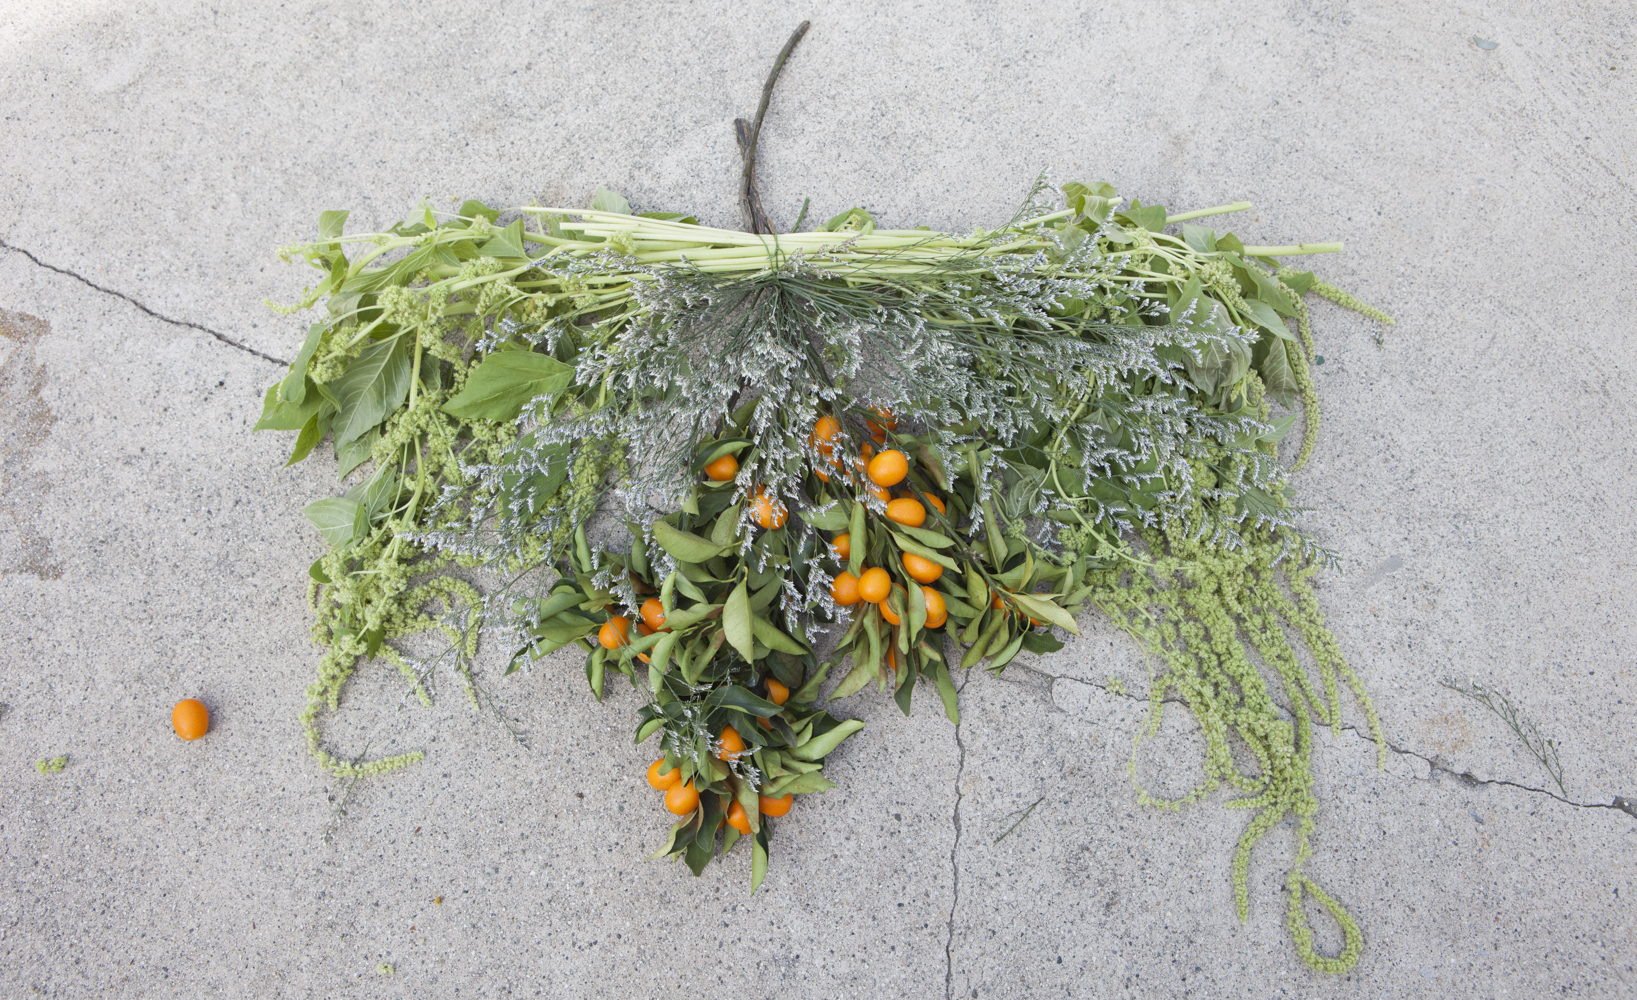
Once the kumquats are secure, add in the purple filler to the open spaces by slipping the stems under the wires or adding additional wires.
Spring Flower Arrangement Tutorial
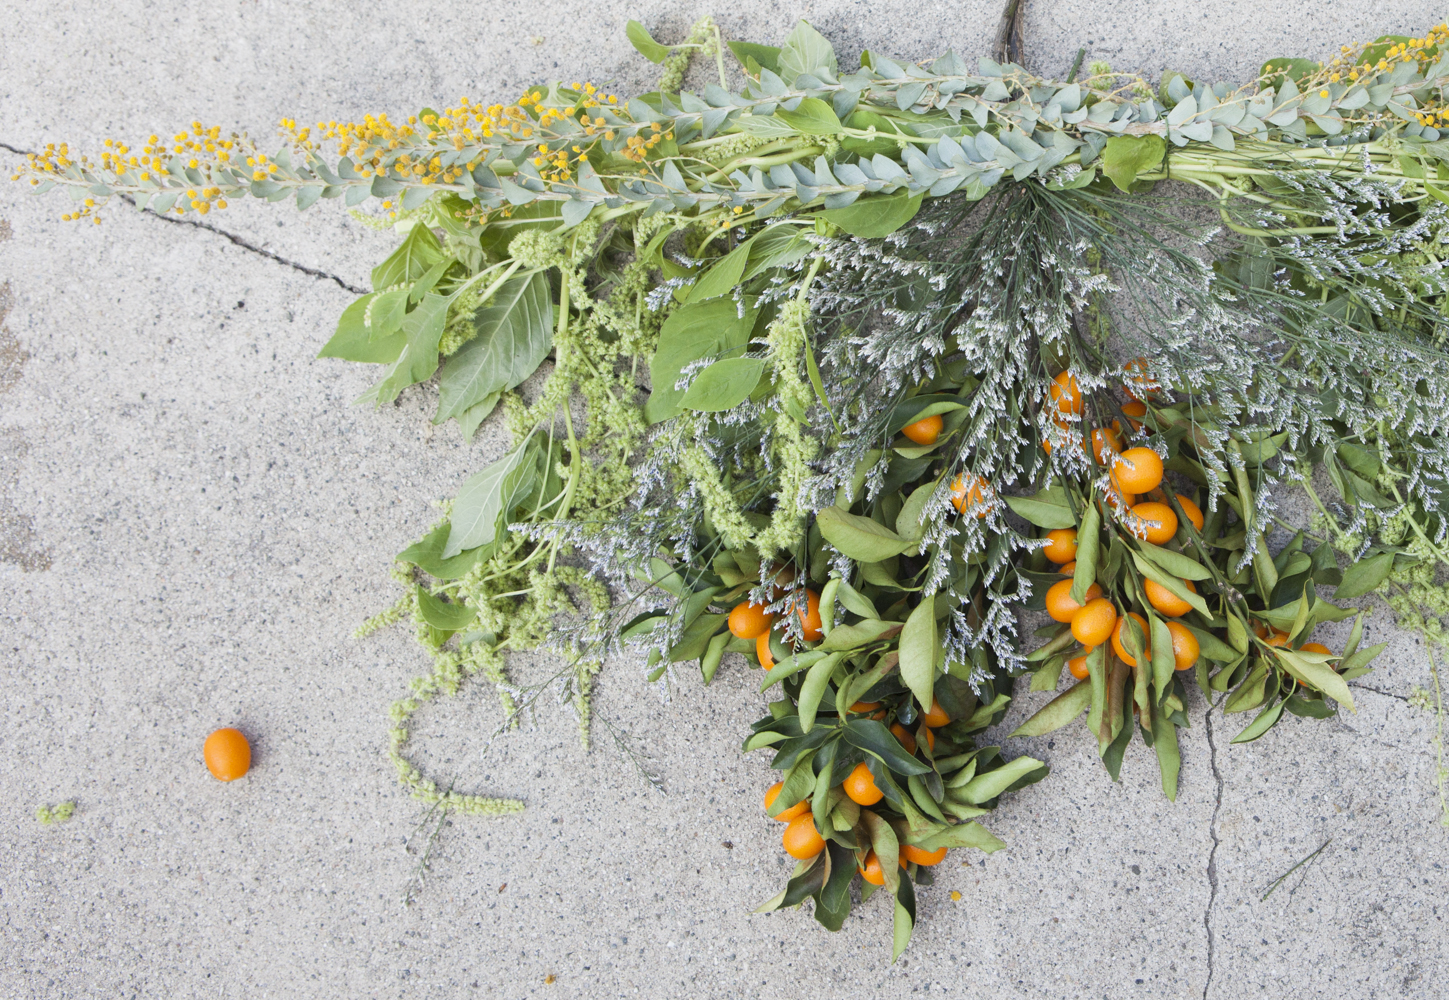
Then, taking your flowering branches, lay them over the base so that they cross and the center. Arrange them so that you cannot see the wires on the base and it feels like a lush archway. If you want to angle them down on either side to create and arch, you may or if you want a straight base for a table or a heath keep them straight.
spring greenery wedding swag-7
Next, using some small pieces of the flooring branches and the purple filler, creat a small swag on the side that will be the front piece.  Make it large enough to cover the kumquat stems but no so long that it will cover up the fruit.
How to Make a Springtime Swag
Secure the smaller swag to the front of the base and stand back to asses the symmetry of your arrangement.
How to Make a Springtime Swag
Once it feels right, try hanging it on a wall.  Once you see how it falls you may want to make some changes, clippings or additions to make it feel balanced.
spring greenery wedding swag-10
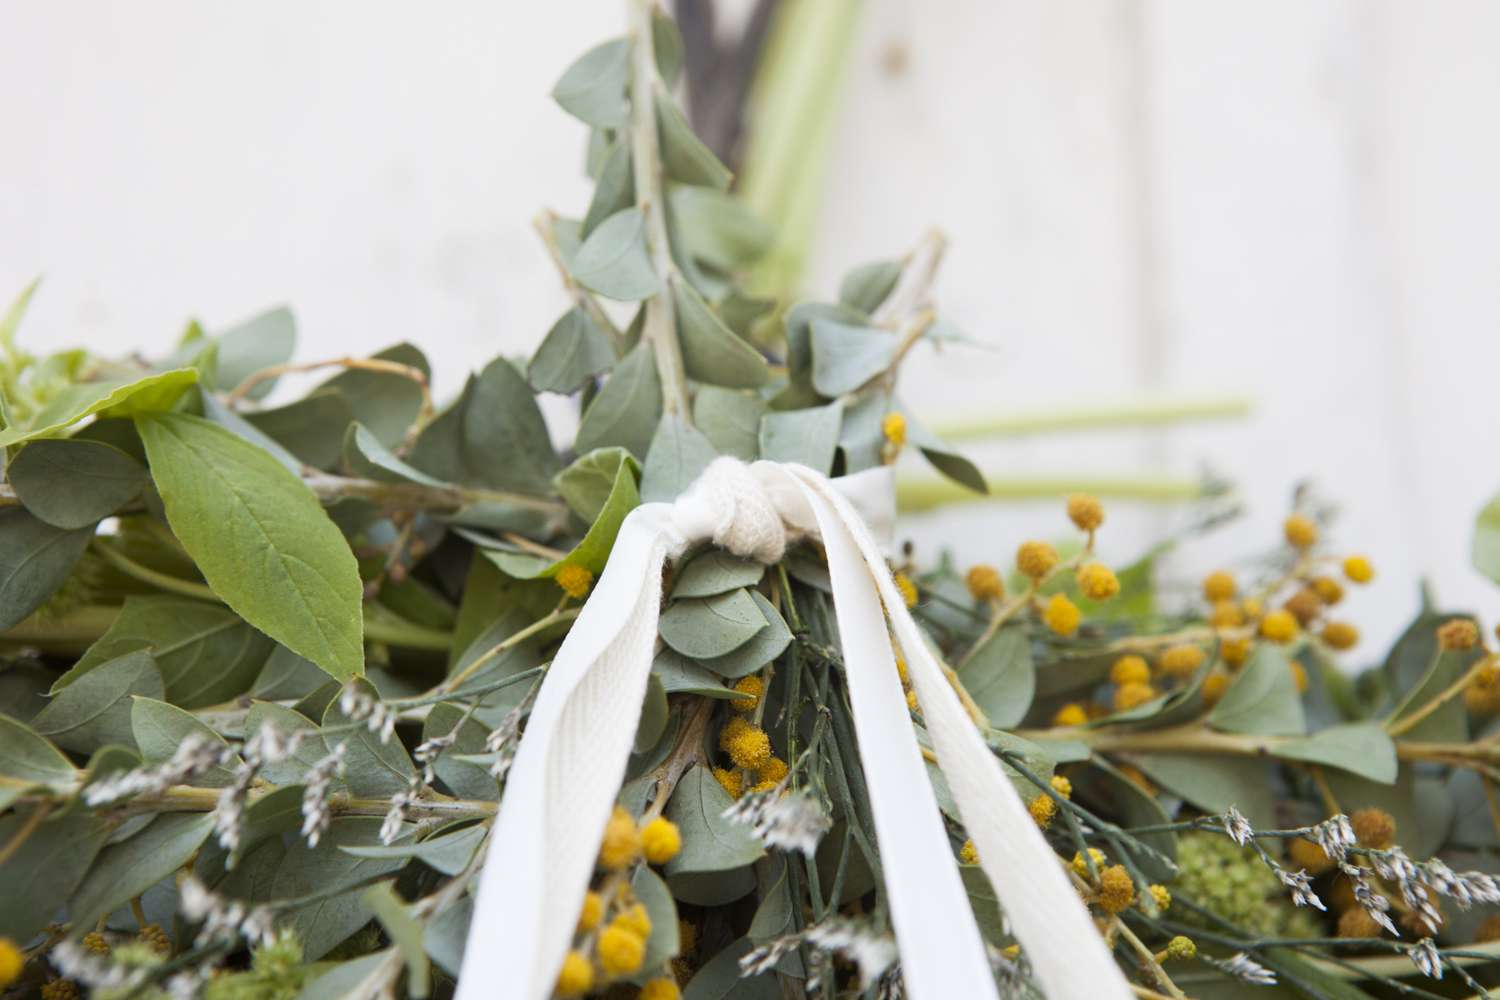
At this point you may also want to add some ribbon.  We tied some simple white ribbon the the stems of the smaller front swag and turned the knot the face the back. 
How to Make a Springtime Swag
We left the ribbons hanging down to compliment the drooping spires.
 Springtime Wedding Swag Tutorial
Once you have it perfect hang it in your desired place using extra wire to create a strong loop on the back of the base.
 Springtime Wedding Swag Tutorial

Friday, 21 March 2014

DIY ~ Cupcake Crumble in a Jar

cupcake crumble
Cupcake Crumble
The latest kitchen trend? Cupcakes in a jar! Or so it was said. I love it! And then I had to think about it. Cupcakes in a jar? Sounds fun. Sounds simple. But as I started to ponder this foodie phenomenon,  I began to have more questions than answers…

How do you get the cupcake in the jar? Do you bake the batter in the jar? Will the jar hold up to the heat in the oven? Do you bake the cupcakes separately and then place them in the jars? How do I get the cupcake out to eat it? How long can these cupcakes last? Do I need a big jar or a small jar? Where do I find a small cupcake-sized jar anyways?

..And then I decided to stop thinking and start playing. I liked the idea of “cupcake in a jar” but I wanted to put my own spin on it – the result is my Cupcake Crumble in a Jar. With this recipe, leftover cupcakes get an instant dessert makeover. It’s a cupcake-lovers go-to recipe for “in a jar” fun..
Leftover Cupcakes Get a Makeover.
leftover vegan cupcakes
Leftover vegan cupcakes needed a facelift.
Cupcake Crumble in a Jar
If you love cupcakes, and really who doesn’t, you probably bake them by the dozen, share the freshly made delights, keep them for a day or two and then the fun is over. But sometimes you end up with two or more cupcakes a day later and since cupcakes can dry out rather quickly – you are faced with a terrible predicament: do I toss these cutie cupcakes?? Now you don’t even have to let that thought cross your mind because you can easily whip up my Cupcake crumble in a jar to refresh and moisten leftover cupcakes.
Cupcake Crumble in a Jar
Here is what you will need:
* 2 or more leftover cupcakes – pop off the frosted flat tops (set aside) and crumble up the cake bottoms
* whip up your favorite vanilla or chocolate (or both) pudding
* a clean medium sized glass jar with lid – not too tall (I used a short and stout roasted red pepper jar)
* optional additional crumble ingredients (fudge sauce, nuts, marshmallow creme, canned fruit, berries and more)

layering the crumble
How To:
Now you start layering.
First add some pudding.
Then the cupcake crumbled bits.
Then another layer of pudding.
Then one of the frosted cupcake flat tops.
Then more pudding.
More crumbles.
(Add additional ingredients along the way if you’d like)
Last layer is one of the frosted cupcake flat tops.
Close the jar lid and chill in the fridge for a while before serving. This way the pudding will help moisten the crumbles.
Serve by spooning into dessert cups.

lid on cupcake
lid on.
Cupcake Crumble in a Jar
There! You just turned your leftover cupcakes into a snazzy new dessert treat – fit to please those “cupcake in a jar” enthusiasts!

Thursday, 13 March 2014

DIY : Mother's Day Mini-Book Gift Idea

This is a tutorial on how to make a mini-book for you mother, since Mother's Day is approaching, you don't want to forget her day!


I made it pocket-size, 2"x3.5" (also business card size). I made a list of 10 things (of course there are way more than 10:)) that I wanted to include in the book. I designed some cards with the numbers 1-10 on them (see below) and then went through my stash of paper, old magazines, etc. to find images/papers to cut out to also go in the book. I found images/papers that relate to memories or characteristics about my mama. For example: I found a picture of lighthouses- one of my favorite memories from my childhood was going to the beach with my family and seeing a lighthouse. I also cut out sheet music because my mama would sing to us, and some retro-kitchen-ey paper- she loves to cook (and is an amazing one at that:)), as well as some old sewing pattern paper because I remember being amazed that she could sew and mend our clothes. :) To have a few more papers mixed in with my "10 Things", I recycled some old thank you notes, writing paper, and even cut up some used security envelopes(security envelopes come in all sorts of patterns and colors!). I wanted to put these in to glue pictures to, jot extra notes or memories on, etc.
Want to make your own? Below are the cards I designed to use in the book. Simply click on the image to enlarge it, right click, save and print. The gray lines are the cutting guides, and the circle in the upper left hand corner is where you hole-punch it.

All you need is:
+ Cardstock to print the cards on
+ A hole punch
+ A binder/jump ring (available at your local craft or office supplies store) -- or your could use ribbon!
+ A pen to write with
+ Pictures

You can also use these cards for any loved one in your life- they don't necessarily have to be only for Mother's Day. :) Enjoy! :)


Monday, 10 March 2014

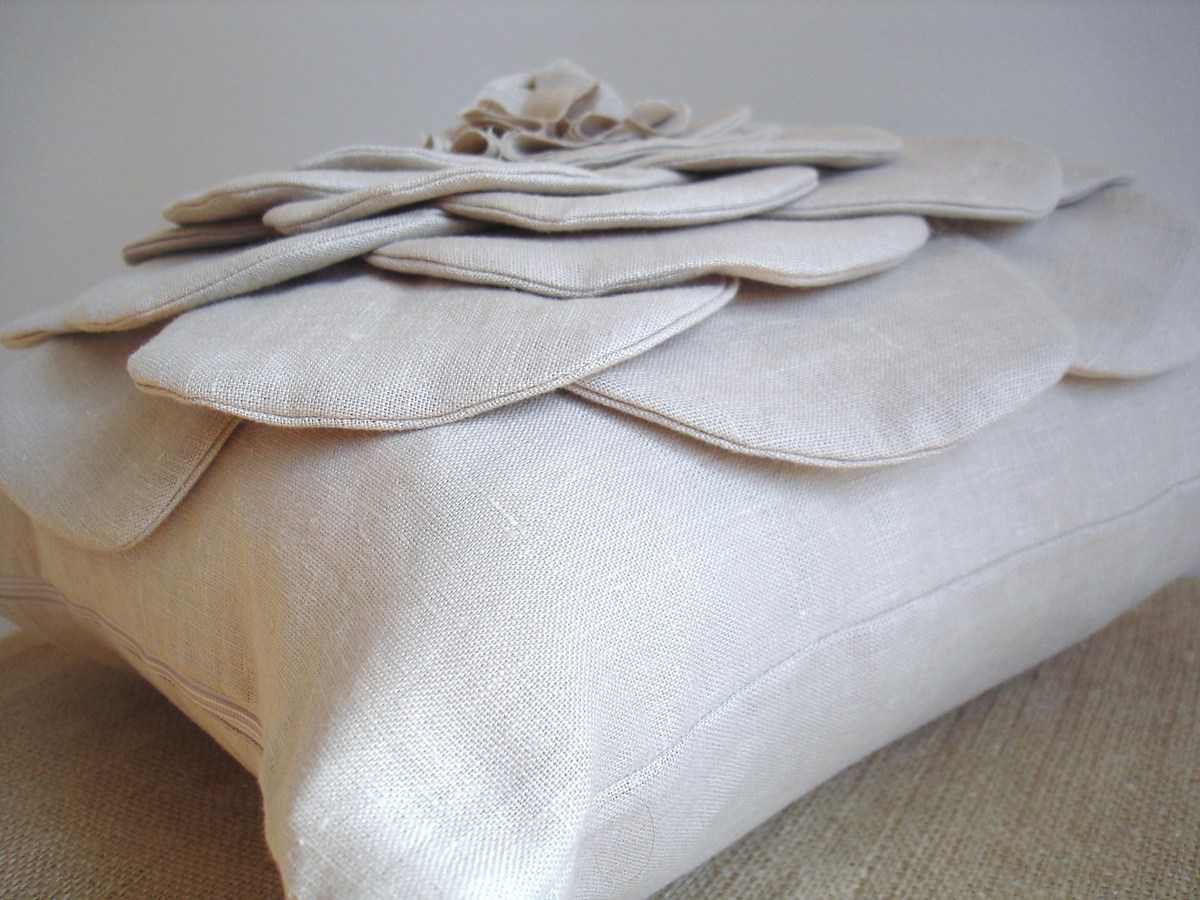
DIY ~ Flower Pillow For Mother's Day

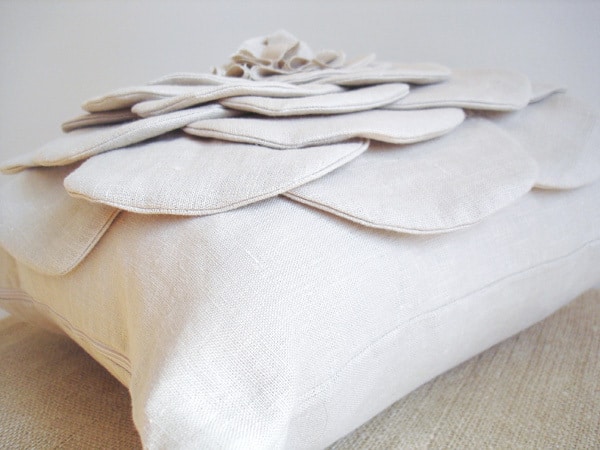
This is truly unique and unconventional way to give flowers to your mother!

DSC020351 shabby flower pillow (a tutorial)

Supplies Needed:

fabric (linen here)
sewing machine
zipper (if desired)

Step 1:

Create your “petals”. 
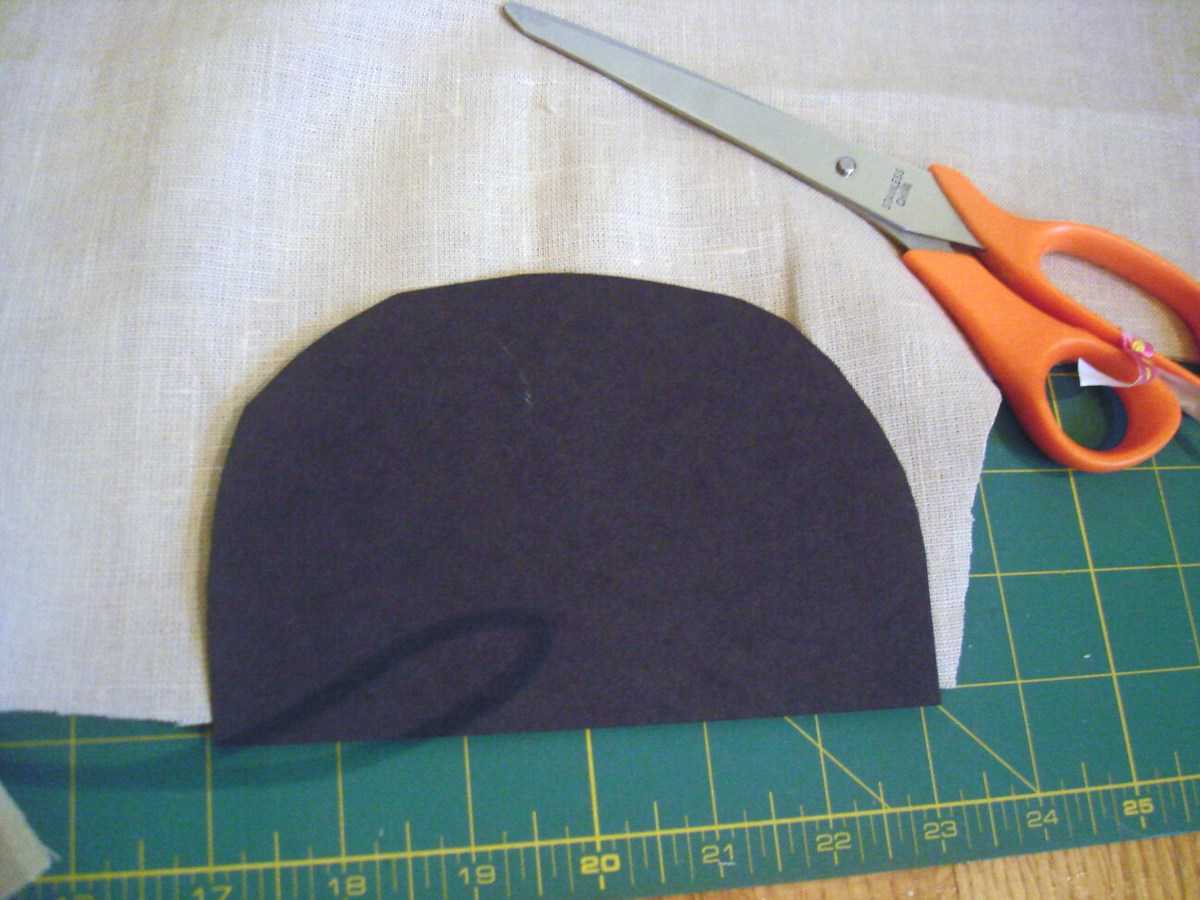
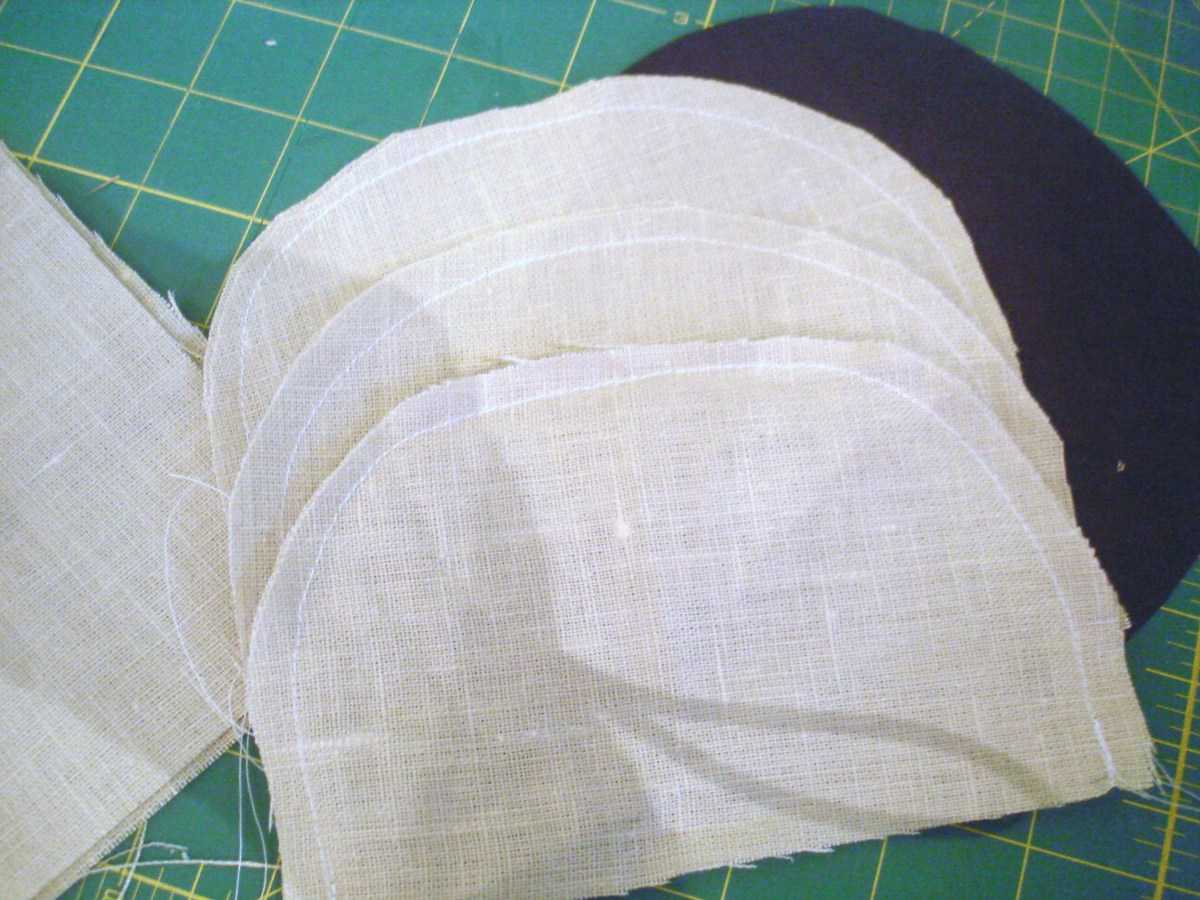
Cut out a half-circle template out of cardstock. Place on a double layer of fabric and cut. Take your two layers of fabric and stitch around the curve.

DSC01996 300x225 shabby flower pillow (a tutorial)DSC01997 300x225 shabby flower pillow (a tutorial)
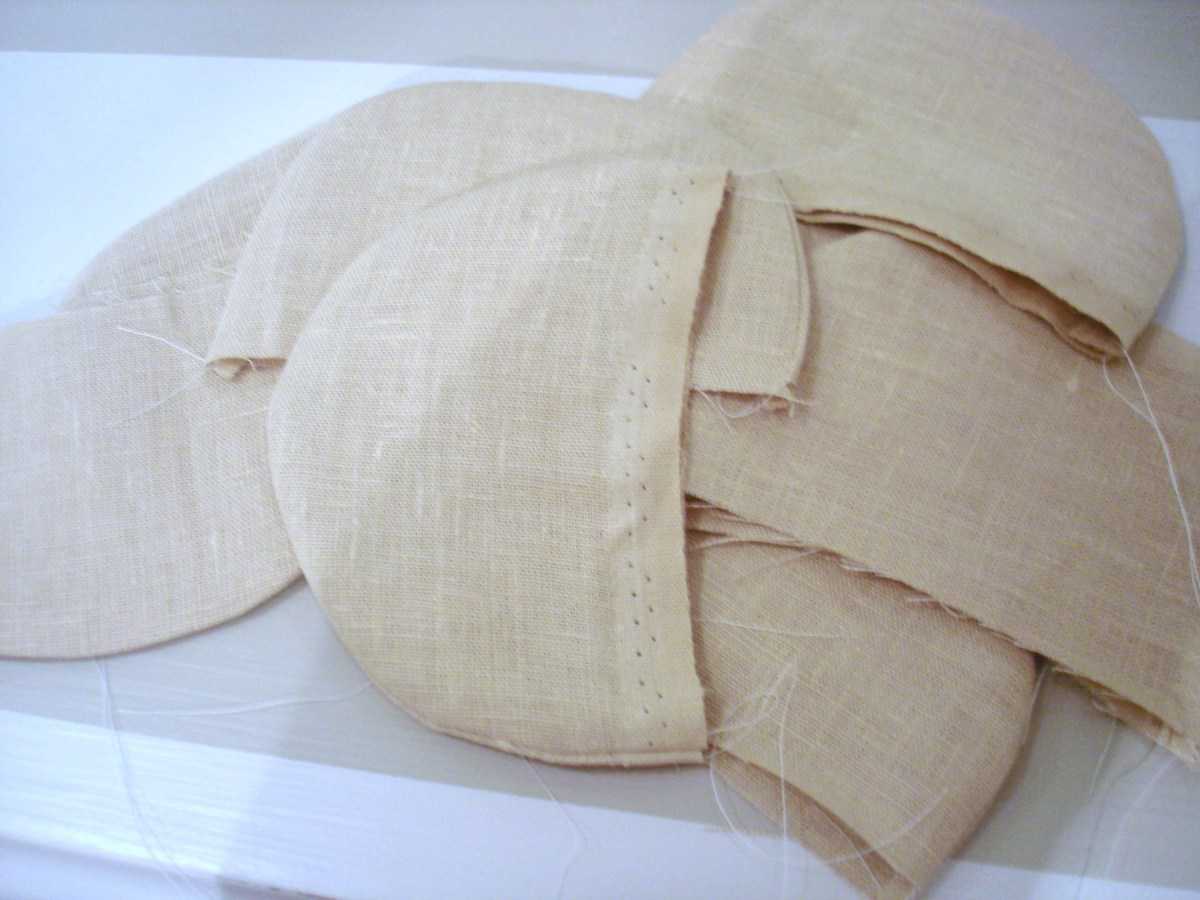
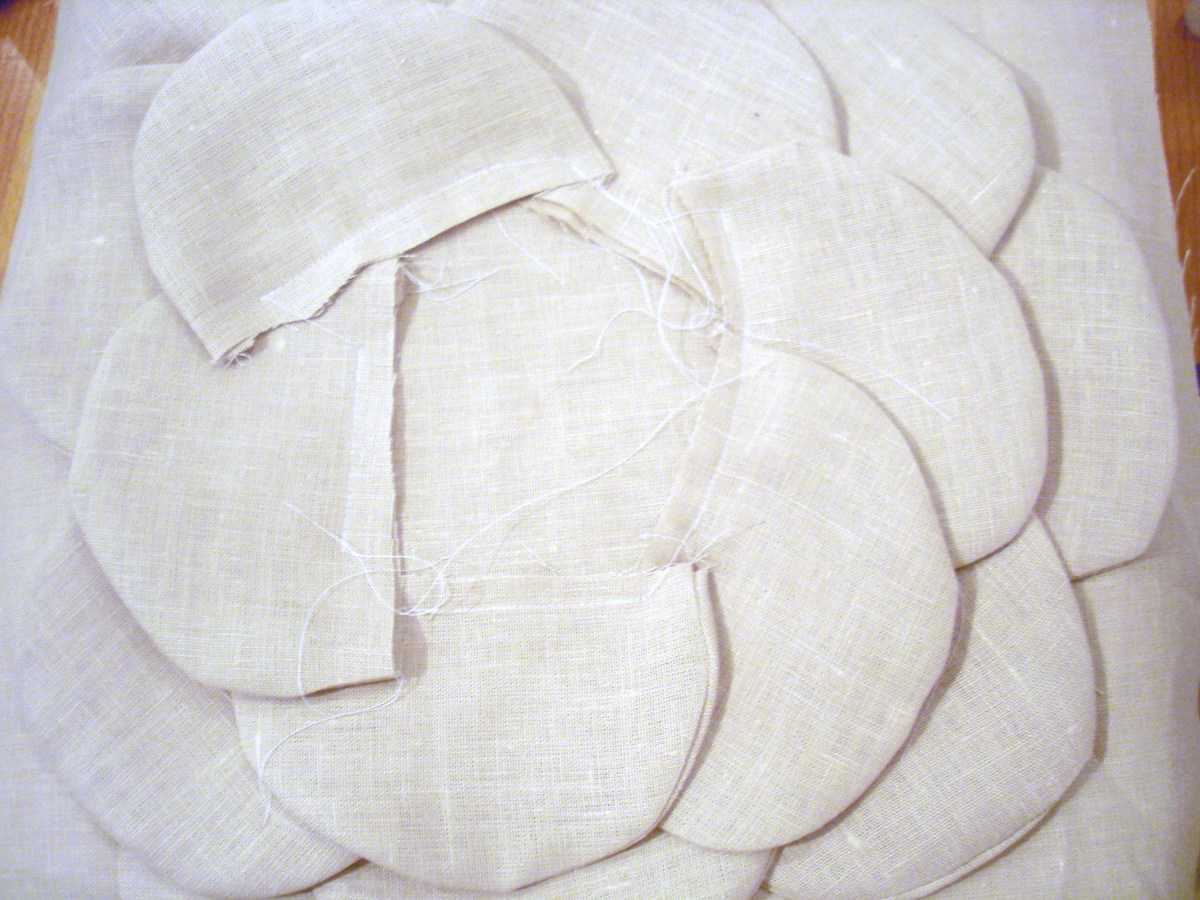
Step 2: Take sew petals and turn inside out. Press flat. Take petals and arrange your first layer on your pillow fabric.
DSC02000 300x225 shabby flower pillow (a tutorial)DSC02002 300x225 shabby flower pillow (a tutorial)
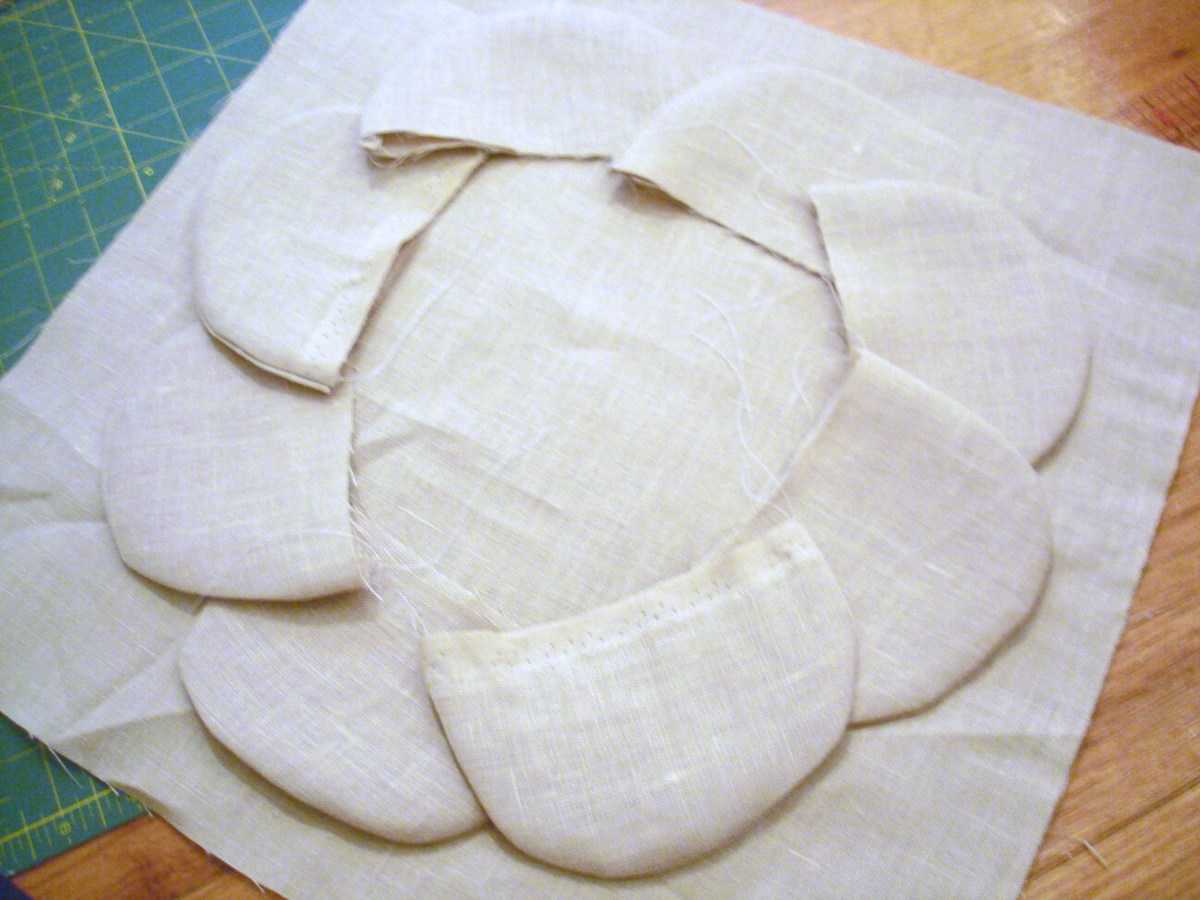
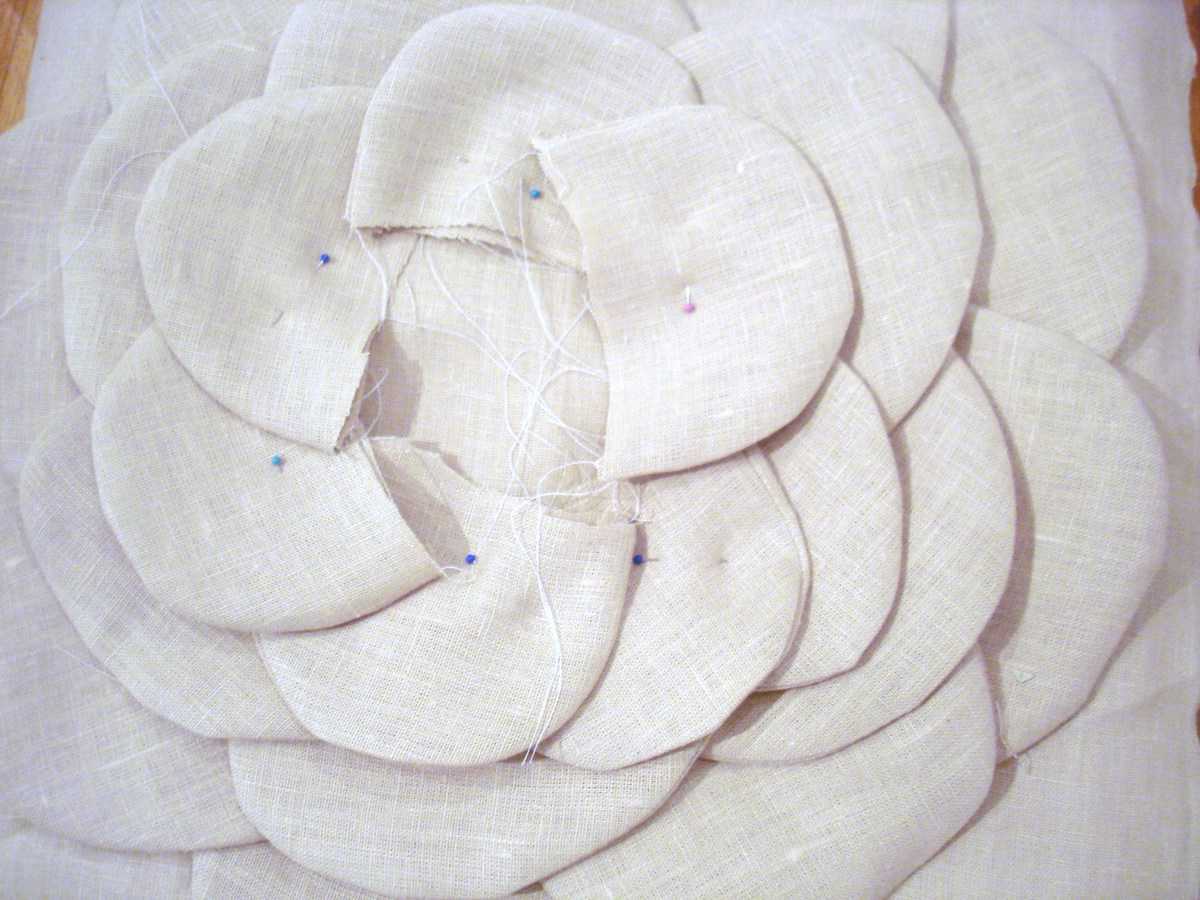
Step 3: Stitch petals down to fabric. Repeat for second layer of petals.
DSC02003 300x225 shabby flower pillow (a tutorial)DSC02004 300x225 shabby flower pillow (a tutorial)
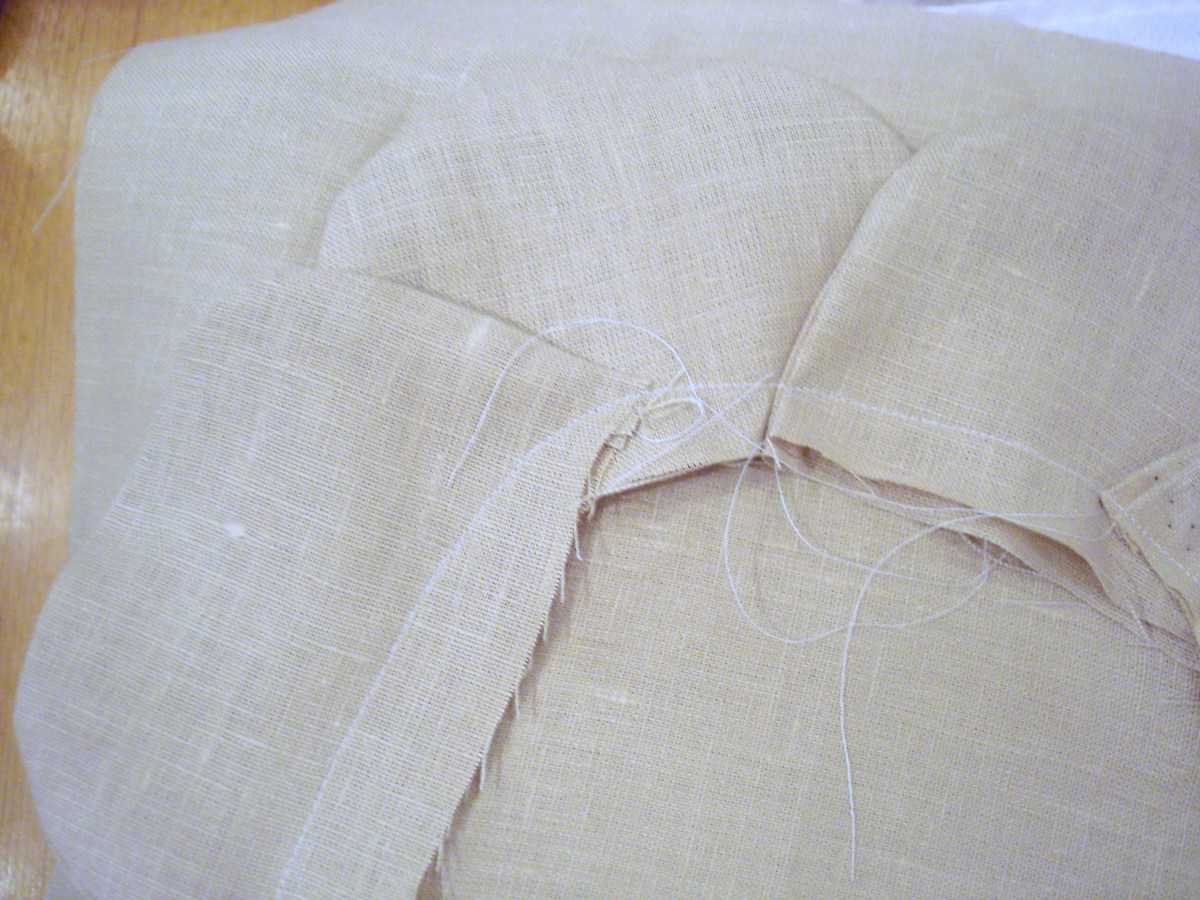
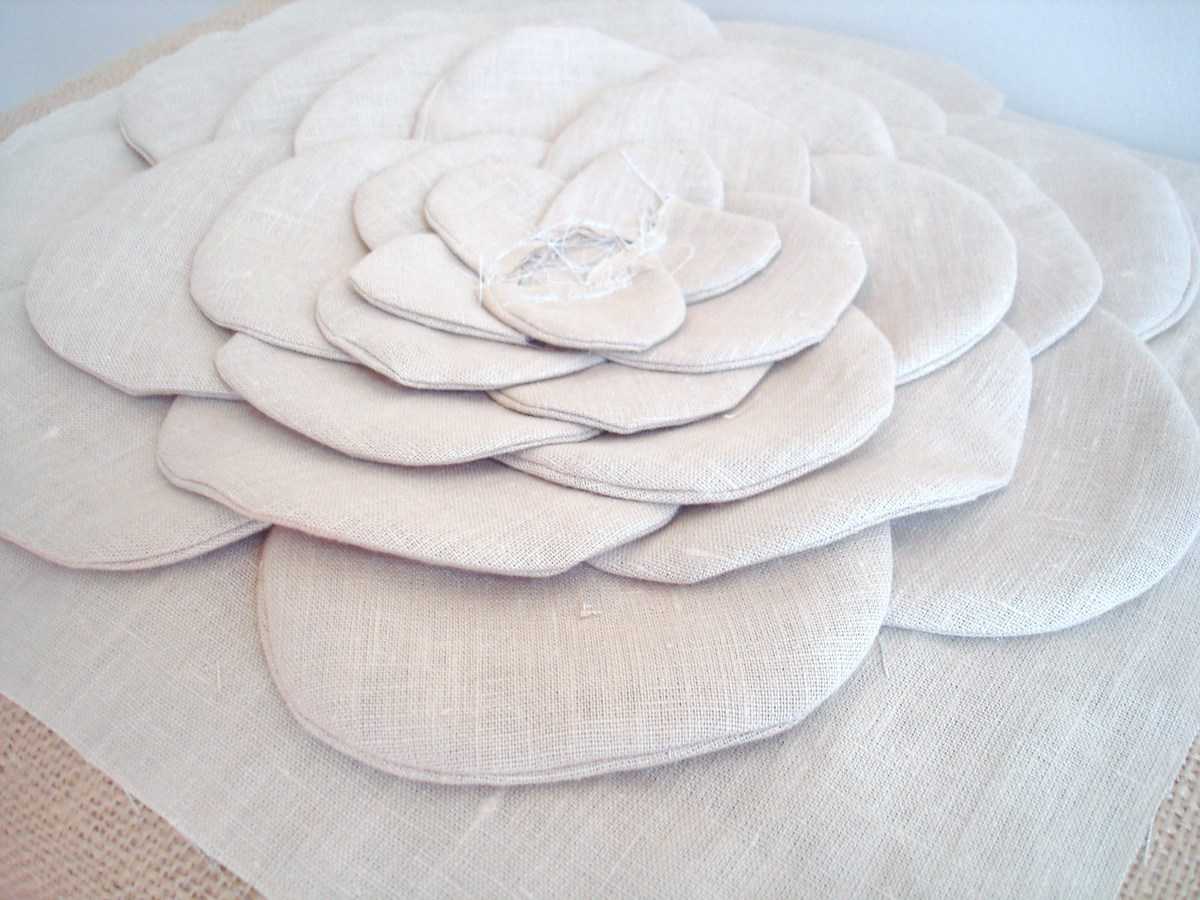
Step 4: Continue creating petals and attaching them to pillow front. Here we did 5 layers total, and, for layers 2-4, we cut down the template and made the petals slightly smaller. Then cut down the template further for the fifth and final layer.
DSC02011 300x225 shabby flower pillow (a tutorial)DSC02019 300x225 shabby flower pillow (a tutorial)
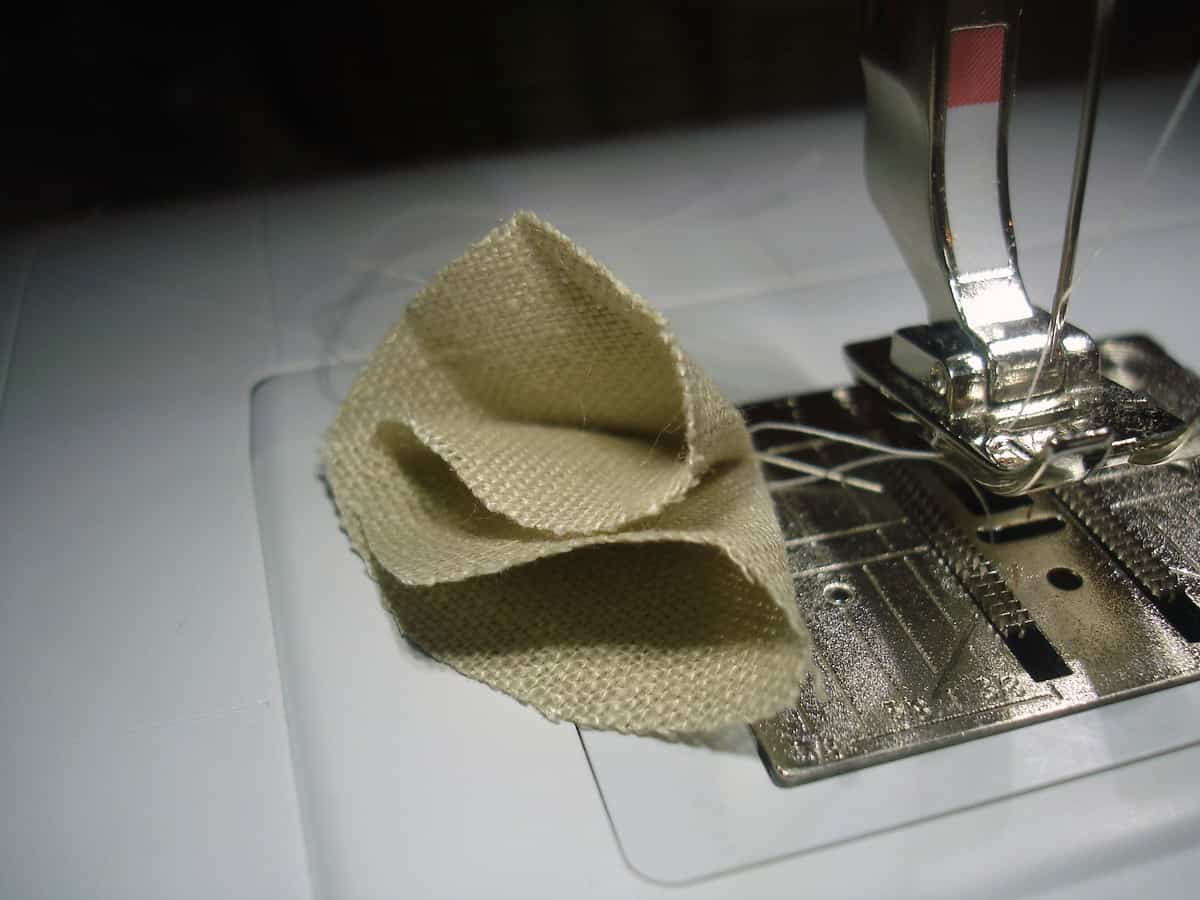
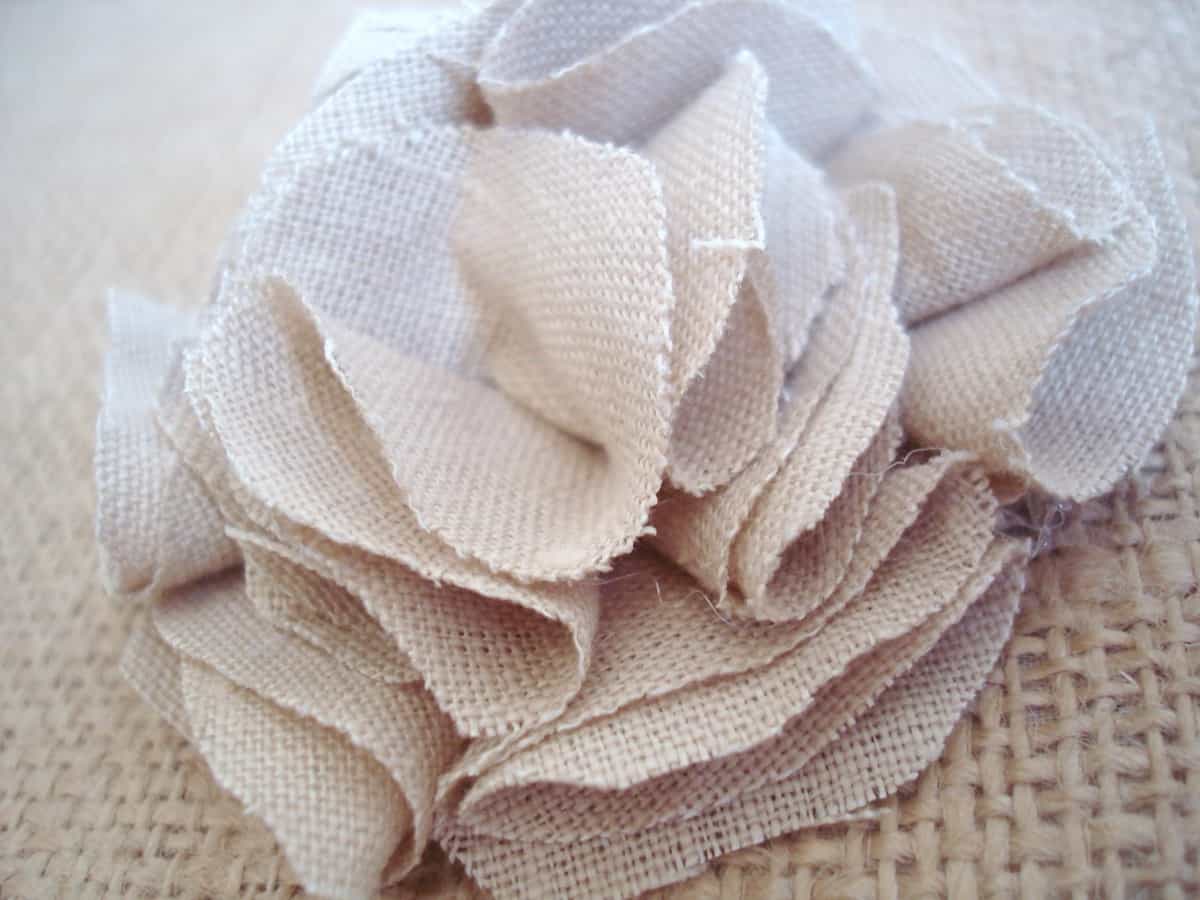
Step 5: Almost there! Now you are ready to create your flower’s center. We did this by taking small circles of fabric and folding them once (into a half circle) and again (folding them into a cone shape). Either hot glue or sew your petals shut. Take your petals and hot glue them into a circle onto a small piece of fabric. Once your outer circle is complete, continue layering and working into the center of the circle.
DSC02014 300x225 shabby flower pillow (a tutorial)DSC02020 300x225 shabby flower pillow (a tutorial)
Step 6: Glue or stitch your flower’s center onto your pillow fabric. Lastly, sew your pillow together in the method of your choice!