Showing posts with label gifts. Show all posts

Monday, 16 February 2015

Why Homemade Crafts Are Awesome!

Everyone loves receiving something that is homemade! This is one of the reasons Homemade Crafts are so popular.

Whether the creations you give are "perfect" or not, they are sure to be appreciated by the receiver. From our earliest days in school when we made cards or gifts for Mother's Day or Father's Day for our parents, we learned that giving a handmade gift brought joy and appreciation. Somehow, as we get older, we somehow forget the power in giving something that we took the time to make ourselves and that is a shame. People do love to get homemade gifts!
Learning to make Homemade Crafts will reintroduce you to the special feeling you will get when you give a gift made by your own hands. This is a special feeling that you can share with your entire family as you can do many of these projects together.

There is something for everyone in crafting. From toddlers to teens, from men to women, there are hundreds of different! There are projects for all skill levels, ages and interests!
People of all ages will love and appreciate the effort you put into your homemade gifts so lets put our creative hat on and start making Homemade Crafts today! It is a fun and rewarding experience we can share with our entire family. Looking for Homemade Craft Ideas?

Wednesday, 21 January 2015

5 Reasons to Make Handmade Gifts

Handmade gifts are not only unique and more valuable, but they can also be fun and relaxing to make. Yes, handmade gifts can be time consuming to make, which is most likely why most of us choose not to make them. However, there are many reasons to make your own gifts, many of which will outweigh the time issue.

Here are 5 of them:

Unique.
Handmade gifts are always unique. They have your personal touch - a touch that will always remind your recipients of you when they use your gift. And isn't that what you want?
Fun and Relaxing.
Making handmade gifts can be fun and relaxing to make.
No matter which craft you choose, once you get going you'll find your worries and other stress begin to disappear.


Inexpensive.
Ha! you might think. But, no really, handmade gifts can be inexpensive. It can be expensive when you first get started as you will need to go out and get all your tools to actually do the craft. But once you have the basic tools, all you need is the material, which in many cases is cheaper than if you were to purchase the gift.
In addition, staying home and crafting is a lot cheaper than going to the movies on Friday nights.


Environmentally Friendly.
Making your own gifts can help to save the environment. How you might ask? Because when you make things at home, you are not utilizing large machines that require a lot of energy. You are using your own energy to make the item with your hands. Thus, the need for huge factories is eliminated.

Says You Care.
Last but not least, there is nothing that says you care like a handmade gift. Time is the most precious gift that we have today. Simply put, time is money. And by taking the time to make something unique tells the recipient they were important enough for you to take the time and make something for them.


If you need some ideas and want to see how our users did it than visit www.misi.co.uk

Monday, 15 December 2014

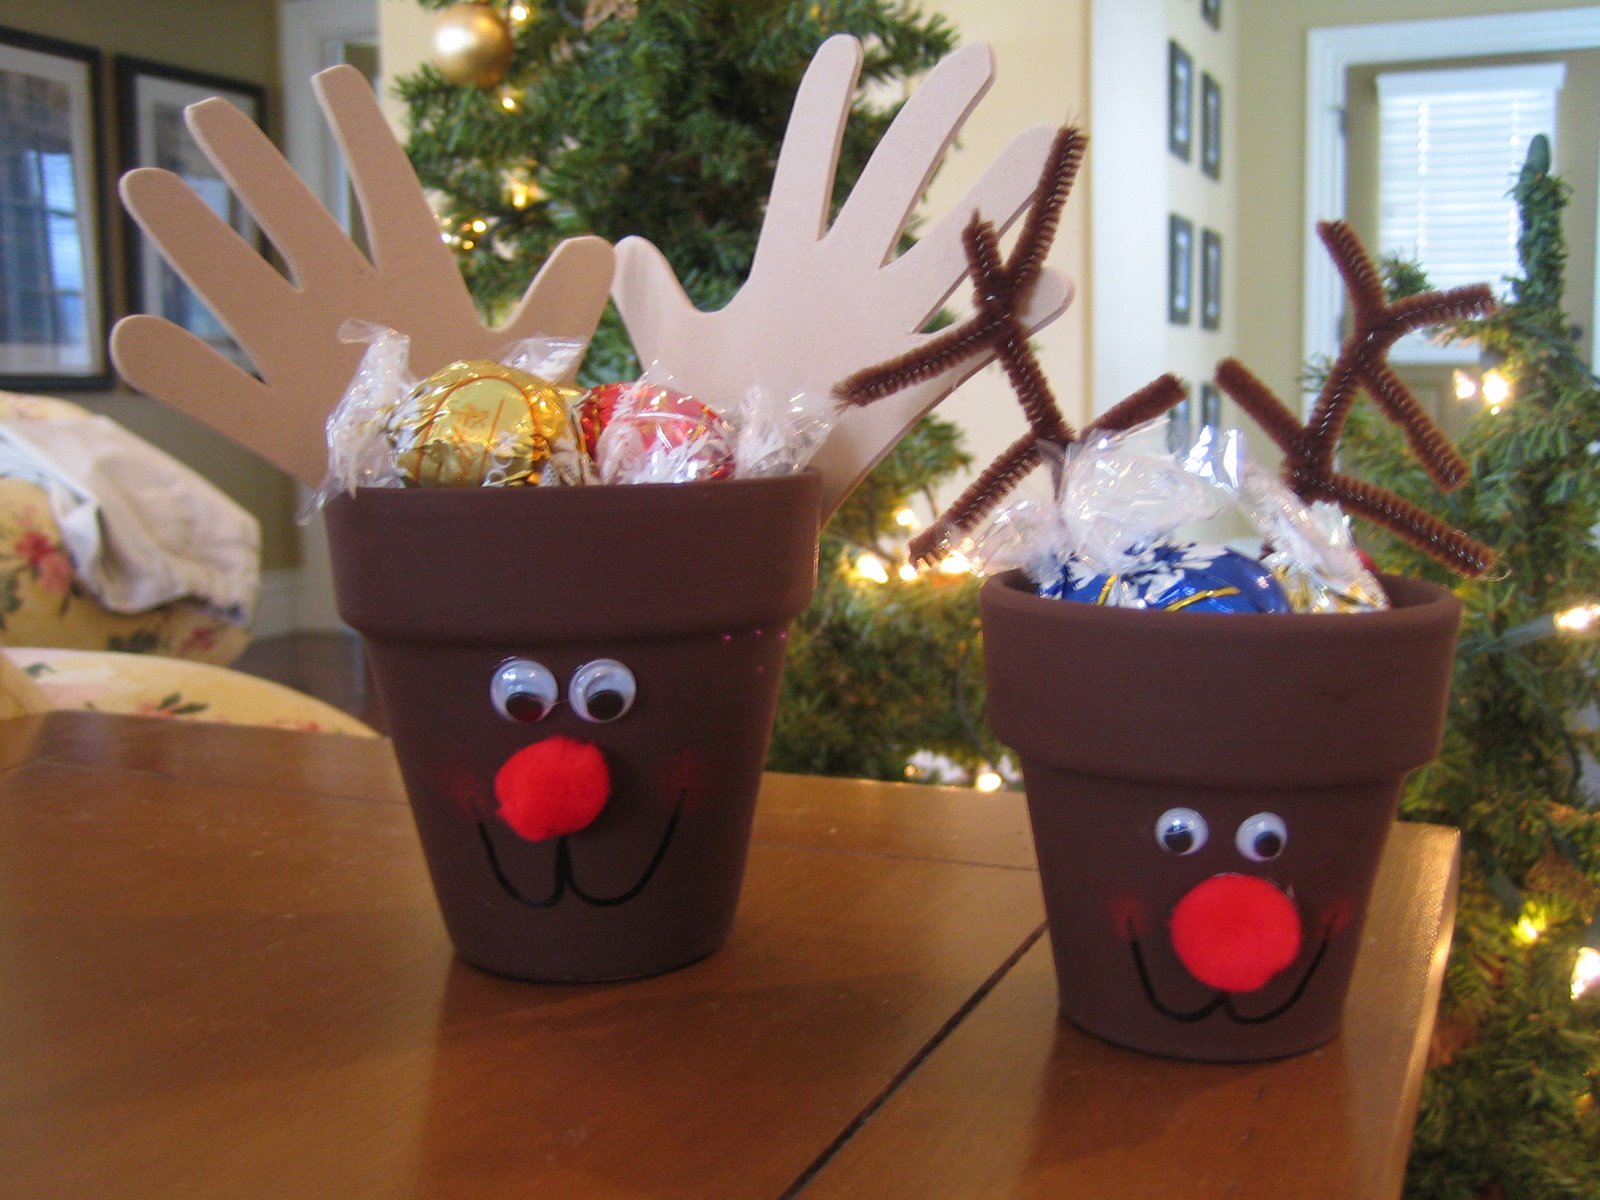
Fun Christmas Crafts For Your Kids

It is Christmas time! Your kids must be happy in that situation. Even, that day is usually followed with the holiday season. So, it is a good idea if you as parents can do activity together with your kids in celebrating Christmas. Here, age-appropriate Christmas crafts can be your right option in which your kids enjoy making.
Crafts for children in this special day are plentiful. Christmas trees, candy canes, ornaments, Santa and reindeer create a festive atmosphere at this time. Many of these symbols of the holiday season make fun craft ideas for kids. Getting children to create presents for their friends and family members in this special day is a definite means to keep them happily busy. And a framed art can be one of craft ideas for kids that you can choose.
Any kids can sketch. Hand them a thick white paper, some pencils, crayons, or watercolors and let them draw a Christmas picture. Once the work of art is finished, have the picture framed efficiently in a classy looking frame and let them offer it to their grandpa or grandma as present in this special day. You could let the children make picture books or activity books as presents to those they adore.
Christmas is a time to celebrate the spirit of giving. Bring joy to someone you love with these festive handmade crafts! If you don't have time to create crafts you can visit our website www.misi.co.uk and find a perfect gift for your loved ones!

Thursday, 4 December 2014

Christmas Crafts For Children

Children really enjoy the holiday season and they love to be creative. You can get the whole family involved in making various types of Christmas crafts. The time you spend together making them will offer a quality time for you all to bond. Children will also take plenty of pride in the Christmas crafts they have completed to decorate the home and to share with others.
If you have particular Christmas crafts in mind to complete you will have a list of the supplies you need to purchase. However, children are very creative so you may want to just purchase some basic supplies including glue, colored paper, and scissors. You will be amazed that the wonderful Christmas crafts they are able to design with these common items.
It can be fun to allow the children to go shopping with you for the supplies to make Christmas crafts. They may want to get some ribbon, glitter, stickers, and markers to make the Christmas crafts. Some of the items they will select may be messy to work with so make sure you take that into consideration.

Find a central location at home where the children can work on their Christmas crafts. You will want to provide a large table so they have plenty of room to work. In order to protect your tables and the floors though you should spread out an old tablecloth or even some old newspapers on them. This will also help you to clean up the work area quickly after they have completed their Christmas crafts.

Common Christmas Crafts for Children to Make
Children of all ages will enjoy making Christmas crafts and there are some really basic ones that you can help them with. Paper snowflakes are very fun to make and each one will be different from the next. You can hang them from the ceiling with a light colored thread or tape them to the inside of the window in the front of your home.


Snowmen are a popular type of Christmas craft as well.
All you will need to complete this project is construction paper, glue, and cotton balls. A black marker can be used to make a face on the snowman or small pieces of construction paper can be used to complete it.


The internet is a great place to find various types of Christmas crafts for children to engage in. Make sure you attempt to find Christmas crafts that are a good fit for the age and the skills of the children that will be making them. You don't want them to be bored or overwhelmed when they are making Christmas crafts. Misi can help you with that, visit our site and find some great ideas and patterns.

Monday, 1 December 2014

Unusual Christmas Gifts' Ideas for HER

Christmas is the lovely time when we want to share our happiness with our loved ones. When it comes to celebrating Christmas, the first thing that comes in our mind is the most wanted gifts. In the Christmas season, all of us want to express our love for our friends and family by exchanging gifts.

Though, markets and malls are full of different gifts in the holiday season, but it is quite difficult to choose one when it comes to women's Christmas gifts. Women always want something different and same applies to the Christmas gifts. If you are trying to find some ideas for unusual Christmas gifts then here are some suggestions for you.

Make something Personalized
If you want to give some unusual Christmas gifts, there is no better way than personalizing them. You can personalize the gift with little creativity and imagination. Whatever gift you have bought like shirt, mug, cap, clutch etc., you can make it unique by writing a personalized message or you can print some cute memorable pictures on these items. Women love being treated specially and this is surely the perfect way to make them feel special.

Create something with your hands
One of the great ideas for women's Christmas gifts is making something special for them with your own hands. Rather than just shop around, you can make her feel special by giving a totally unique Christmas gift which is based on your own creativity. You can make a handmade bracelet for her or can try to make a wooden jewelry box at your own. Whatever your talent is, a hand-crafted gift will surely express your warm feelings on Christmas in more effective way.

Tuesday, 18 November 2014

5 Ideas For Inexpensive Christmas Crafts

Okay so this year you want to have a "hand made Christmas" but you need ideas for inexpensive Christmas crafts that will fit into your time and money budget. Well read on and I'll give you a head start over all the other elves out there.

Here are 5 holiday crafts that are easy to make and a joy to give to friends, relatives, and neighbors.

1. Hand Bound Christmas Cookbook - Hand stamp heavy (colored) construction cardboard and use ribbon or lace to wrap that around recipes that you print on pre-punched paper using your computer/printer.

2.
Hand Stamped Christmas Cards - Use your holiday decorative stamping tools to create personalized Christmas cards that are guaranteed to stay on the mantle longer than the ones from the store.

3
. Framed Children's Artwork - If your children don't end up making any Christmas related artwork at school this year, help them make it at home and then purchase some plain picture frames on sale at a crafts store, and (optionally) custom decorate the frames if you think they might further enhance your child's art.


4.
Homemade Cookie Mix - Make your families favorite holiday cookie mix (sans the liquid and soft ingredients), put it in a decorative jar, add instructions for mixing/baking and you've got and instant Christmas hit!


5.
Favorite Christmas Quote - Embroider your favorite Christmas/inspirational quote on a handkerchief or kitchen towel and make a gift that will become a conversation piece and is bound to become something that is passed down from generation to generation.


If you want to see how our users did it visit www.misi.co.uk, there is plenty of Christmas gifts to be found there :)

Wednesday, 9 April 2014

Get Creative with Easter Eggs


Who knew that silk fabric transfers onto eggshells as easily as the dye in a decorating kit? Regular old vinegar plus hot water does the trick.
Step 1: For each egg, cut out a 5-inch square of patterned 100 percent silk. (We limited ourselves to black-and-white prints to achieve the effect above; colored patterns yield more vibrant results.) Lightly dampen the fabric, then lay it flat, right side up, and place your egg in the center. Gather the fabric tightly around the egg, like a beggar's purse, and secure with a rubber band. Repeat this step for the same egg, using a same-size square of plain white cotton and a second rubber band. Note: Use blown eggs if you'd like to keep your handiwork longer.
Step 2: Place eggs in a single layer in a nonreactive pot and add enough water to cover them by 2 inches. Add 4 tablespoons of white vinegar. Bring the water to a boil, then reduce heat and simmer for 40 minutes.
Step 3: Remove eggs with tongs and cool about 20 minutes. Then unwrap the fabrics to reveal the exquisite designs.

Wednesday, 26 March 2014

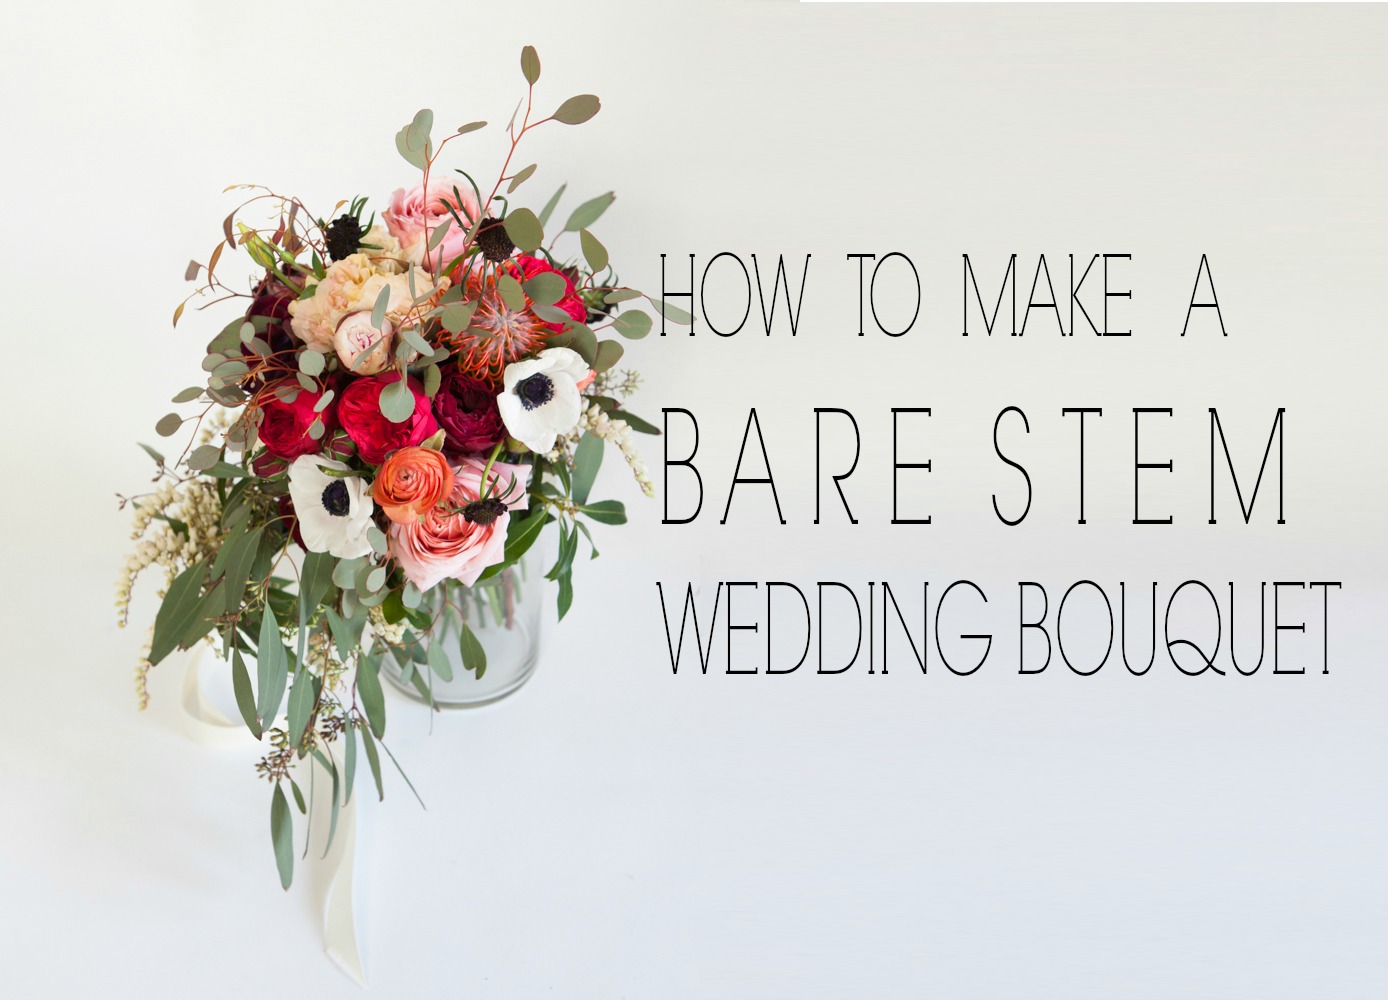
DIY ~ How To Make a Bare Stem Rustic Wedding Bouquet


How to Make a Bare Stem Wedding Bouquet
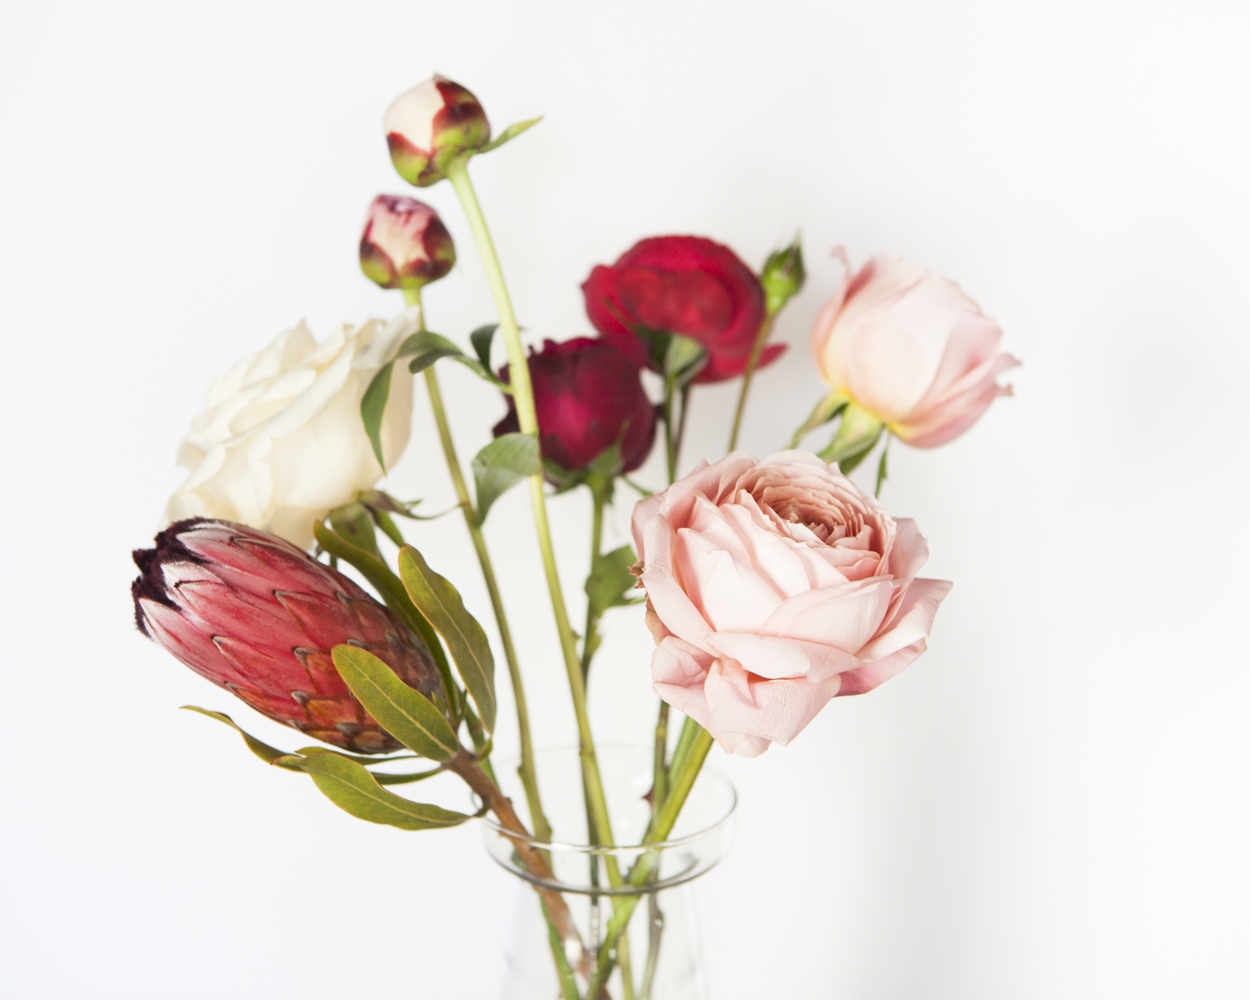
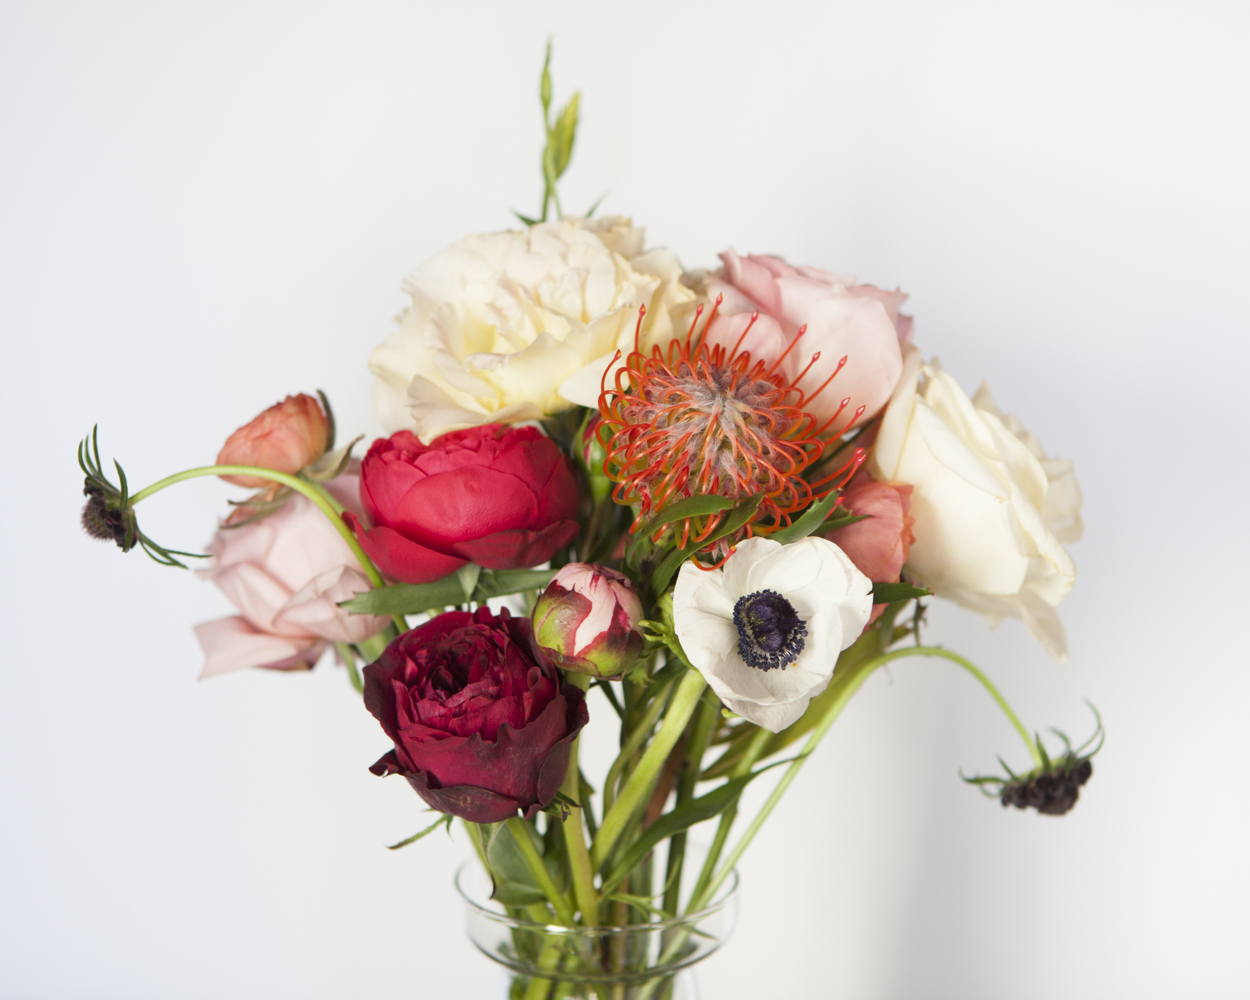
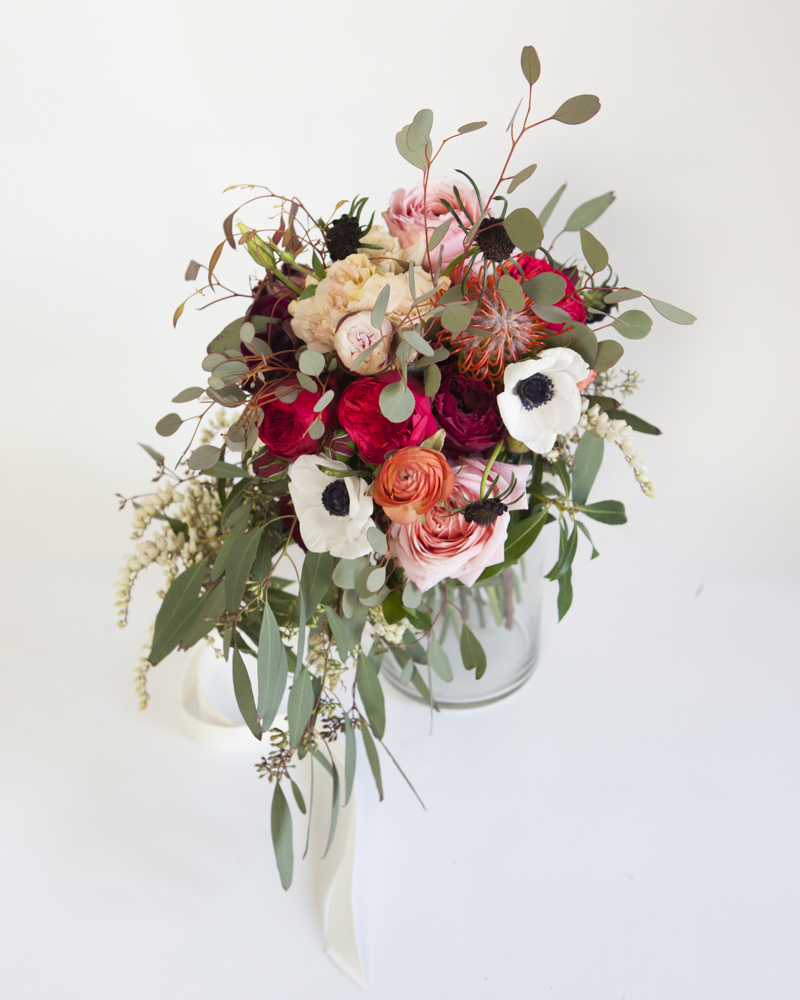
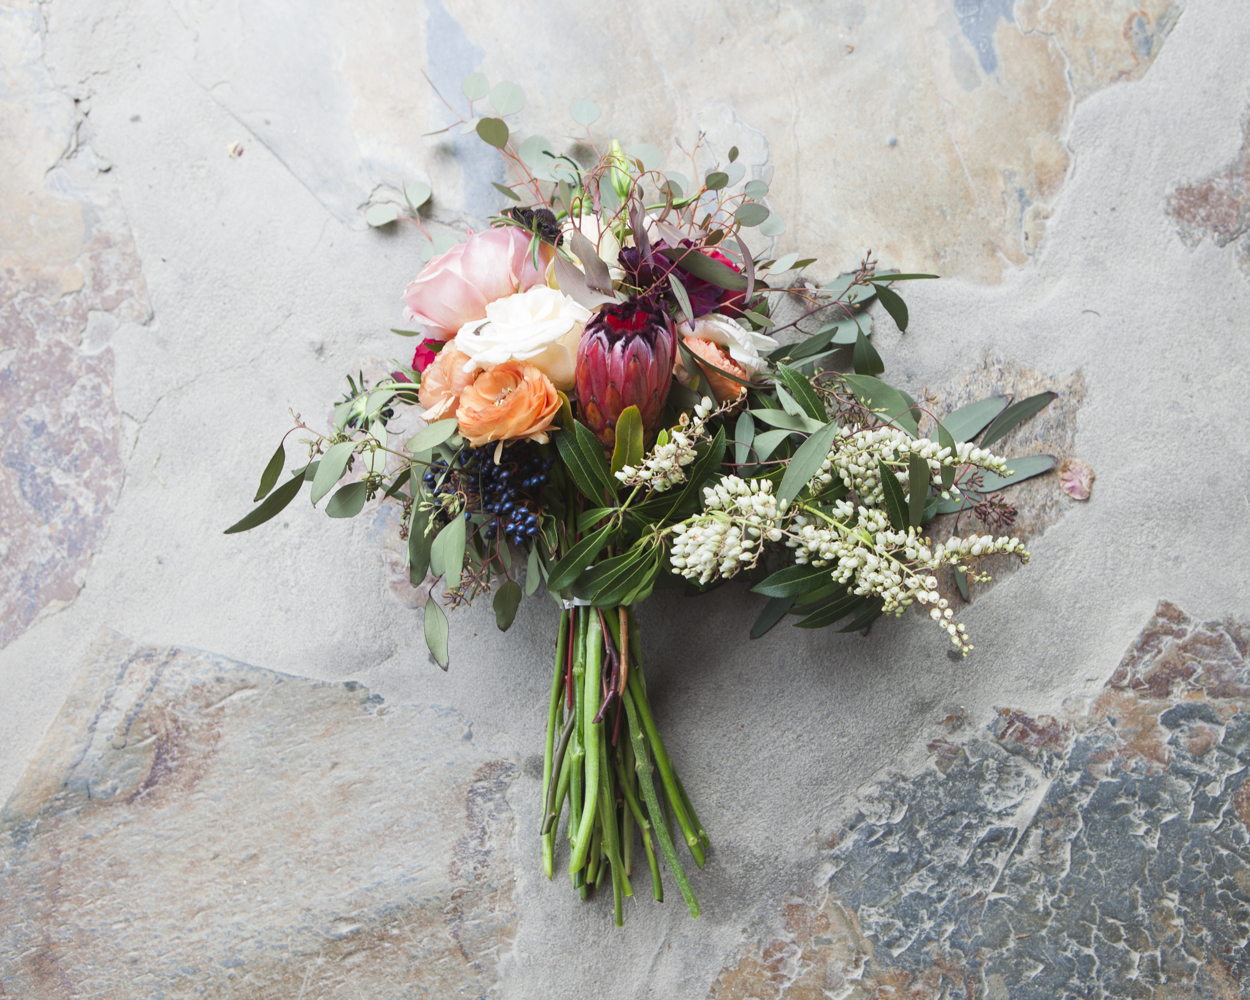
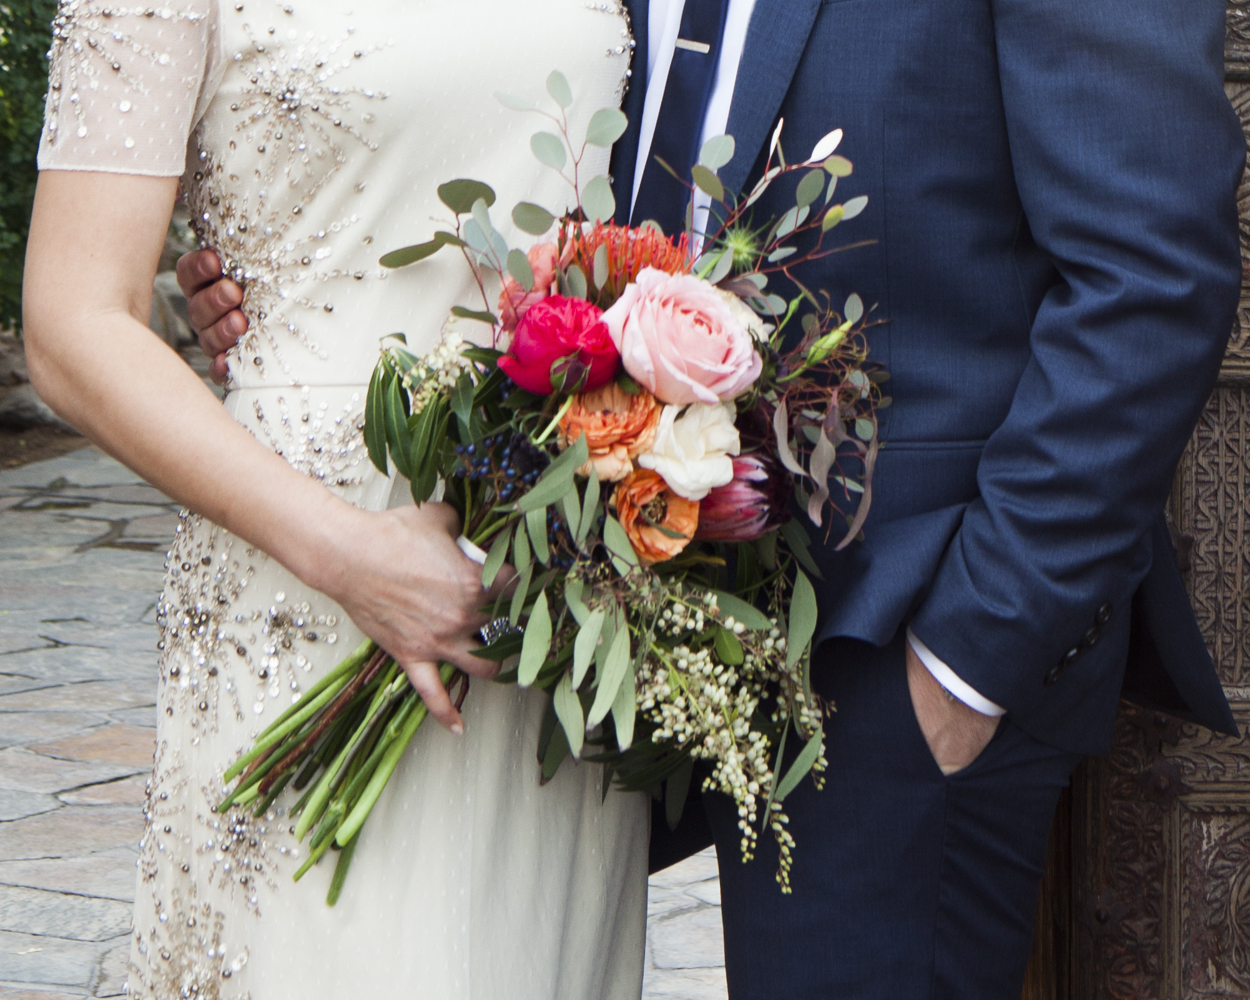
We love the look of a bare stem wedding bouquet!  It really allows the flowers to pop and have a strong presence and it is a great option whether you are using bold flowers or minimalist flowers. Today we have put together a rustic wedding bouquet that makes our eyes so happy! If you are making your own bouquet, you get to pick everything you want and we suggest going stem by stem like we did to end up with the perfect arrangement.  Happy arranging!


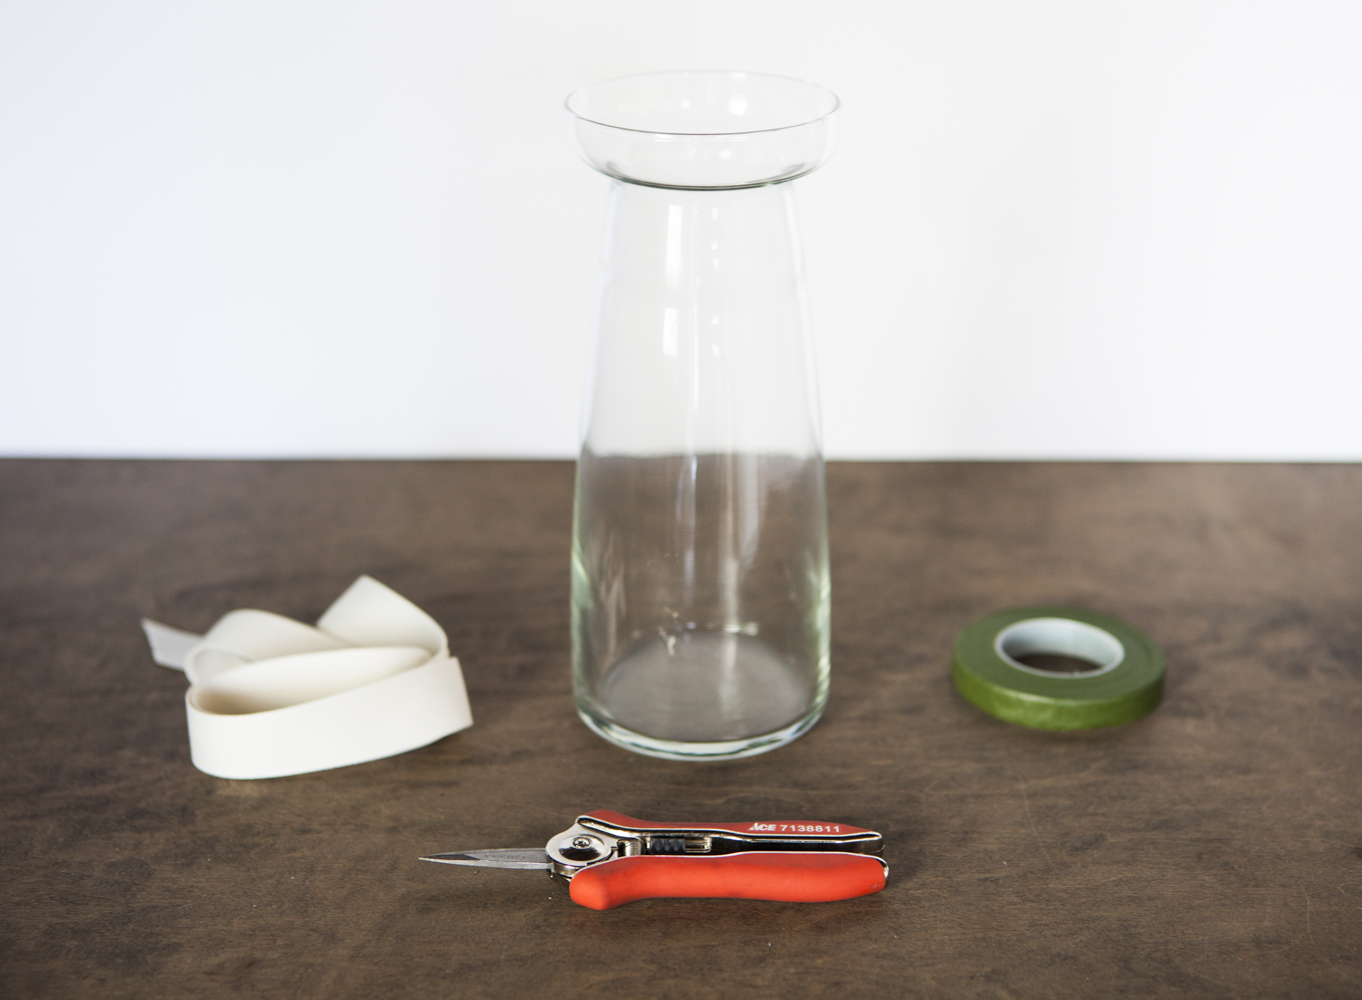
What we used :  Tall Glass Vase / Clippers / Floral Tape / Ribbon / Boutonniere Pin / Lots of Flowers
Bare Stem Rustic Wedding Bouquet Tutorial
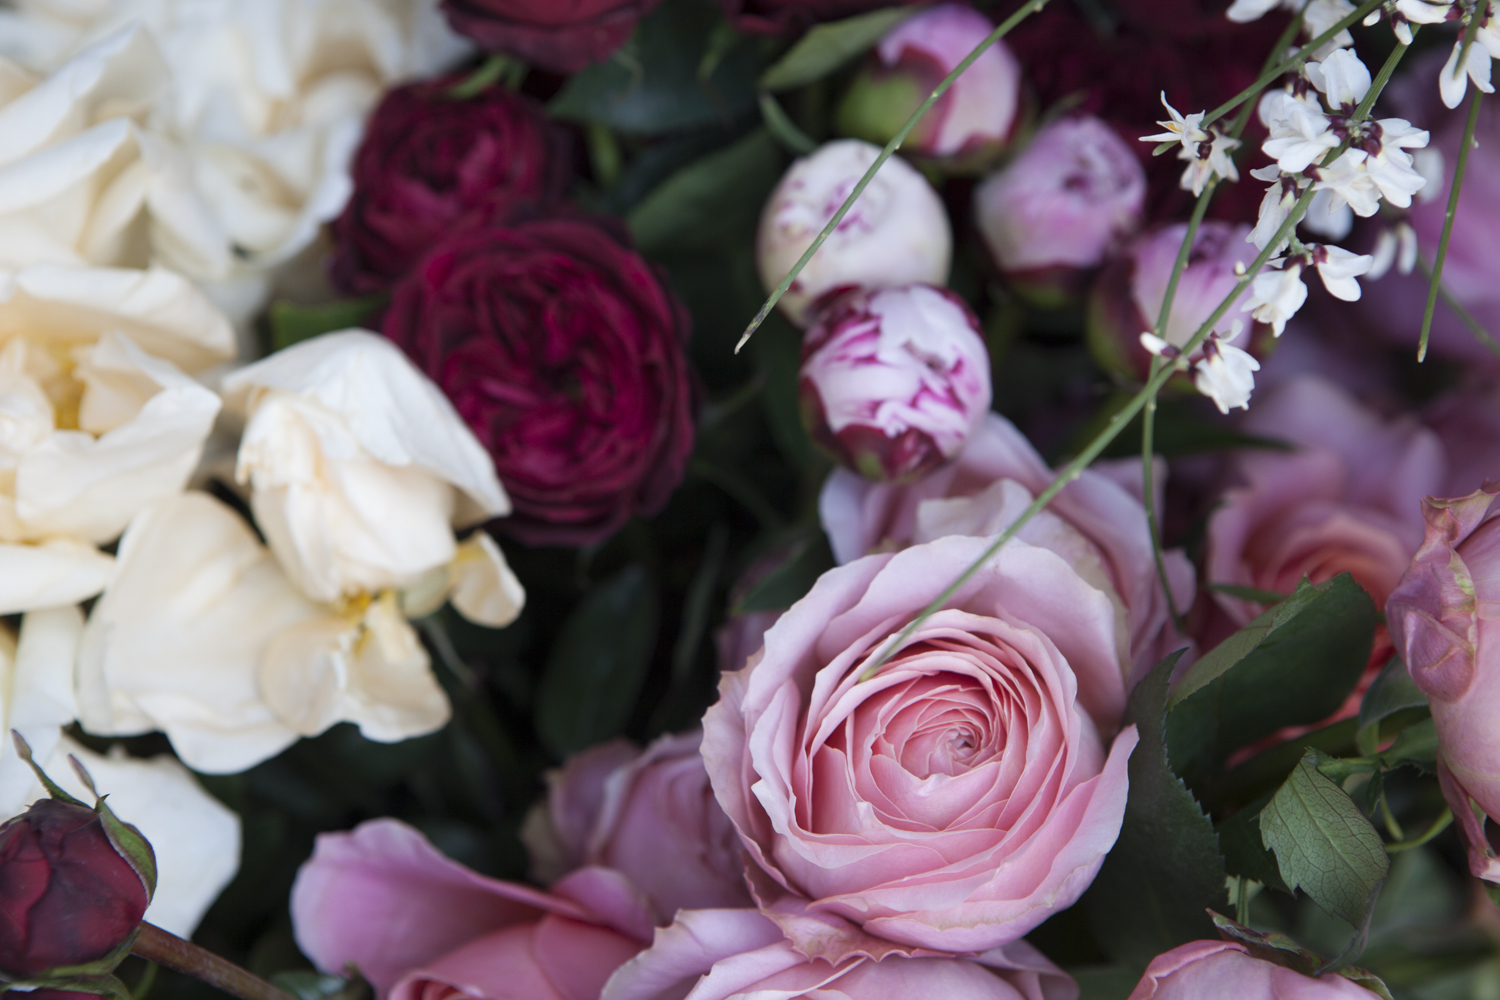
Rustic Wedding Bouquet Ingredients
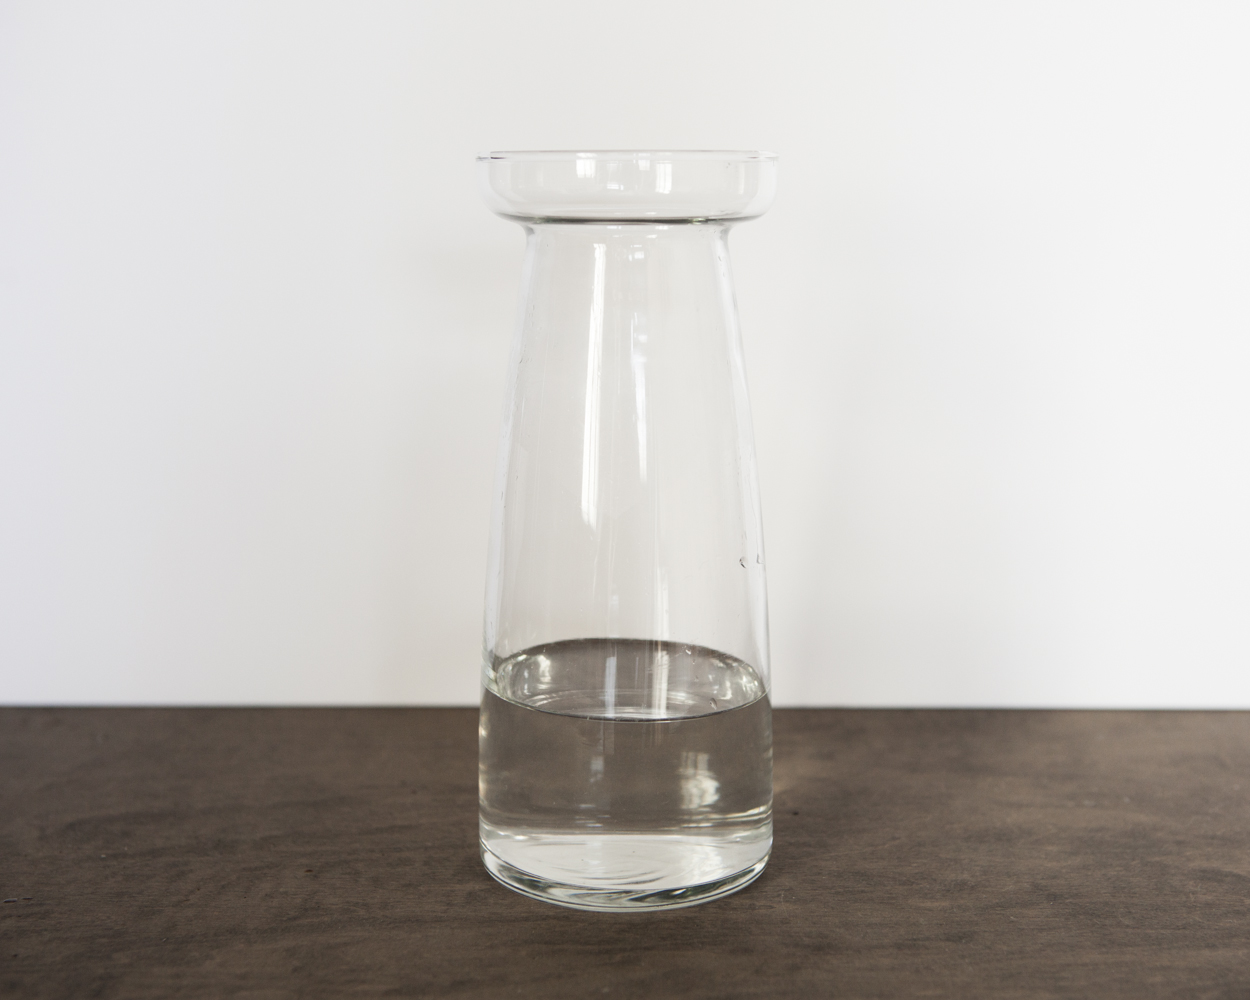
Start by filling your vase with a few inches of water so that the fresh cut stems will be happy while you work!  It is best to use a vase that has an opening that is about the same width as you want your bouquet handle to be. That way you can use it as a guide as you go.
How to Make a Bare Stem Wedding Bouquet
Then, starting with your base flowers, trim all leaves from each stem as you go.  Add your base flowers one by one to your vase.   You may want to lead extra length on the stems so that you have room to trim them later.
Bare Stem Rustic Wedding Bouquet Tutorial
Once you have added some of your base flowers with clean stems, you can start adding in your interest pieces.
How to Make a Bare Stem Wedding Bouquet
Fill in the spaces as you go, turning the vase to get an ideas of how it looks from all sides as you add stems and move them around.   You may want to trim stems once the vase starts to fill up so that the heights are correct.
How to Make a Bare Stem Wedding Bouquet
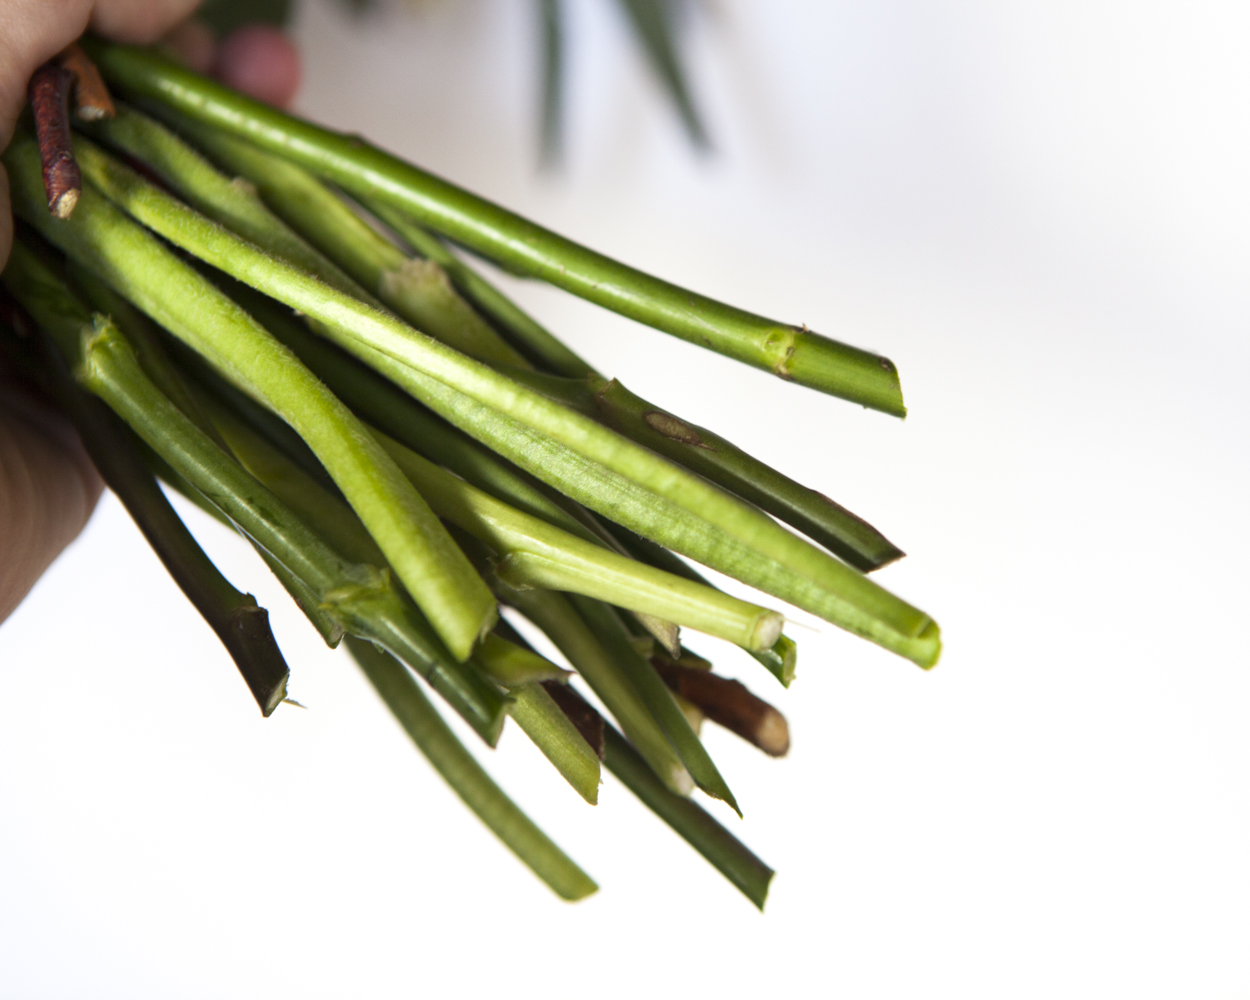
Once you get it to a place where you love the arrangements of all of the stems, grasp them stems and lift the flowers out of the vase.  Holidng the flowers tightly, trim the stems to the same length.
Bare Stem Rustic Wedding Bouquet Tutorial
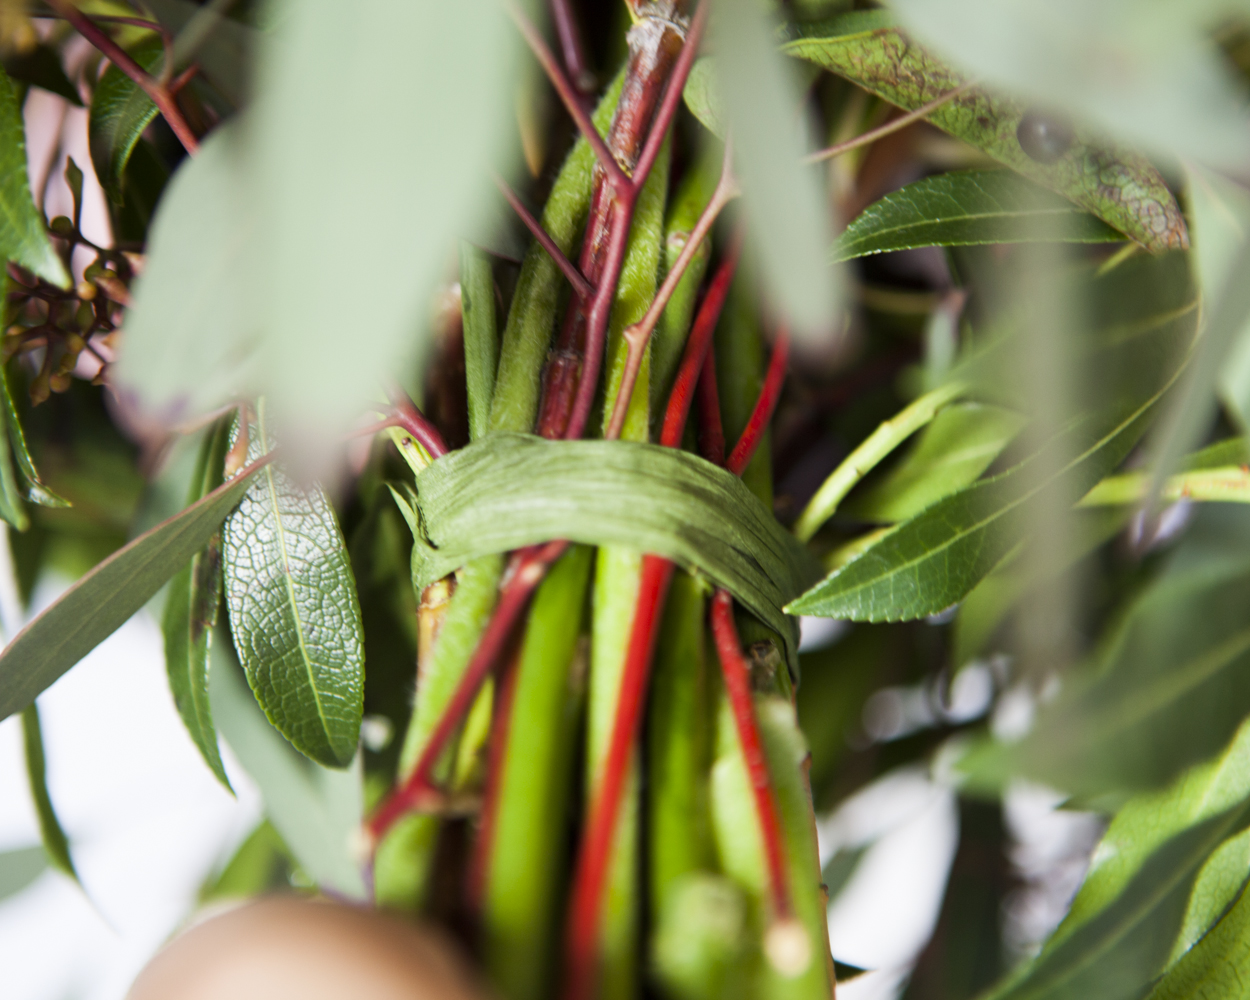
Then, take the floral tape and wrap the base of the stems very tightly multiple times.  Make sure all of them stems feel secure.
Bare Stem Rustic Wedding Bouquet Tutorial
Once the stems are secure, return the bouquet to the vase and add greenery and final flourishes like berries.  To do this, slip the stems under the floral tape.  This will add to the security of the bouquet by making the tape extra tight.
How to Make a Bare Stem Wedding Bouquet
We added some large pieces of eucalyptus at the end to give our bouquet a rustic feel.
How to Make a Bare Stem Wedding Bouquet
When your bouquet is finished, take a white ribbon and wrap the stem a couple times over the floral tape, and secure the ribbon with a pin, sinking the end of the pin into a stem. You can also tie the ribbon instead if you want to keep the ribbon long, like in the picture above. If you pin it in place it will be barely visible like the picture below. Keep the bouquet in water until you are ready to use it! When you take it out of the water for the last time, just pat the stems dry with a towel to keep you and your dress dry!
How to Make a Bare Stem Wedding Bouquet
And there you have a wedding-ready bare stem bouquet!
Bare Stem Rustic Wedding Bouquet Tutorial

Thursday, 13 March 2014

DIY : Mother's Day Mini-Book Gift Idea

This is a tutorial on how to make a mini-book for you mother, since Mother's Day is approaching, you don't want to forget her day!


I made it pocket-size, 2"x3.5" (also business card size). I made a list of 10 things (of course there are way more than 10:)) that I wanted to include in the book. I designed some cards with the numbers 1-10 on them (see below) and then went through my stash of paper, old magazines, etc. to find images/papers to cut out to also go in the book. I found images/papers that relate to memories or characteristics about my mama. For example: I found a picture of lighthouses- one of my favorite memories from my childhood was going to the beach with my family and seeing a lighthouse. I also cut out sheet music because my mama would sing to us, and some retro-kitchen-ey paper- she loves to cook (and is an amazing one at that:)), as well as some old sewing pattern paper because I remember being amazed that she could sew and mend our clothes. :) To have a few more papers mixed in with my "10 Things", I recycled some old thank you notes, writing paper, and even cut up some used security envelopes(security envelopes come in all sorts of patterns and colors!). I wanted to put these in to glue pictures to, jot extra notes or memories on, etc.
Want to make your own? Below are the cards I designed to use in the book. Simply click on the image to enlarge it, right click, save and print. The gray lines are the cutting guides, and the circle in the upper left hand corner is where you hole-punch it.

All you need is:
+ Cardstock to print the cards on
+ A hole punch
+ A binder/jump ring (available at your local craft or office supplies store) -- or your could use ribbon!
+ A pen to write with
+ Pictures

You can also use these cards for any loved one in your life- they don't necessarily have to be only for Mother's Day. :) Enjoy! :)


Wednesday, 19 February 2014

DIY ~ Rustic Lampshade made of Yarn


This lampshade is easy to make and looks rustic and unique! You only need a few things to create your own lampshade.

Requirements:

  • An old lampshade
  • Yarn of any type or thickness
  • 2-3 bottles of school glue or tacky glue
  • 2 cups of water
  • Plastic wrap
  • Wire cutters, Needle-nose pliers and wire (optional, as needed in order to attach the lamp shade to the base)
  • 1/2 cup of cornstarch (this is optional, so don't worry if you don't have it on hand)
  • Large bowl & whisk or spoon
  • disposable gloves (optional, but highly recommended)
Instructions:
First, lay out a towel on the ground or at your work area (or newspapers). Take out the plastic wrap and cut off a piece to wrap around the lampshade. Once fully around it, you may want to go to the inside of it to add a few pieces of tape here and there to secure it to the lampshade. Once the plastic wrap is securely on the lampshade, we're ready to start making this!

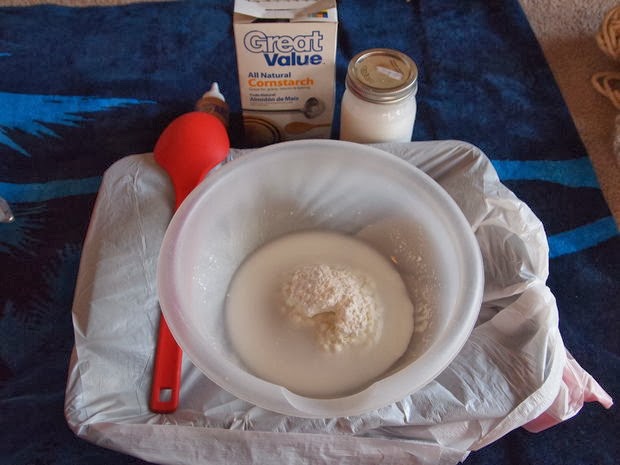
Take out the bowl and pour the glue in and mix it up. After mixing it, add the 2 cups of water and continue to mix. If you have corn starch, now you'll want to add that in last and use a whisk to mix it up so there aren't any clumps.

Then, cut out pieces of yarn about 6 feet long each (it doesn't matter if you cut them out longer or a bit shorter) - you can decide that as you go along. If too long, the pieces tend to form knots. You don't want them too short either. So, put a few of those yarn pieces into your bowl and dunk them in the glue mixture. Pick a piece up, and as you do, use your other hand to go over the piece to remove all excess or dripping glue from it before you wrap it around the lampshade. You can wrap it around as you please and as much as you like. Try to avoid any large gaping holes. If you do have gaping holes in it, after it is fully dry you will need to make sure the lamp is structured enough and may need to tie little pieces together to get rid of those gaping holes. So, avoid that by not leaving any massive spaces. Once you are happy with how it looks and how many pieces you've wrapped it with, you will then need to let it dry!

I hung mine up with a long piece of yarn and allowed it to dry in my house - it took 24 full hours for it to be 100% dry and solid. Once it is dry, you'll need to carefully loosen it up bit by bit to get it to slide off of your lampshade. I did this one area at a time, starting at the top of the lampshade - and it worked very well.

Once you have it off, you'll need to determine how to reattach it to the base of your lamp. This really depends on the lamp you have and the style of the base. With mine, you can see in the photos how I used pieces of wire to reattach it. I tried to keep it to a minimum and not make it too noticeable and I like how it turned out. Needlenose pliers work really well for bending the wires easily.

Source: instructables