Showing posts with label pillows. Show all posts

Monday, 10 March 2014

DIY ~ Flower Pillow For Mother's Day

This is truly unique and unconventional way to give flowers to your mother!
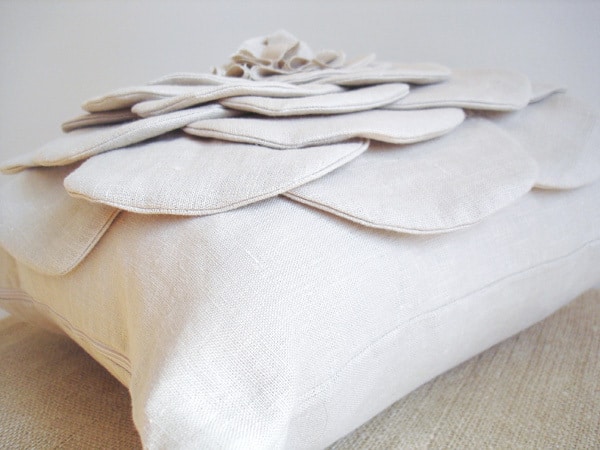
DSC020351 shabby flower pillow (a tutorial)

Supplies Needed:

fabric (linen here)
sewing machine
zipper (if desired)

Step 1:

Create your “petals”. 
Cut out a half-circle template out of cardstock. Place on a double layer of fabric and cut. Take your two layers of fabric and stitch around the curve.
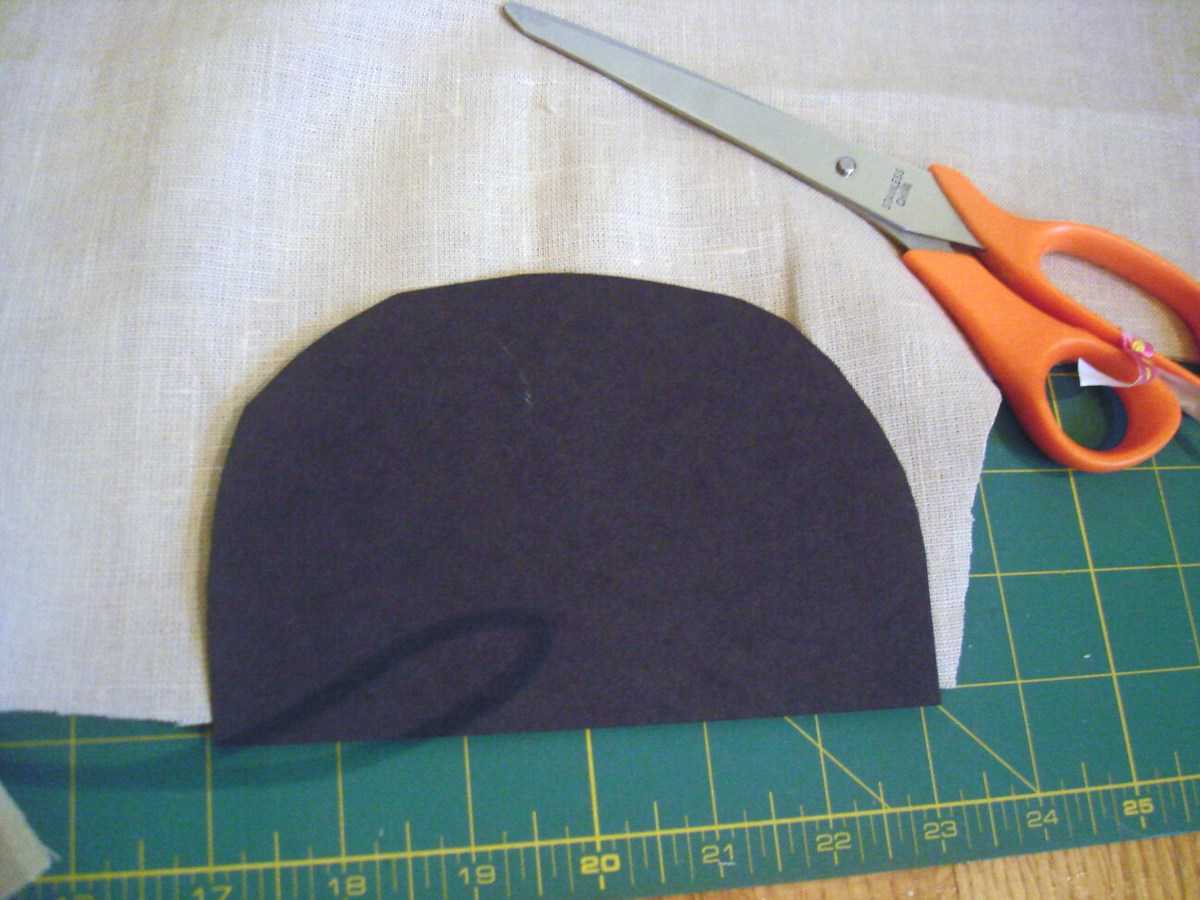
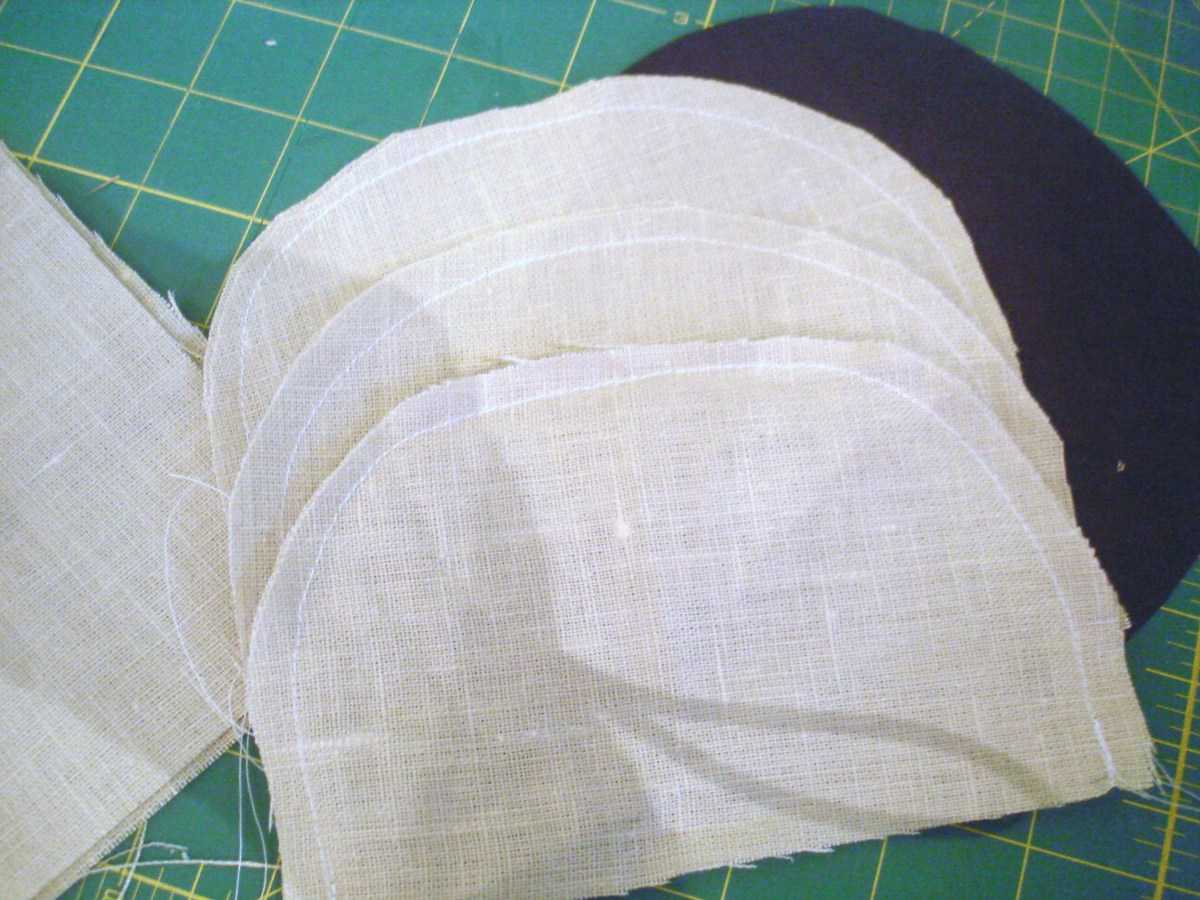
DSC01996 300x225 shabby flower pillow (a tutorial)DSC01997 300x225 shabby flower pillow (a tutorial)
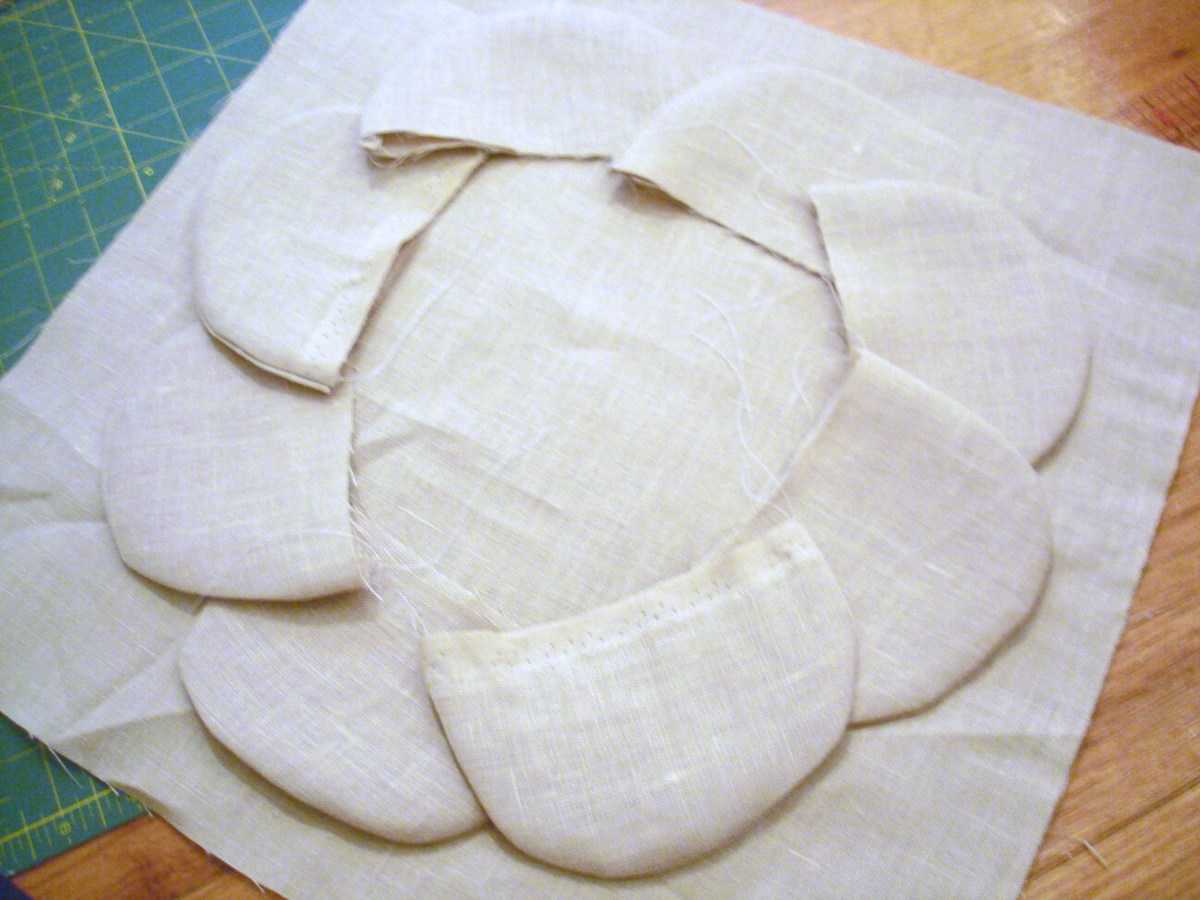
Step 2: Take sew petals and turn inside out. Press flat. Take petals and arrange your first layer on your pillow fabric.
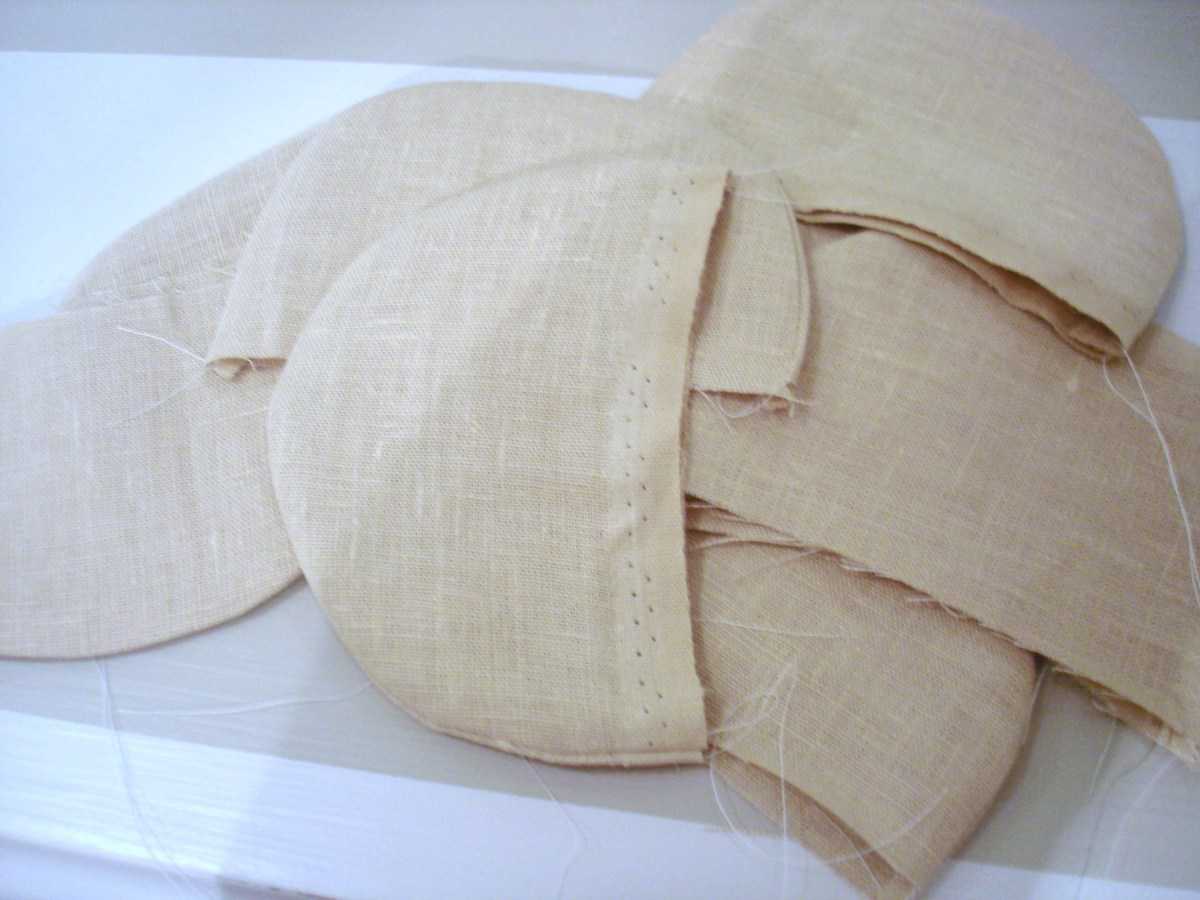
DSC02000 300x225 shabby flower pillow (a tutorial)DSC02002 300x225 shabby flower pillow (a tutorial)
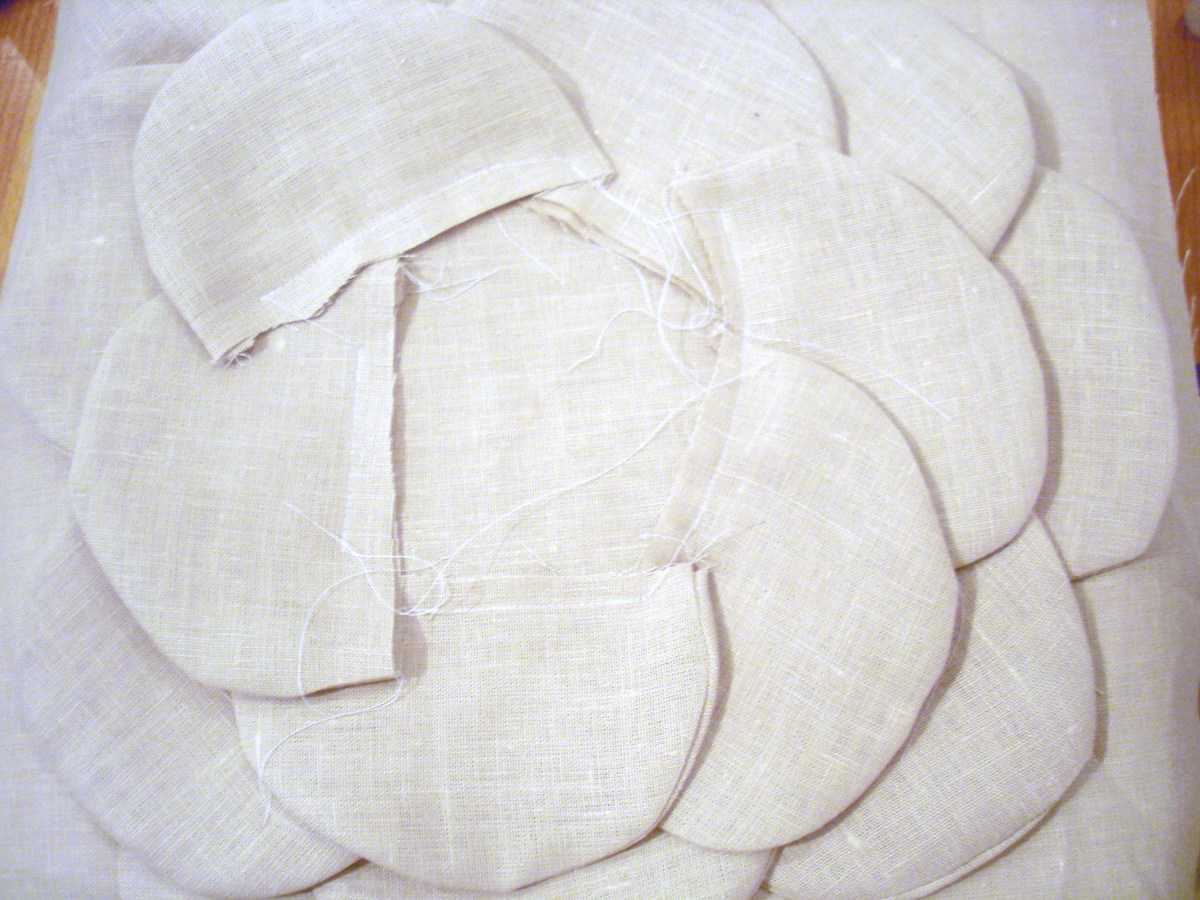
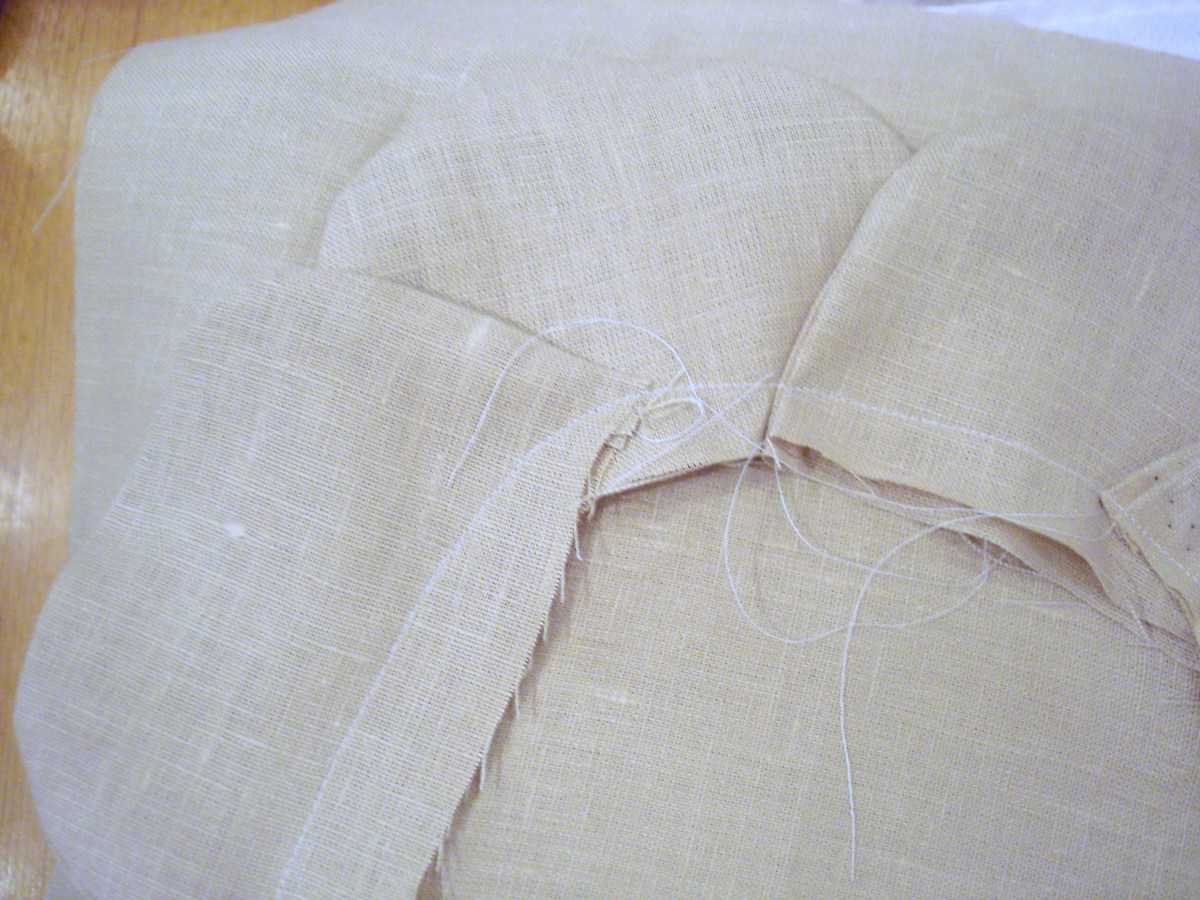
Step 3: Stitch petals down to fabric. Repeat for second layer of petals.
DSC02003 300x225 shabby flower pillow (a tutorial)DSC02004 300x225 shabby flower pillow (a tutorial)
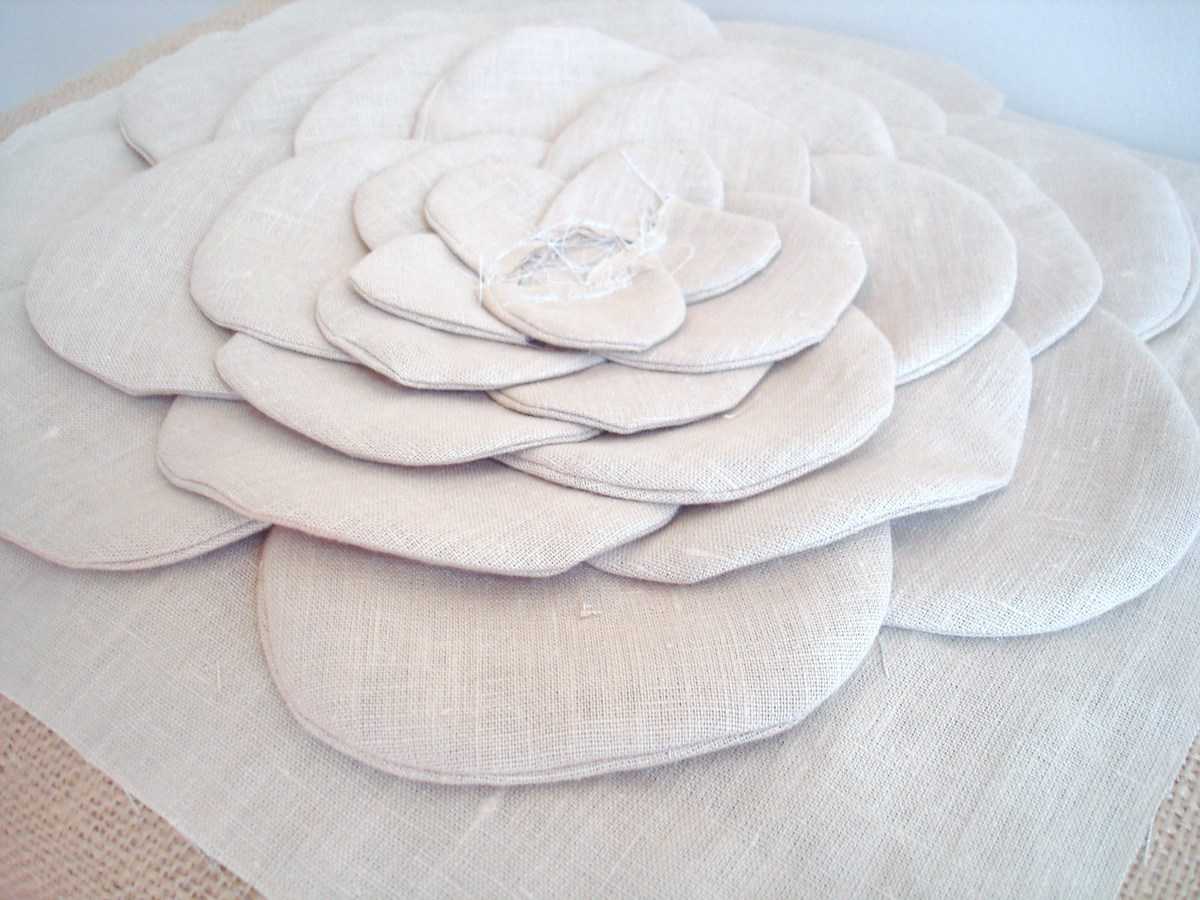
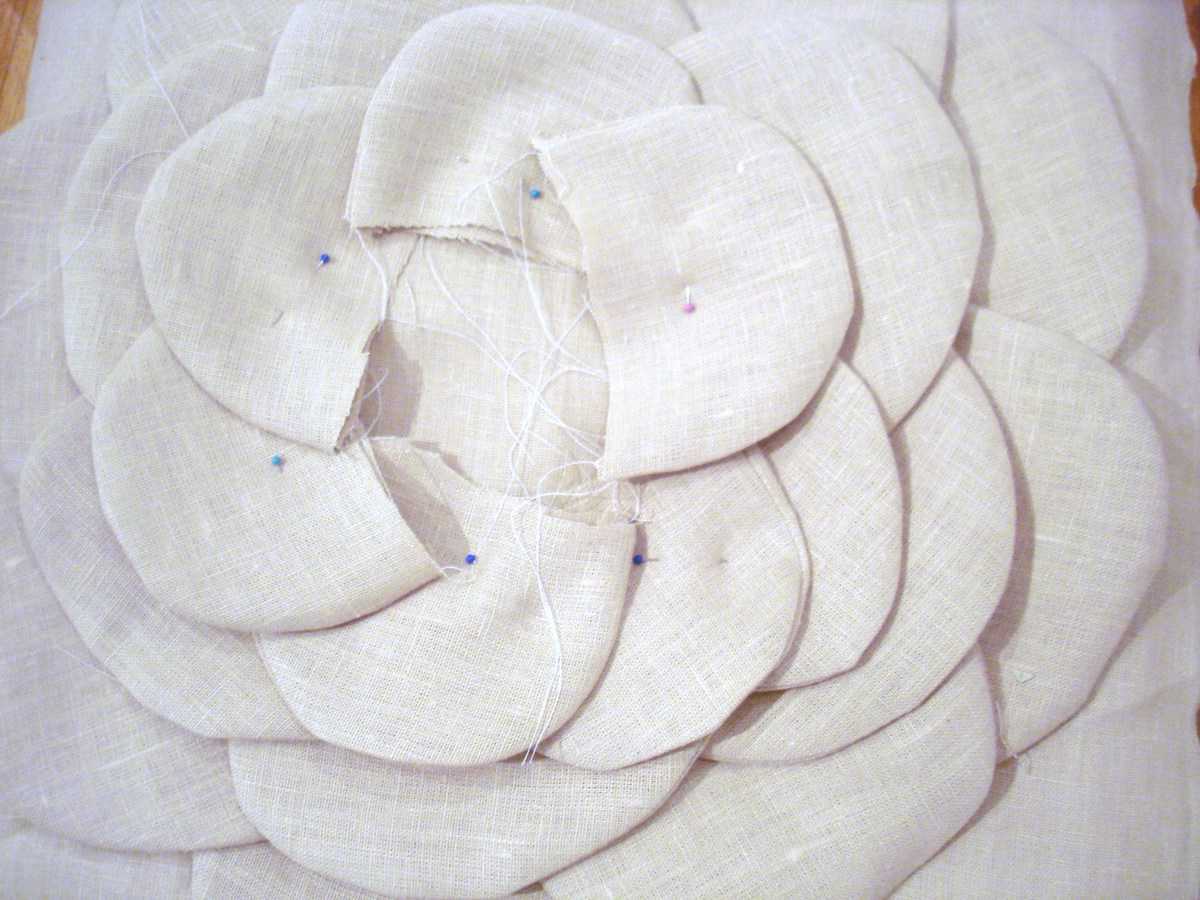
Step 4: Continue creating petals and attaching them to pillow front. Here we did 5 layers total, and, for layers 2-4, we cut down the template and made the petals slightly smaller. Then cut down the template further for the fifth and final layer.
DSC02011 300x225 shabby flower pillow (a tutorial)DSC02019 300x225 shabby flower pillow (a tutorial)
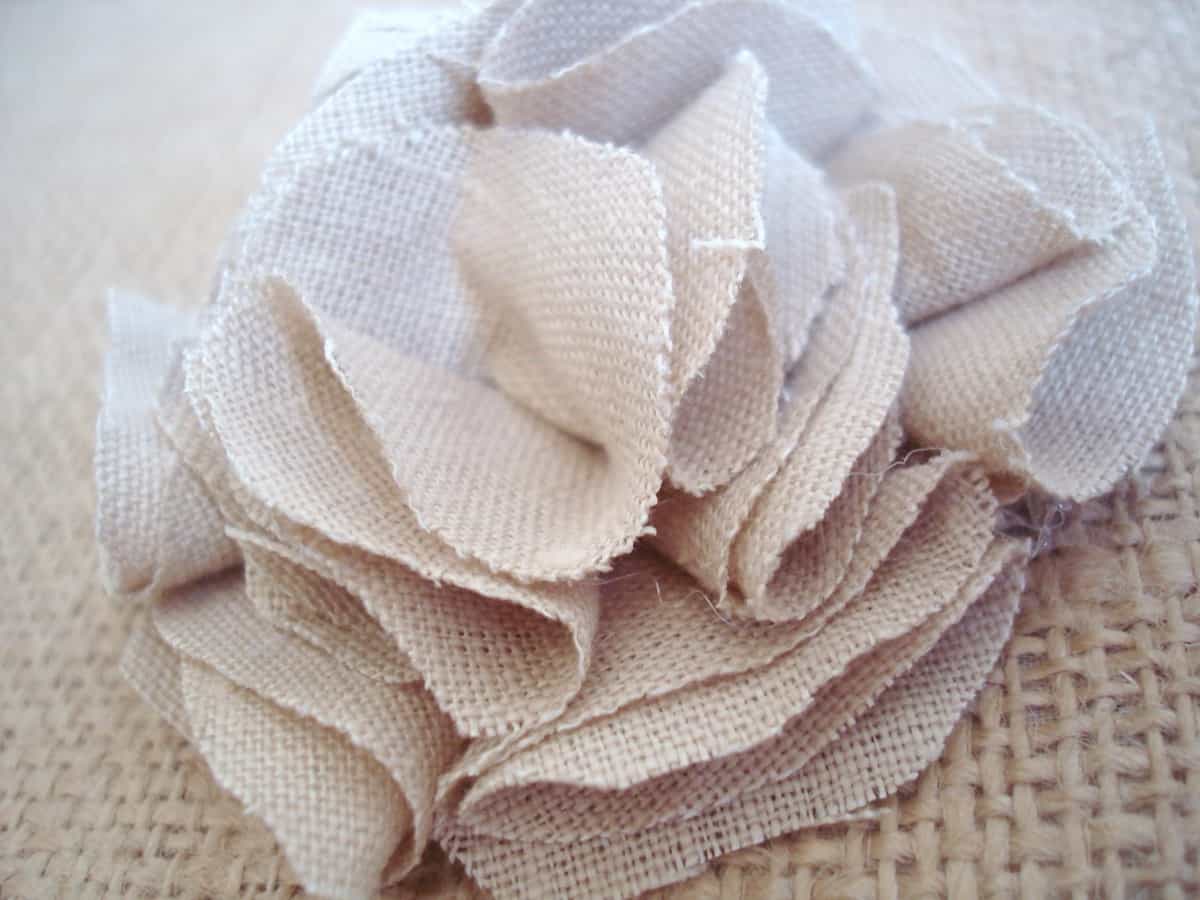
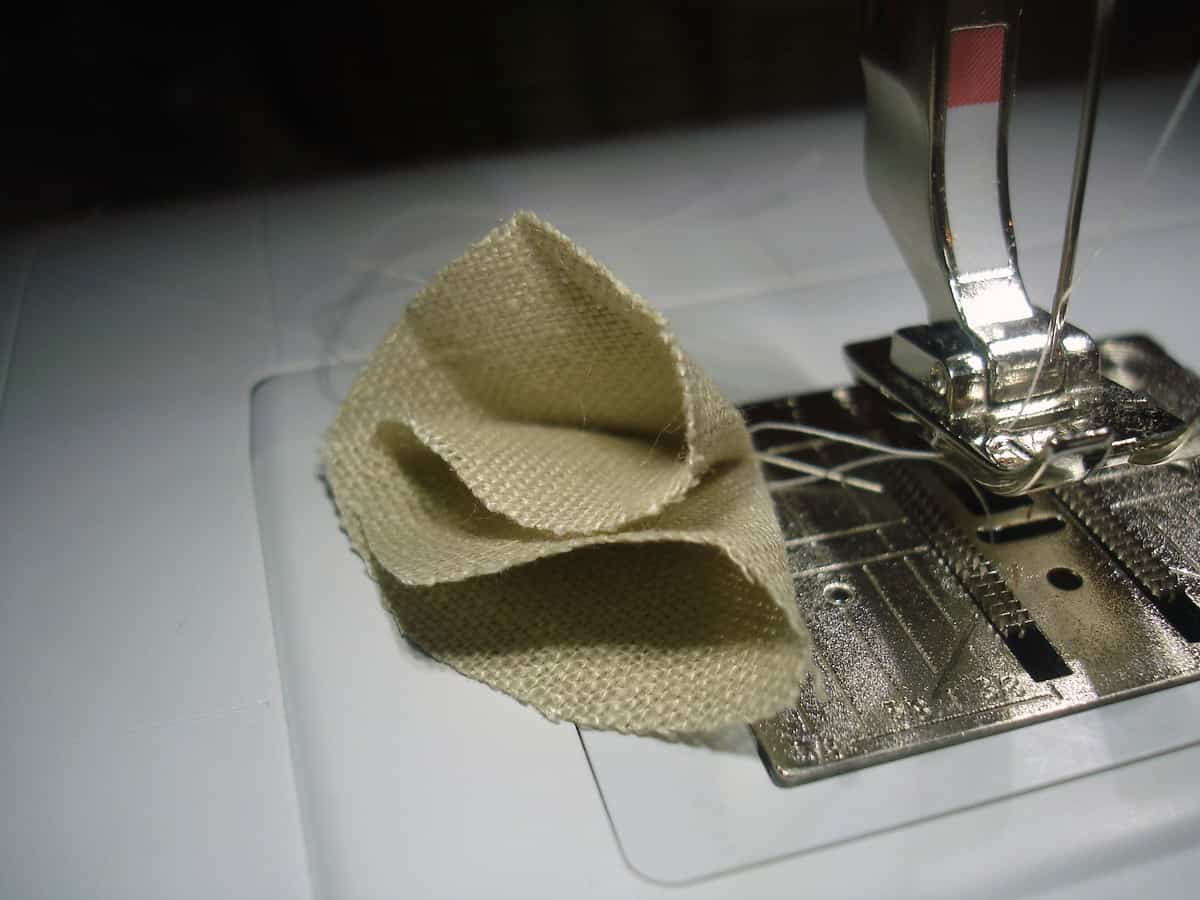
Step 5: Almost there! Now you are ready to create your flower’s center. We did this by taking small circles of fabric and folding them once (into a half circle) and again (folding them into a cone shape). Either hot glue or sew your petals shut. Take your petals and hot glue them into a circle onto a small piece of fabric. Once your outer circle is complete, continue layering and working into the center of the circle.
DSC02014 300x225 shabby flower pillow (a tutorial)DSC02020 300x225 shabby flower pillow (a tutorial)
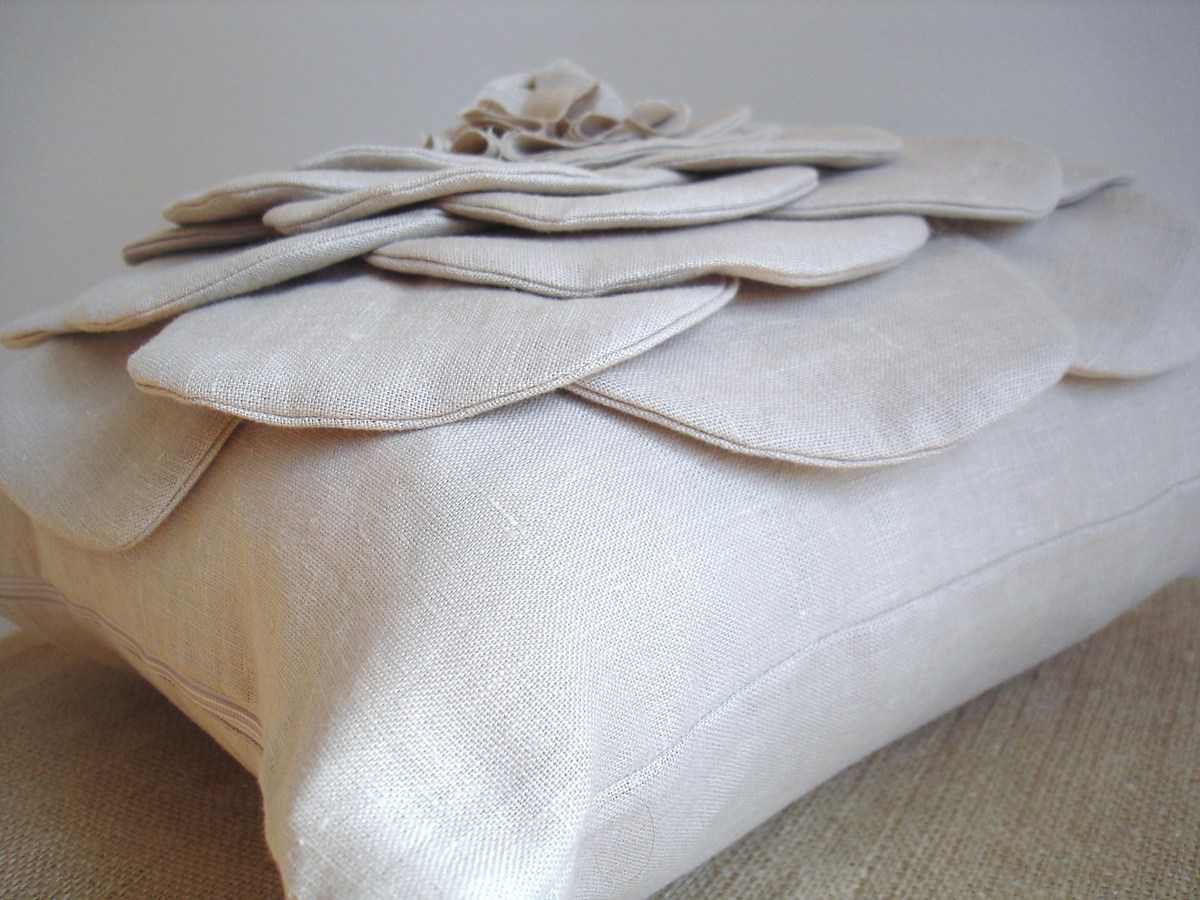
Step 6: Glue or stitch your flower’s center onto your pillow fabric. Lastly, sew your pillow together in the method of your choice!
Wednesday, 20 November 2013

Christmas Countdown: 34 Days ~ 8 DIY Christmas Advent Calendars for Kids


Christmas advent calendars are not only so much fun to make but create a family tradition that your kids will remember for years to come. 

So here are 8 of the best DIY Christmas Advent and Christmas Count Down Calendars with free tutorials and pictured instructions so you can easily make them at home and for your kid's room.

1. Knock-Off Ballard Designs Advent Pillow

You can use a felt gingerbread man, or a candy cane, a small Christmas cookie cutter, whatever you like. Read more


2. Cute elves Advent Calendar

Create a whimsical gang of elves to help you count your way through Advent.  Read more

3. Small Village Calendar

Here is a village of small houses with retro prints, filling in secret surprises to wait dwarves before the arrival of Santa Claus. Read more


4. Paper Bag Advent Calendar

This Christmas craft tutorial shows you how to make a simple advent calender using brown paper bags, string and pegs. Read more


5. Santa Calendar

This is the "What are you looking forward to about Christmas?" Santa. you have to ask one question each morning and your kids will know it's something you like to do. Read more

6. Santa Beard Countdown

Say hello to a less-hairy Santa. But don't worry, he won't be beardless for long because every day during the month of December, you will be adding a cotton ball to his face to form a fluffy, white beard! Read more


7. Woodland Christmas Calendar

This is endlessly customizable! Set up a barn scene with pigs and cows, or create a garden with tiny animals and flowers. Read more


8. Tree Houses Christmas Calendar

The gold and black design really pops when it’s backlit with Christmas lights. Plus you can make tiny houses for small treats (gum, hair clips) and larger ones to accommodate bigger items like coloring books. Read more


Happy Holidays!