Crafting has always
been a popular hobby for millions of people. If you want to start a
new hobby or teach creative activities for children, making beautiful
crafts from different materials is a nice option. You do not have to
be an artist or an exceptionally gifted person to make handmade
crafts. As long as you have the right motivation, talent, and a bit
of patience, you can become a crafts master in no time.
Although many people
consider crafts making as a hobby, you can actually get more benefits
from this kind of activity. So here are some of the most amazing
benefits you can enjoy from creating hand crafted items.
Creating Handmade Crafts Can Soothe Your Senses
 You probably know
already that some people create works of art to fight stress. They
usually paint, sketch, or sculpt. Others resort to woodworking,
origami making, or metal crafting when they want to relax. Like these
activities, crafting can help your mind and body to relax. The
process of creating something beautiful from scratch can effectively
take your mind away from your problems. So if you want to soothe your
senses and forget stressful thoughts, try making hand crafted works
of art today.
You probably know
already that some people create works of art to fight stress. They
usually paint, sketch, or sculpt. Others resort to woodworking,
origami making, or metal crafting when they want to relax. Like these
activities, crafting can help your mind and body to relax. The
process of creating something beautiful from scratch can effectively
take your mind away from your problems. So if you want to soothe your
senses and forget stressful thoughts, try making hand crafted works
of art today.Crafting is Cheap and Easy
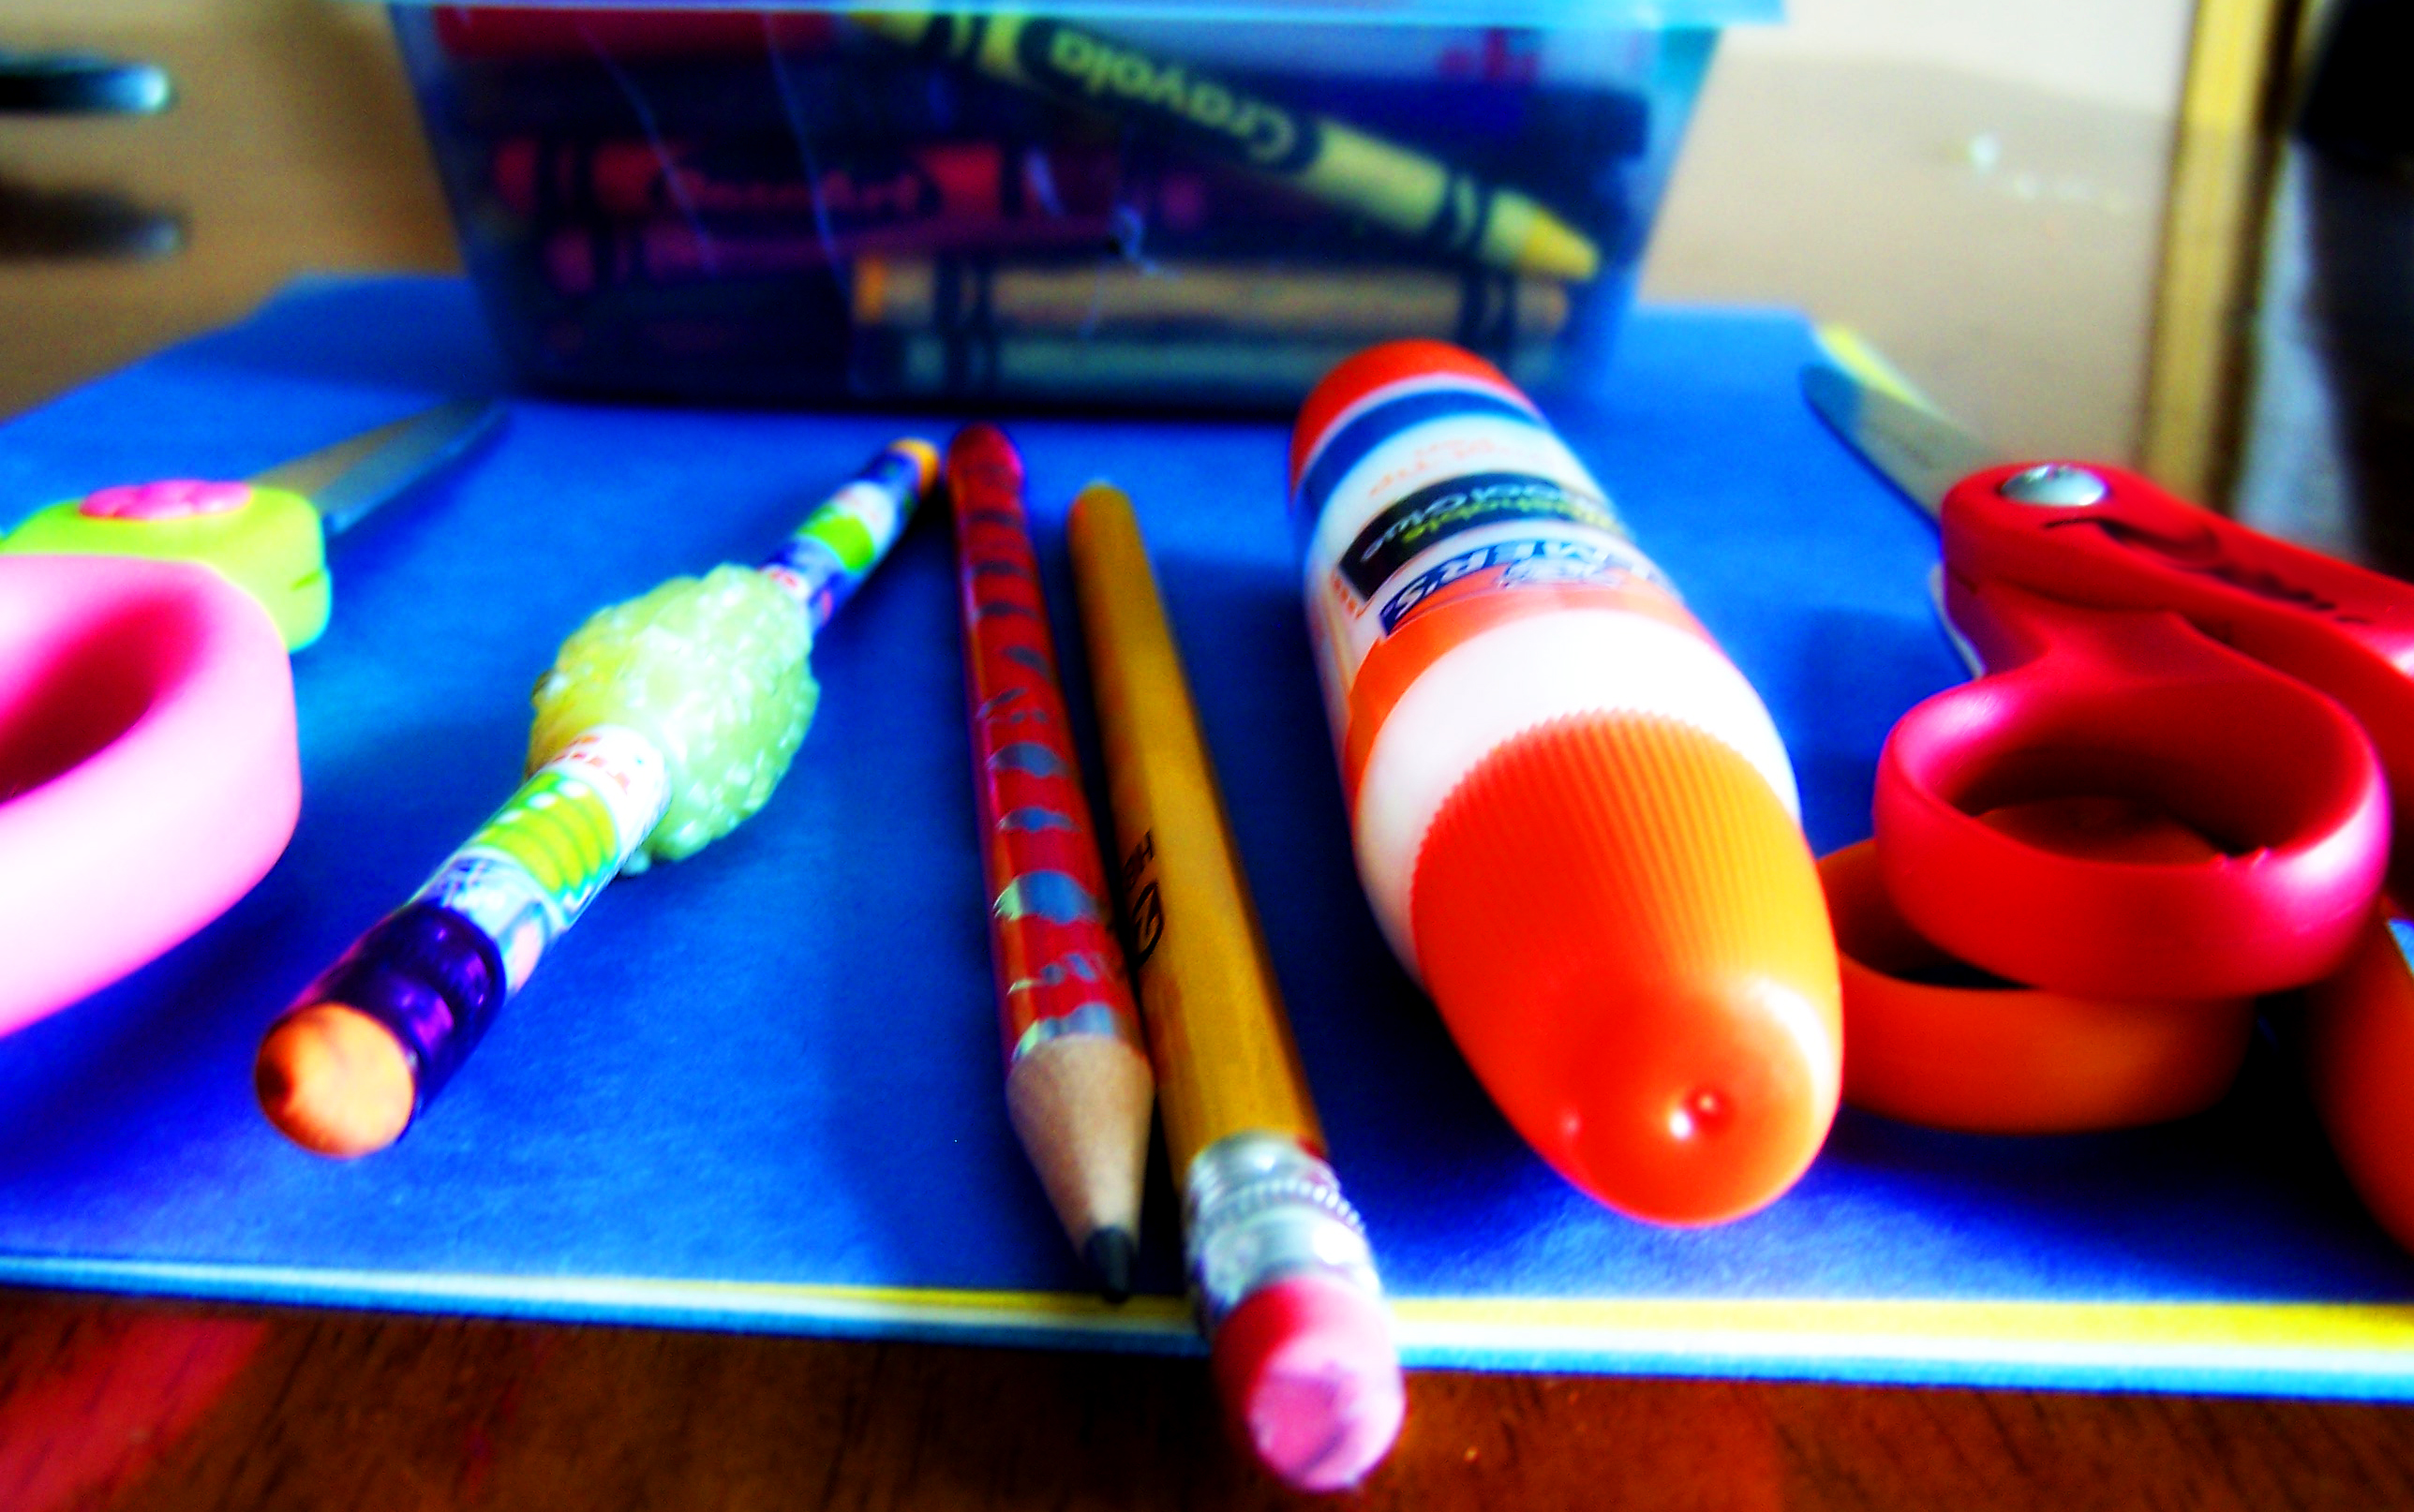
 As mentioned
earlier, almost everyone can become a crafts master. It only takes a
little bit of creativity to make something special out of the
ordinary things you see everyday. This hobby does not really require
expert skills. As long as you are properly motivated, you will be
able to create different crafts that you can be proud of. But the
best thing about handmade crafts is the fact that they are very cheap
to produce. In fact, you can just use recycled items, junk items, and
discarded things. There is no need for you to buy expensive art
materials and tools.
As mentioned
earlier, almost everyone can become a crafts master. It only takes a
little bit of creativity to make something special out of the
ordinary things you see everyday. This hobby does not really require
expert skills. As long as you are properly motivated, you will be
able to create different crafts that you can be proud of. But the
best thing about handmade crafts is the fact that they are very cheap
to produce. In fact, you can just use recycled items, junk items, and
discarded things. There is no need for you to buy expensive art
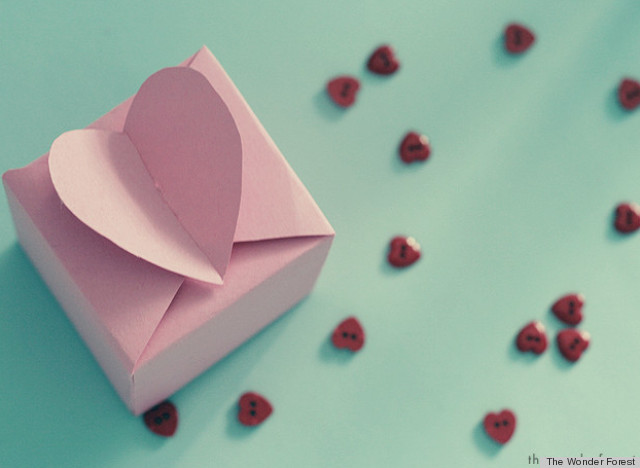
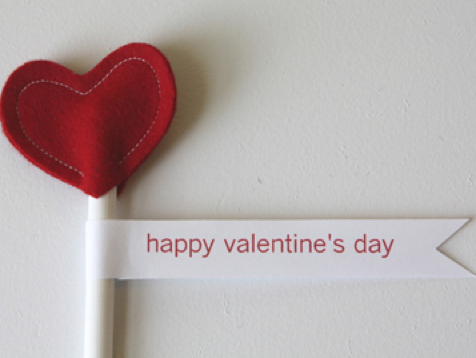
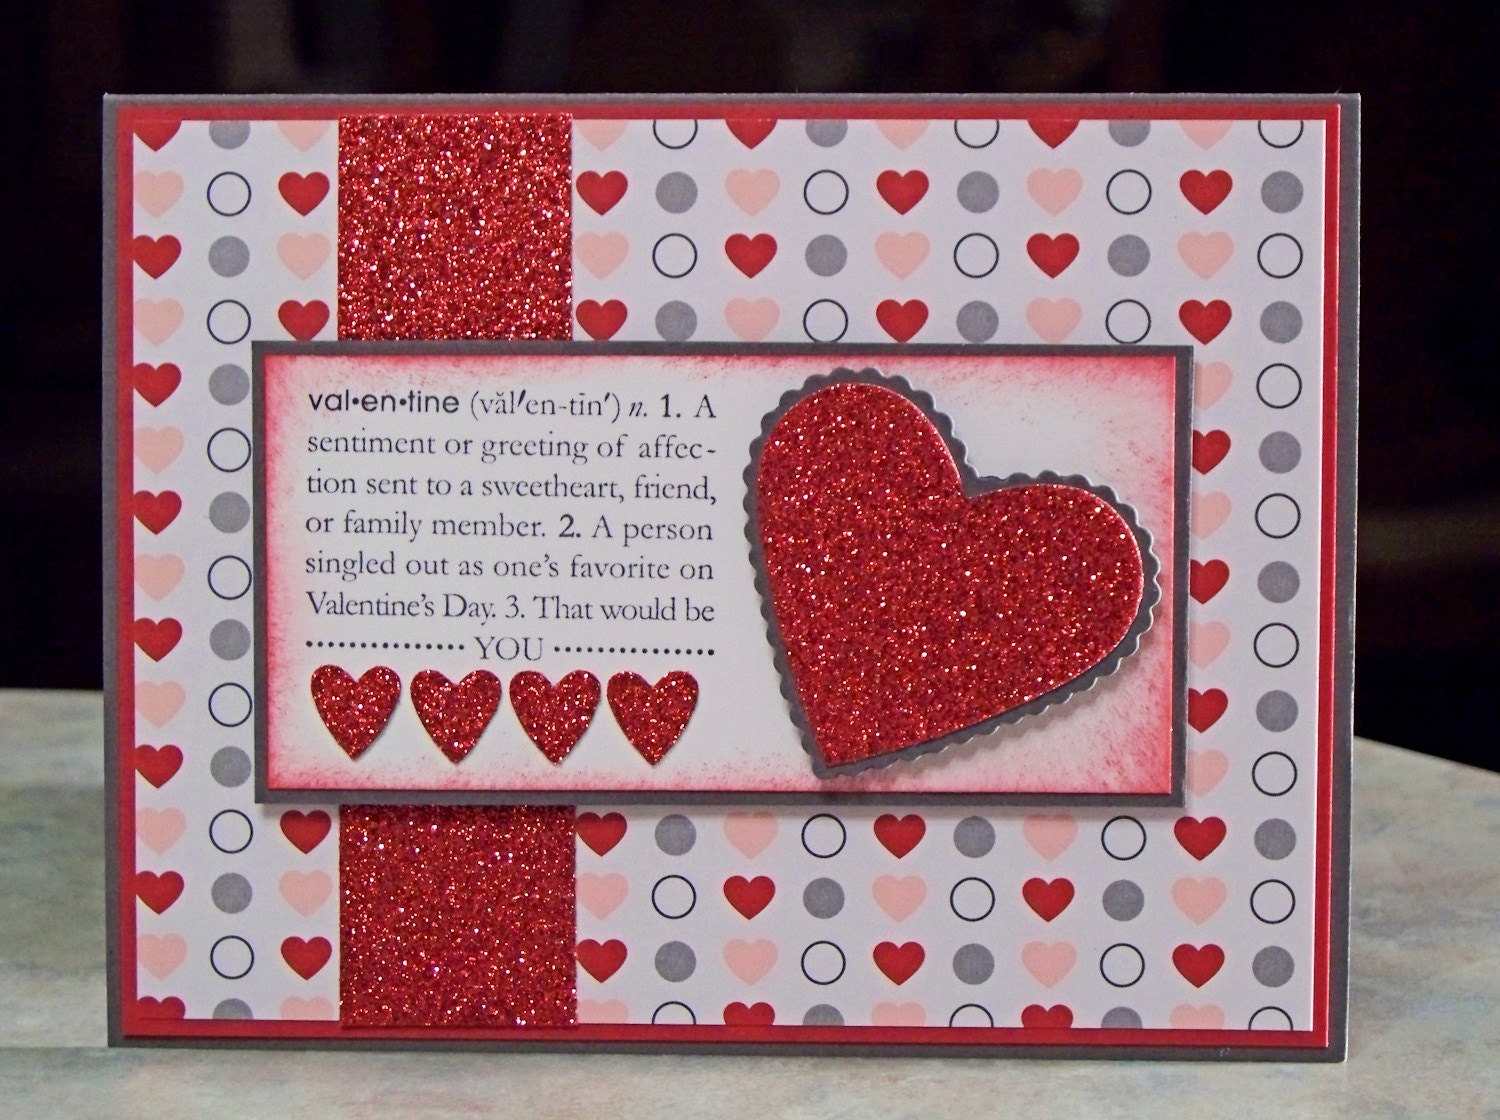
materials and tools.Crafts are Perfect Personalized Gifts
Making Money from
Crafts
If you want to sell your lovely products or buy the others we have make sure to visit www.misi.co.uk :)