Showing posts with label photography tips. Show all posts

Wednesday, 4 December 2013

How to Make Good Indoor Photos

In order to share all of your wonderful crafts with others (and hopefully sell them) you need to know how to photograph crafts for online posting. A good craft photograph can make all the difference in whether or not your craft sells or is ignored.

In this series of posts we'll give you valuable guidelines for making quality photos.


Location:

The very first step in photographing your crafts is picking the location to photograph them. There are a couple of places you should never take craft photographs:

  • Never photograph your crafts on your bed (unless of course you are photographing a quilt) 
  • Never photograph your crafts with a cluttered background (no curious cats, random yarn, or dinner plates please) 
  • Never photograph your crafts in the dark


Now, on to where you should photograph your crafts:

  • Photograph your crafts in a well-lit area 
  • Photograph your crafts with a plain contrasting background (white for dark crafts, black or brown for light crafts)

Monday, 18 November 2013

Photography Tips ~ 5 Tips to Take Great Product Photos with your Smartphone

If you don’t yet have the funds to invest in camera equipment, buy yourself time by learning how to take great product photos with your smartphone.


Smartphones have drastically evolved over the last few years to include cameras advanced enough to snap professional quality images, especially for viewing on the web. But just because your smartphone can take high quality pictures doesn’t mean it’s going to turn out perfectly the first time around.

Here are some simple guidelines on how to improve the product photos you take on your phone:

1. Get Close

Many cell phone cameras, especially the iPhone, really start to shine when you bring them in close to your subject. The small sensor provides a relatively wide depth of field  so you can get entire objects in focus where cameras with bigger sensors and longer lenses would have trouble.

When getting close, you can also usually have more control over the lighting of your subject. Are bright patches in the background of your composition throwing off the camera's meter and making your subject dark? Get closer and block it out all together. Small detail shots can be quite effective if done right.

2. Crop, Don't Zoom

Many smartphone cameras offer a digital zoom function, but you're almost always best served by pretending it doesn't exist. Even in the liveview preview, you'll be able to see how noticeably your images degrade the second you start to "zoom." The camera is simply extrapolating what's already there and basically guessing what the image looks like. It gets ugly fast.

When you're cropping, however, you're actually just sampling pixel info that was actually recorded. Many smartphones have 8-megapixels of resolution and sometimes more. That means you can crop substantially and still have plenty of resolution left for display on the web. And the lack of gross upscaling artifacts will help mask the fact that it was taken with a phone.

3. Edit, Don't Filter

If you want your images to be unique, the last thing you should do is paint them with the same filters that literally millions of other people are using. For the record, I'm not anti-Instagram. I think the sharing element is fantastic, but the pre-determined "retro" washes are played out. And that goes for every other app slinging the same stuff. 

4. Ditch The Flash

The problem with many smartphone flashes is that they don't actually, well, flash. They're glorified LED flashlights, thrust into a duty they're not fully prepared for. They are bright, but the color temperature can be gross and they miss one of the primary duties of a strobe: freezing the action in the frame. The actual "flash" duration is much too long, so you end up with an image that's both blurry and terribly-lit. Not to mention how close it is to the lens, which makes those horrible demon eyes almost a given.

5. Don't Forget The Rules Of Photography

This is by far the most important suggestion of all. The rules for taking a good picture don't change when you switch between cameras. Just because the camera can also make calls, doesn't mean you should ignore everything you know about balanced composition and expressive lighting. If you need to keep the rule of thirds or golden ratio layover on your screen at all times to help remind you, certainly turn it on.

source: popphoto.com
image source: misi.co.uk

Friday, 14 June 2013

How to Photograph Clothing For Your MISI Shop

Taking good quality pictures of clothing can be tricky.  The battle to eliminate or control harsh shadows can seem endless, and soft, even lighting can be a real problem. Figuring out how best to display the clothing so it appears appealing to shoppers is also a challenge. 

Here are a variety of tips to display your clothing for great results ranging from the most basic folded display to the most professional fashion model.

1. Know your histogram

First, make sure the camera is exposing the image correctly when you take the picture. To do that, learn how to read the histogram. Every image your camera produces has one. The histogram reviews are usually off by default. The information is there, just not being displayed on the LCD monitor when you review the photo.
Refer to your user’s manual to turn it on so you can see it after each shot. What you are aiming for is an even graph across the whole spectrum, from right to left. I know that’s a little more technical than you asked for, but histograms are easy to read once you get the hang of it. They can make a big difference in how the end photo looks.
2. Minimize shadows
Shadows could be causing the waving effect you refer to. To cure that, you need to remove or move the shadows. That is done by adjusting the lighting. What you need to do is to create soft, diffused light. Think of how a cloudy day softens or eliminates the shadows. That’s what you need to do in your studio—you need to create a cloudy day.
The first step is to turn off the flash on your camera.

3. Soften your approach

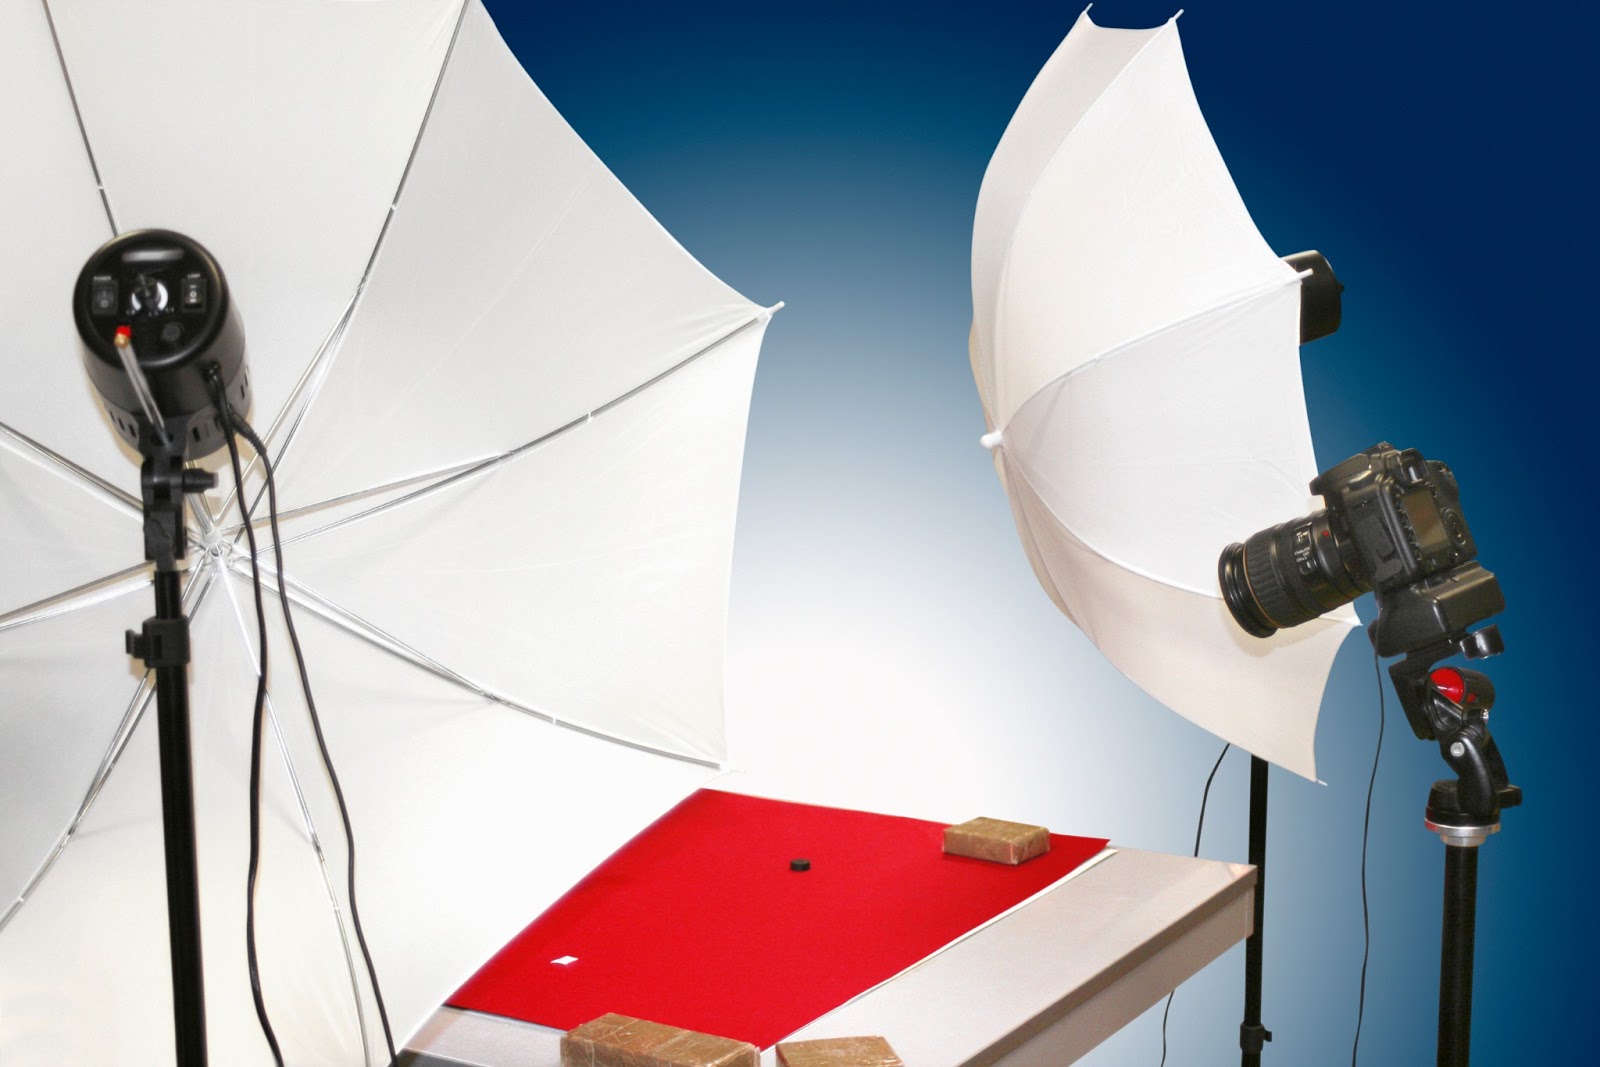
Once you turn off the flash, you may need to add more light to expose the image correctly. Professionals use “soft boxes.” These are lights on stands that are covered in a very thin white nylon material. Light coming through the translucent material is softened (like light through clouds) and when it falls on the clothes, it minimizes the shadows.
Once you have good, diffused light, you can streamline your photographing operation and control the waving effect. Be sure to check the angle of the shadow while you are setting up—does it look pleasing to your eye? If it’s not looking good as you look through the LCD screen, the camera will exaggerate whatever is out of place! Take a second to move the lights if it might bring out the color better, or remove the shadow next to the raised material.
Always be looking!

4. Edit to bring out the best

Finally, as you know, photo editing software is your friend. Picasa’s “I’m feeling lucky” tool does a great job on most items. In other software programs, what this tool does is referred to as automatic adjustment, found under the editing menu.
I know the goal is to get those photos done as quickly as possible so you can move to the next phase—selling online. But please don’t forget there is a whole suite of tools in Picasa and other photo editing software designed to help bring out the best. Check out some of the other tabs, too.


Thursday, 16 May 2013

Photo Taking Tips For Your MISI Shop


Great photography is a necessity when you have a handmade jewellery website. Unfortunately, handcrafted jewelry is very difficult to photograph. Many jewelry artisans cannot afford to go to a professional and so they want to do it themselves. There are some simple techniques that even amateur photographers can use to obtain better results with minimal effort. The following suggestions should allow anyone to achieve results they can be proud of.

1. Improve Sharpness

The macro lens is a big help for the sharpness factor. Another key to a sharp image is a tripod. It is absolutely essential to use a tripod or similar camera support when taking pictures of handcrafted jewelry. A sturdy tripod is better than a flimsy one, but any tripod is many times better than no tripod. Always use a tripod and your photos will be sharp.


2. Get Lighting Right

Normally diffuse lighting works best for jewelry so that there is no glare. We cannot sit around waiting for the perfect slightly cloudy day to take pictures of new handcrafted jewelry designs. You have probably already discovered that an on-camera flash does not lead to good photos. Not only is the flash too bright at such a close distance, it will also create bright spots and distracting shadows. Rather than flash it is better to use continuous lighting for photographing handmade earrings and handmade bracelets. Using daylight balanced bulbs for lighting provide natural-colored light. You can purchase these from photography suppliers. We use 5200 K bulbs which resembles daylight most closely. Even these lights will need to be diffused and for that use a light tent as the diffuser.


A small light tent makes it easy to reduce glare and control shadows for handcrafted jewelry photography. These are commercially available in a wide range of sizes and shapes, but are generally quite expensive. It is not difficult to make your own lighting tent from white rip-stop nylon material, a couple of metal coat hangers and double-sided tape. The light tent tends to soften the shadows and eliminate glare, while providing a clean and clutter free background. We place the tent on a glass table and have a light under the table to reduce shadows.

3. Find the Perfect Exposure

Proper exposure is the last key to good handmade jewelry photography. If your background is actually white but appears gray in your image then the image has been underexposed. This means you need to let more light get to your camera’s image sensor. Adjust your camera exposure compensation setting to slightly overexpose the image. Nearly every digital camera has an exposure compensation setting, but you may need to read your camera user manual to find how to adjust yours. Once you locate the controls for exposure compensation simply increase the exposure until the image looks correct. We adjust the white balance so that the background shows white and this dramatically affects the crispness of the colors.