Showing posts with label craft. Show all posts

Monday, 2 March 2015

Personalized Gift Ideas For Your Teacher

Teachers play a great role in the society and in the life of every student. Giving a gift is a wonderful thing to do as it shows love, appreciation and care for your teacher. There are numerous occasions to give teachers a gift. There is his/her birthday, Teacher's Appreciation Week, etc.. So what are the best personalized gifts for a teacher?
Personalized Stationery: Your teacher makes use of different stationery daily. You can get pens, note pads, or writing pads with your teacher's name or initials monogrammed on it. This can be a perfect gift for your teacher.
Picture Frame: Get your teacher a personalized picture frame as a gift. A decorative photo frame or a thank you frame is a great gift to give. Include a message on it saying how much you thank him for what he taught you.
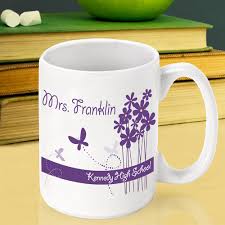
Customized Items: A personalized coffee mug, T-shirt, mouse pad, key chain is one of the best personalized gift ideas ever! In the coffee mug, for example, put a message like "You are the Best Teacher in the World!". This would really mean a lot to your teacher. He/She will treasure it for life.
Handmade Jewelry: If you are good at arts and crafts then making a handmade jewelry for your teacher will be a great idea! Make a handmade jewelry from wire, metal, beads or clay. This for sure will create a heartwarming gift.
For more inspiration on great personalized gifts, visit www.misi.co.uk

Monday, 23 February 2015

Sewing Crafts Give Projects for the Whole Family

In this day and age there are a small number of folks that choose sewing and other crafts as their preferred hobby. There is a multitude of other activities to do that people rather prefer, more modern, and provide more immediate gratification that tend to pull people away from enjoying the crafts hobby.
In general people also are so preoccupied that they rarely have the spare time to spare to spend on crafts than was true in the past.
Increasingly more women pursue business careers and during those times that they have available at home they want to hang out with the husband and children in preference to focusing their remaining energy on crafts.
Yet, there are sewing crafts that are easy that are easy on the pocket and do not require a lot of time. It can be very enjoyable for all to integrate a few sewing projects into the time that the family spend together. Not many families these days make time for quality time together, but when they do that then integrating a relatively simple sewing project into the available time could be a very worthwhile and rewarding exercise.

The most frequently enjoyed is making clothing or assorted outfits with the use of a sewing machine. Some folks are not very interested in that or do not believe that they are capable of making a complex outfit. For these folks there are other kinds of projects that can be an equal amount of fun. These include making Xmas ornaments, putting together tissue box covers, making beautiful dolls, and so many additional decorations that one can make through sewing.

Find more sewing products at www.misi.co.uk

Monday, 16 February 2015

Why Homemade Crafts Are Awesome!

Everyone loves receiving something that is homemade! This is one of the reasons Homemade Crafts are so popular.

Whether the creations you give are "perfect" or not, they are sure to be appreciated by the receiver. From our earliest days in school when we made cards or gifts for Mother's Day or Father's Day for our parents, we learned that giving a handmade gift brought joy and appreciation. Somehow, as we get older, we somehow forget the power in giving something that we took the time to make ourselves and that is a shame. People do love to get homemade gifts!
Learning to make Homemade Crafts will reintroduce you to the special feeling you will get when you give a gift made by your own hands. This is a special feeling that you can share with your entire family as you can do many of these projects together.

There is something for everyone in crafting. From toddlers to teens, from men to women, there are hundreds of different! There are projects for all skill levels, ages and interests!

People of all ages will love and appreciate the effort you put into your homemade gifts so lets put our creative hat on and start making Homemade Crafts today! It is a fun and rewarding experience we can share with our entire family. Looking for Homemade Craft Ideas?

Monday, 2 February 2015

Cute Valentine Crafts - Touch the Heart of Your Loved One

www.misi.co.uk

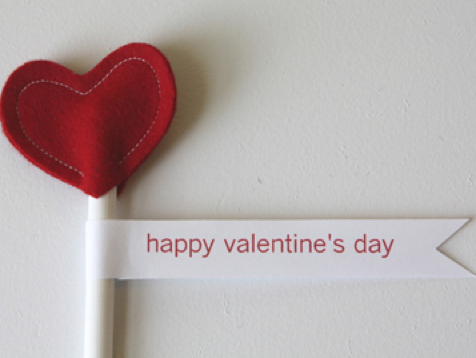
Valentine's Day is the most awaited day for people in love. People spend a fortune in buying expensive gifts and going for fancy candle light dinners. But if you really want to show your romantic side then cute valentine crafts are best ways to express your love. It is not necessary to spend lavishly on gift items to show your love and concern, but a simple gift with personal touch can say a lot more. If this Valentine's Day you want to go an extra mile and do some efforts for your beloved then try some special artifacts. Make it more special with the personalized message.


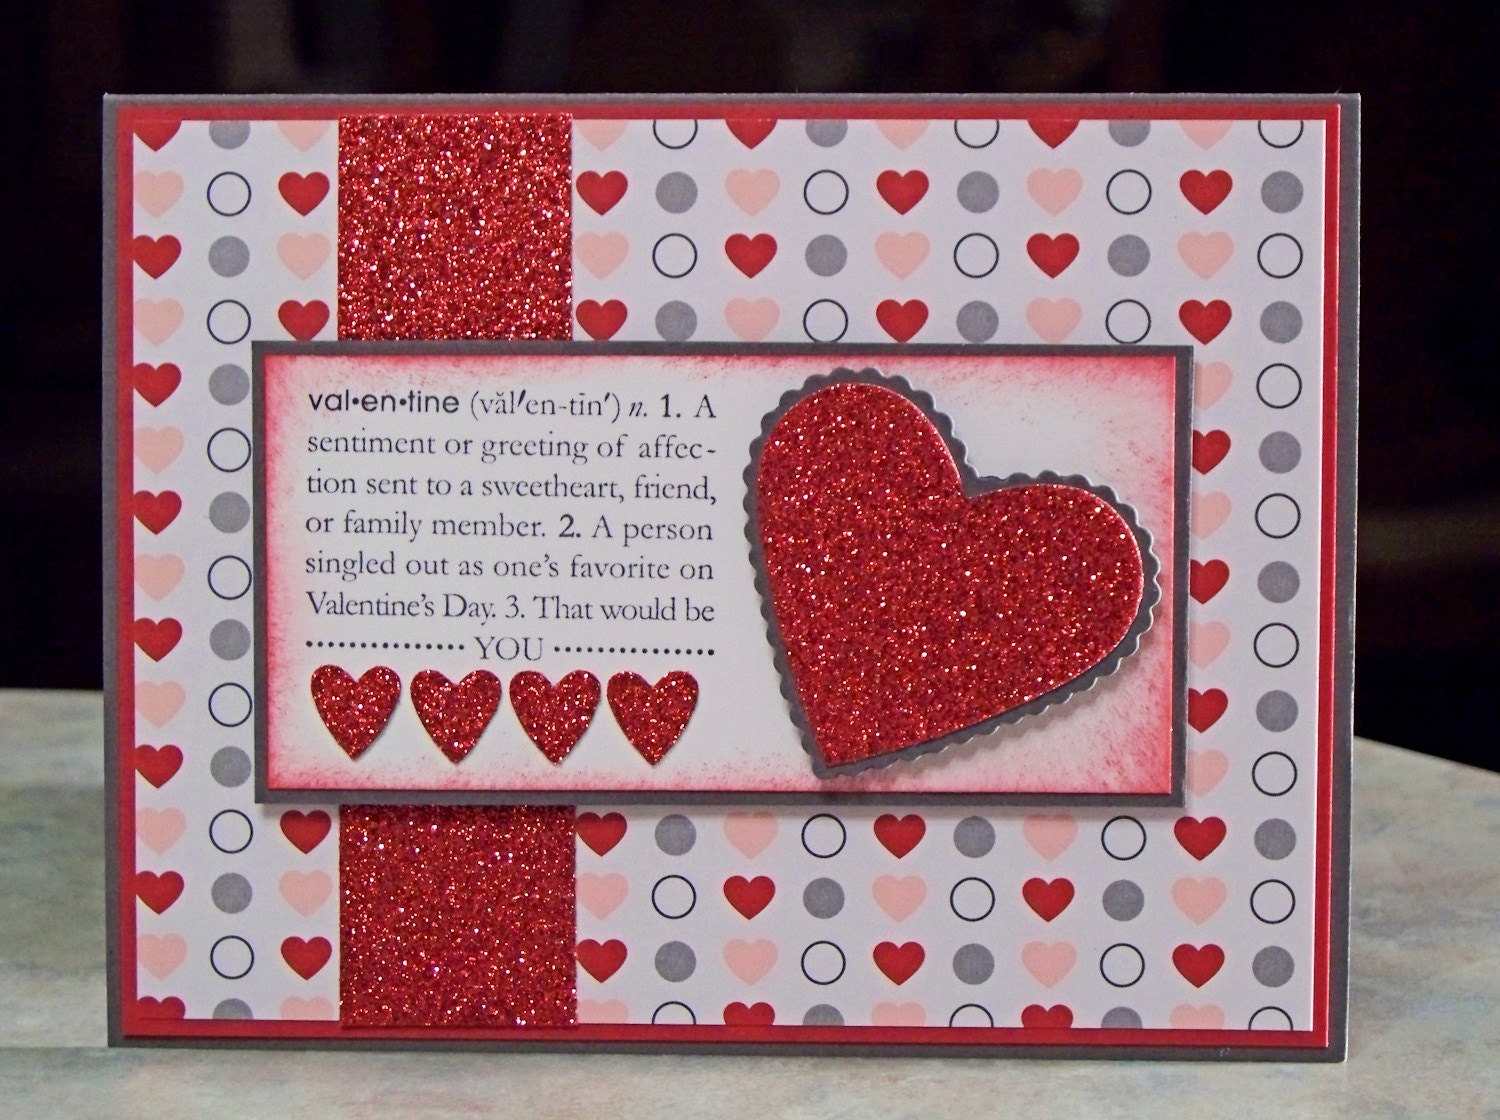
Initially it may look quite tricky to make cute valentine crafts, but some simple guidelines and little bit of effort can make things lot simpler for you. Heart shaped pillows or cushions for your darling would make a great present on Valentine's Day. Dark red colored cushion of velvet will be adored by your sweetheart. Make a Valentine's Day card and decorate it with colorful papers and glitters. Write a personalized poem or a message expressing your deepest thoughts and impress your darling with your creativity. For that special woman of your life, make a jewelry box of cardboard and decorate it with colorful papers and other craft items. Making a scrapbook is easiest of its kind and creates a special emotional bond between the lovers. Paste some personal pictures of yours with personal sentiments, such as "Ten Things I Love about You," "My Favorite Memories of the Past Year" or "You're My Perfect Valentine because...".

Make this Valentine's Day a special one for you that will always make you cherish the moments associated with it in the years to come. Make romantic craft items for your love and present it in a special way on Valentine's Day.


For more perfect ideas and Valentine's Day gifts visit www.misi.co.uk

Monday, 26 January 2015

Valentine Craft - Express You Love in a Unique Way

Valentine's Day is a special day for the people who are in love. This is the most awaited day of the year as people express their love to their beloveds for first time. And those who have expressed their feelings of love on earlier occasions they express it again as to strengthen the existing relationship. Most of the lovers present gifts to each other and thus express their love. There are end number of things that could be presented as gifts. But the pre-requisite of gifts is that they must carry some love value or message. Some intense lovers use some unique ideas to express their love like valentine craft. When you make some special artifact through your own hands to be presented to your valentine, the craft is called valentine craft.
www.misi.co.uk

Some Valentine Craft Ideas are written below:

Heart Shaped Pillow or Cushion: To make a heart shaped pillow or a cushion for your sweetheart is a lovely idea. The dark red color should be the preferred color. If the fabric used is velvet, its smoothness will be adored by your sweet heart. The stuffing of the artifact should be cotton or similar soft material so that it gives comfort to the user. Some amount of embroidery on the surface of pillow or cushion will aggrandize the beauty more. If the furnished valentine craft is light and soft enough, it may be used as a soft toy too.
www.misi.co.uk

Valentine Cards:
You can use your valentine craft talent in making beautiful cards too. Since cards have two basic features of beauty as well as unique message, their significance is great. You can take a piece of paper in proper dimensions, and then you may draw some wonderful love symbols like rose, heart, cupid's arrow etc. You can choose any theme of your choice to be drawn on the card. But message is the most important part of the valentine cards. It should be written very carefully and from the heart. This message will convey the intensity of your love and your hard work in making the card will be paid off.
www.misi.co.uk

Scrap Book:
Making a scrap book is also an attractive valentine craft idea. You can paste your most precious moments spent together or the things that your sweetheart adores on this scrap book. The manual treatment done in placing those precious pictures and the efforts put to make the scrap book look beautiful will always be rewarded in form of unbounded love of your beloved.
www.misi.co.uk

There are plenty of valentine craft ideas that you can apply to impress your deary. If you want to see how our users did it, than visit www.misi.co.uk

Monday, 15 December 2014

Fun Christmas Crafts For Your Kids

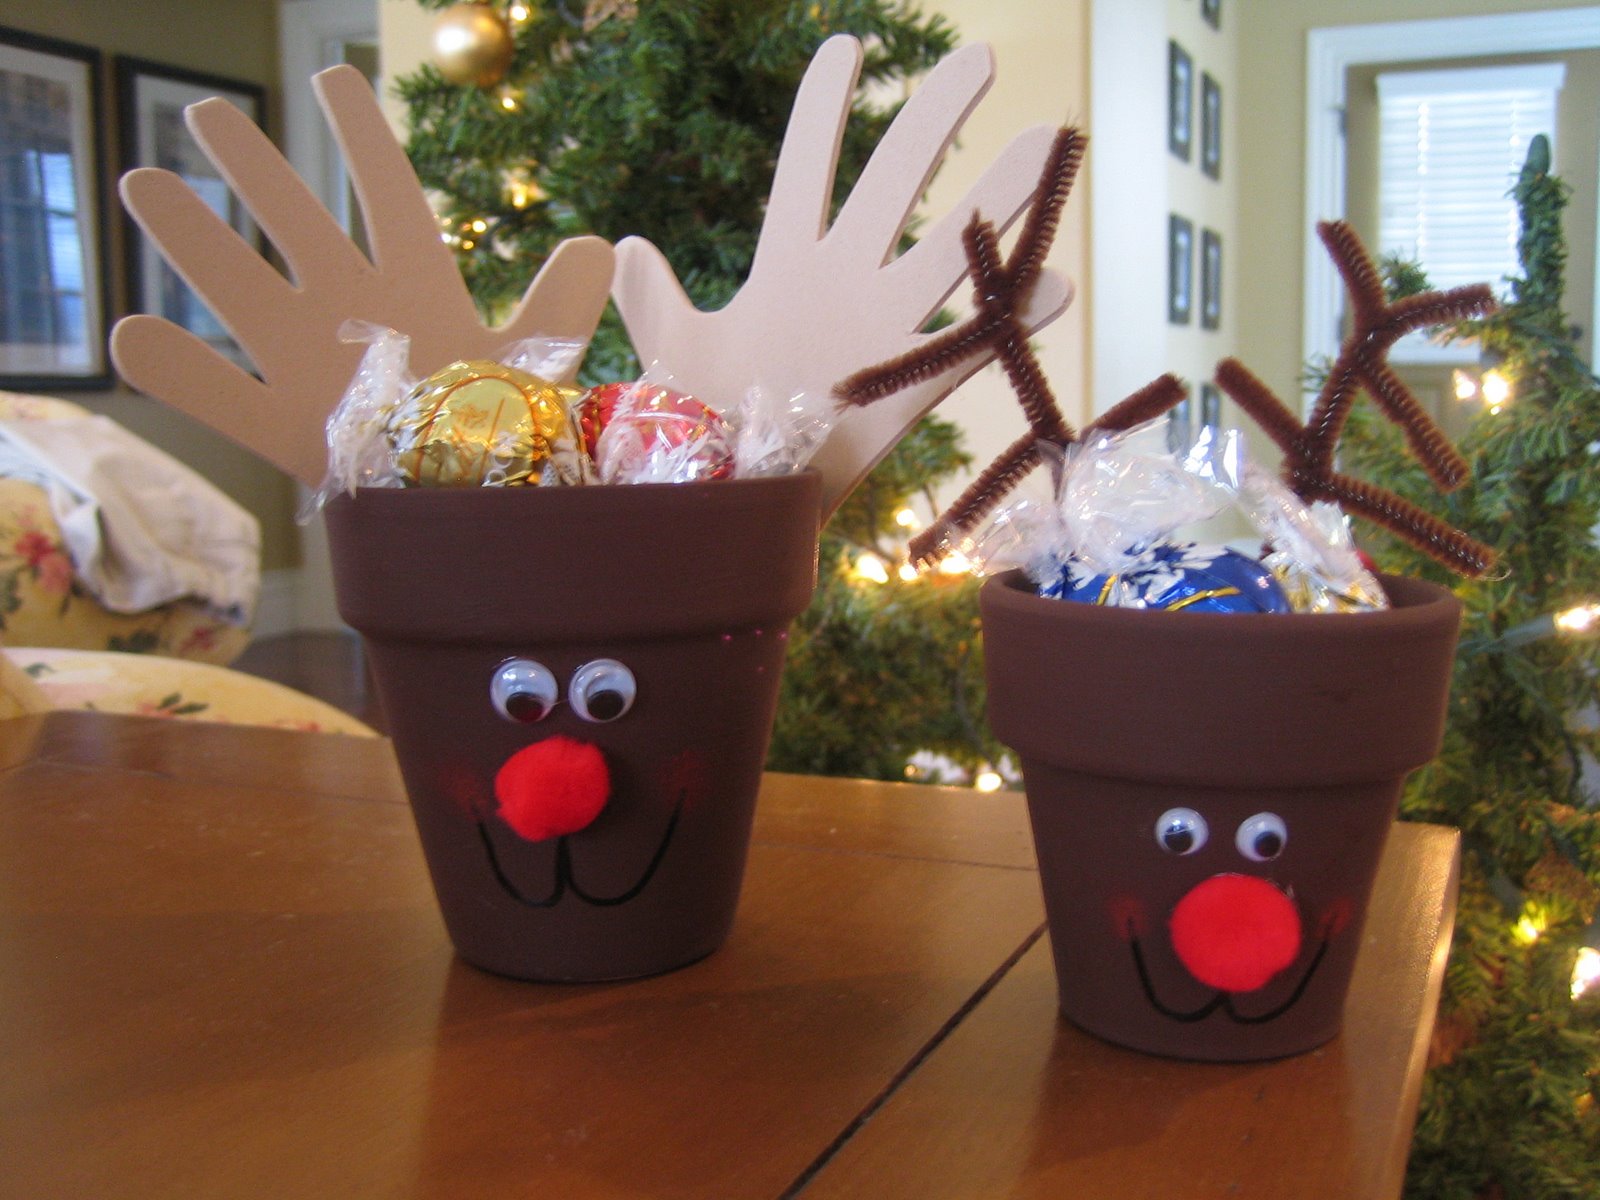
It is Christmas time! Your kids must be happy in that situation. Even, that day is usually followed with the holiday season. So, it is a good idea if you as parents can do activity together with your kids in celebrating Christmas. Here, age-appropriate Christmas crafts can be your right option in which your kids enjoy making.
Crafts for children in this special day are plentiful. Christmas trees, candy canes, ornaments, Santa and reindeer create a festive atmosphere at this time. Many of these symbols of the holiday season make fun craft ideas for kids. Getting children to create presents for their friends and family members in this special day is a definite means to keep them happily busy. And a framed art can be one of craft ideas for kids that you can choose.
Any kids can sketch. Hand them a thick white paper, some pencils, crayons, or watercolors and let them draw a Christmas picture. Once the work of art is finished, have the picture framed efficiently in a classy looking frame and let them offer it to their grandpa or grandma as present in this special day. You could let the children make picture books or activity books as presents to those they adore.
Christmas is a time to celebrate the spirit of giving. Bring joy to someone you love with these festive handmade crafts! If you don't have time to create crafts you can visit our website www.misi.co.uk and find a perfect gift for your loved ones!

Tuesday, 3 June 2014

5 Scrummy Bakes for Dad

Dads can be notoriously hard to buy for – especially when you’d rather be giving him something personal instead. These five easy bakes for dad can be quickly customised with his favourite toppings or ingredients. Plus, they’re all super simple to do – and perfect for baking beginners!


1. Shortbread

Father's Day Shortbread
Shortbread is a good bake to start with if your new to the world of baking – you don’t need a lot of ingredients or equipment to make something that both tastes and looks delicious!


2. Bread

5 Scrummy Bakes for Dad #dad #fathersday
This white loaf would make a great breakfast-in-bed treat. Cut it into thick slices with a healthy spread of butter and jam, for a delicious Father’s Day treat!


3. Flapjack

How to make Flapjack Step 6
Flapjack is a perennial bake for dad! This super simple, super sticky recipe is sure to become one of your family favourites.


4. Cookies

5 Scrummy Bakes for Dad #dad #fathersday

Cookies are a great bake for the kids to help with (and little fingers make light work!). All you need for these hand-crafted cookies are some cutters and Ready-Roll Icing!


Thursday, 16 January 2014

Valentine's Day: 29 Days ~ 5 Ways to Countdown to Valentine's Day!


Think countdown and advent calendars are just for Christmas? Think again! Countdown to Valentine's Day this year with this fun, cute and easy DIY craft you can do with your kids!


1.  Hearts & Tags


The great thing about this craft is that you can customize it completely.. Spend the day making this cute calendar with your kids and create a fun way to count down to February 14th! Read more


2. Celebrate Love


The magnetic Valentine’s tins include a message to the kids each day that tell them one of the reasons they are special and why they are loved. Read more


3. Sweet Ideas


Fill out 14 cards with sweet ideas, and put one card inside each envelope. Open one envelope daily, and complete the task on the card together. Read more


4. Paper heart chain


Count down the days until Valentine's Day in style with a handmade paper heart chain. Read more


5. Cute DIY Calendar


Are you ready for some Valentine cuteness?! Write a message in the little cute envelope, fold it and add a number on it. Read more

Happy Crafting!


Monday, 23 December 2013

Christmas Countdown: 2 Days ~ Mitten Holiday Crafts


Check out these 6 amazing DIY Mitten Crafts for all those knitters out there!


1. Mittens from Jumpers


Give new life to an old Christmas jumper with this crazy-cute DIY mitten tutorial. Read more


2. Small Mitten Ornament


These little 2 1/2 inch mittens are perfect to hang on the tree, decorate packages or hang from that bottled hostess gift. Read more


3. Gift Topper


Sweater Mittens make great gift toppers. Tie them onto gift boxes, bags or even money envelopes for a special touch. Read more


4. Kids' Mitten Sweaters


Make a one-of-a-kind sweater for your child using these simple guidelines. Read more


5. Mitten Holiday Cards


These Mitten Holiday Cards are the perfect DIY to make for loves ones this holiday season, and the best part is: the kids can help with this craft!  Read more


6. Felt Mitten Pattern


This is one of our favorite mitten patterns, because it literally takes a minute to make each mitten. Then, depending on the time you have you can decorate as much or as little as you'd like. Read more


Happy Holidays!

Thursday, 19 December 2013

Christmas Countdown: 5 Days ~ 6 Gifts Made From Your Family Photos


There's nothing more special than displaying your favorite personal pictures. Instead of tucking them in frames, though, make a cute DIY that really shows off your favorite pics. From using them to cover coasters to creating cute bling, all of these projects are easy to put together and only require a few basic materials.

Photo gifts can be fun, memorable, personalized, and even practical.


1. Photo Collage Tray


Add family photos and cover them with Modge Podge for protection! Read more


2. Personalized ‘Home’ Sign


Choose the photos you are going too use and make them look as letters through a photo editing program. Read more


3. Photo Pendants


Want to know how to make a glass tile pendant?? They're super easy & fun to make - you can do this! Read more


4. Tile Photo Coasters


Perfect for any special holiday, a set of these tile photo coasters will cost less than $5 to make... Plus they are so cute, you'll probably end up making another set for yourself. Read more


5. Photo Ornaments


These Christmas ornaments are not only great for your tree, but they also make wonderful projects for the kids and can be used as homemade presents to people. Read more


6. Photo Gift Tags


Set the bar high with your own personal gift tags. These homemade, sweet little creations are easy to make and won't break the bank. Read more

Happy Holidays!


Tuesday, 19 November 2013

Christmas Countdown: 35 Days ~ Polymer clay Christmas Crafts


Handmade Polymer Clay Christmas Crafts are unique, versatile and fun to create. You can enjoy making the most colorful ornaments possible with your kids.


1. Christmas Mugs 

This Polymer clay Christmas craft project shows you how to make mugs and turn them into handmade and personalized Christmas Tree decorations.


2. Christmas Presents

These are really cute as charms, necklaces and ornaments. You can just change the colours and make them birthday presents.


3. Kawaii Reindeer

This Kawaii Reindeer Tutorial is quite simple to make, but you do need some patience.


4. Rilakkuma In A Stocking

In this tutorial you will learn how to make the cute Rilakkuma in a stocking! This is quite simple to make, and the red glittery clay has a great look.


Happy Crafting!

Tuesday, 22 October 2013

DIY: Jars For Space Saving

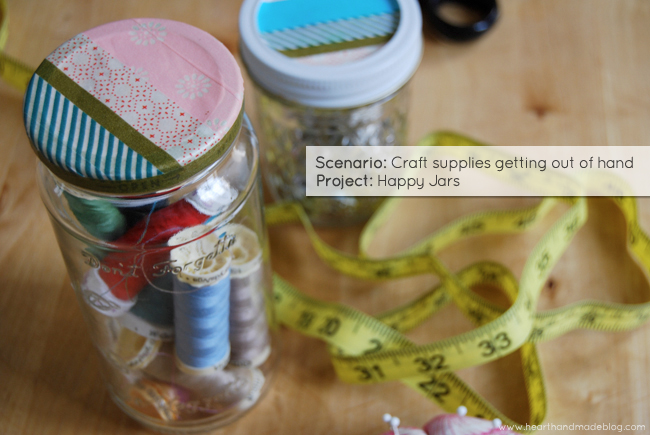
Like many of you, I live in a city apartment. So my craft supplies are stuffed in a corner of our hall closet. Recently, I couldn’t find my sewing scissors – which are like the North Star of my crafting galaxy. So I vowed to tidy up.

Of course, one of the best parts about reorganizing is the range of pretty canisters and storage supplies. But I decided to kill two birds with one stone and also weed out our cupboard above the fridge. We save our empty spaghetti sauce and mayonnaise jars, but it was beginning to look a glass graveyard up there.

So I plucked a few of the most useful ones and repurposed them to hold my supplies. That way, I can see at a glance what’s what in the closet. I should also mention that I recently hopped on the Japanese paper tape bandwagon, and this was a perfect first project for my cheery new tape collection. And yes, I am encouraging you to buy yet another craft supply in order to organize the rest of your supplies – this irony is not lost on me! But the tape is indeed happy tape, as billed!


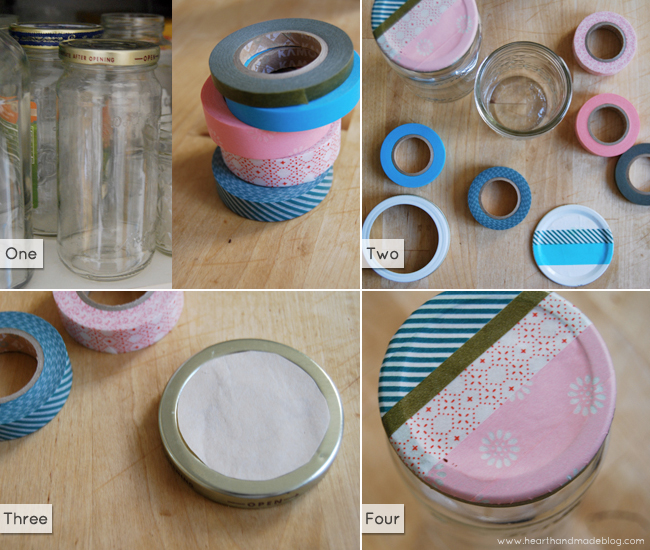
All you need is…

1. Japanese paper tape
2. Leftover glass jars with lids
3. Scissors
4. Grocery bag


If your lids have printing on them, cut out a circle of an old grocery bag and tape it on top of the lid. Then place strips of the Japanese paper tape across the face of the lid, alternating colors and patterns.

If you have a one-piece lid, extend the strips slightly over the edge. When you’ve completed the top of the lid, then wrap one piece of tape around the “side” of the lid as shown, to cover all the ends and finish.

Tuesday, 15 October 2013

Handmade Bracelets

It will surprise no one that at summer camp my favorite activity was always and without fail arts and crafts! I wasn’t great at archery or rowing, but I could make a lanyard like nobody’s business. I loved that camp craft projects were simple and fun to make, with no fussy equipment required. My summer days were happily filled with the satisfaction of gods-eyes, reed baskets and of course, friendship bracelets!
I’ve talked about my love for friendship bracelets here before, and we have created versions in cotton, wool, and even cashmere. This time I kept the colorful essence of a traditional macramed friendship bracelet but used a completely different (and much easier) technique to create a new kind of bangle: a craft-hybrid of friendship bracelets, rope tying, and lanyards! 
To create these little beauties I used our thickest Chinese Knotting Cord which comes in a vibrant rainbow of colors, and I finished them with a neat and effortless sliding closure. The resulting bracelet is so pretty and best of all, it perfectly captures the spirit of summer camp!

The Materials


To make several bracelets:
  • 4 spools of 1.4mm Chinese Knotting Cord in Grey, Aqua Marine, Neon Pink, and Navy
You will also need scissors and a lighter.

Cutting

These bracelets can be made in three lengths: to wrap around your wrist once, twice, or three times. For a one-wrap bracelet cut the cords to 19 inches; for two wraps cut them to 27 inches; and for three wraps cut them to 35 inches.

Starting and Finishing All Bracelets 

To start, tie all of your cords in a simple overhand knot 5 inches from the end, and tape the knotted end down to a flat surface.
To make the body of the bracelet follow the desired braid pattern (see below). For a one-wrap bracelet make the braided section 7 inches. For a two-wrap bracelet make the braided section 14 inches. And for a three-wrap bracelet make the braided section 21 inches. 

At the end of the braided section use an outer-edge cord to tie a simple overhand knot tightly twice around all of the other cord strands.

Snip off all of the strands (except for the one you used to tie the knots) very close to the knots. 
In a well-ventilated room burn the ends of these snipped strands with a lighter until they melt together and are secured. Untie the knot at the beginning of the bracelet. Use an outer-edge cord to tie a simple overhand knot tightly twice around all of the other cord strands, just as you did for the end of the bracelet. Snip off all the cords except the one you used to tie the knots and burn the beginning just as you did the end.

You will have a 5-inch tail coming from each end of the bracelet.
Make sure the bracelet isn't twisted and tie the left-hand tail in a double knot around the right-hand tail 1 3/4 inches from end of the braided section. Snip off the left-hand tail and burn the tail and the knot wraps together to secure the knot.

Repeat for the right-hand end. Your bracelet will now be complete with a closure that slides open and shut by pulling on both knots.

Doubled Basic Braid


This is the easiest of the braids!
Cut six strands, two in each color, to the correct length.
Put one same colored pair to the left, one to the center, and one to the right.
Pull the left-hand pair over the center pair so that it becomes the center pair. Keep the pairs of thread flat, one strand next to the other, making sure they don't get twisted as you go. This way the bracelet will lay flat when you are done.
Pull the right-hand pair over the center pair so that it becomes the center pair.

Keep braiding in this manner until you reach the desired length, then finish the bracelet.

Single and Double Five-Strand Braid 


Below are photo instructions for making a single five-strand braid. To make a double five-strand braid you will need to cut five pairs of cording and treat each pair as one strand. Just as for the doubled basic braid, you need to make sure that the pairs lay flat and don't twist as you go so that the bracelet will lay flat.

Cut five strands of cording to the correct length.
Arrange the strands so there are three on the left side and two on the right side. You will always be working towards the center.
From the left side, pull the outermost strand towards the center, traveling under its neighbor and over the next adjacent strand. 
Repeat from the right, pulling the rightmost strand under its neighbor and over the next adjacent strand towards the center.

Slowly a pattern will start to emerge. This braid, as well as the seven-strand braid, are a little hard to make look nice at the beginning, but that's okay. Just braid a little further than your desired length, and when you undo the beginning knot, you can take out the messier beginning section before you finish that end.

Keep braiding in this manner until you reach the desired length, then finish the bracelet.

Five-Strand Dovetail


You can make a dovetail braid with any odd number of strands, but with cording this wide more than five can start to look a little messy.

Cut five strands of cording.
Arrange them so you have three on the left and two on the right.

From the left side pull the leftmost strand over the two adjacent strands, making it the new middle strand.

From the right side pull the rightmost strand over the two adjacent strands, making it the new middle strand.

Repeat from the left.

And from the right again.

Keep braiding in this manner until you reach the desired length.

Seven-Strand Braid


This braid is made in much the same manner as the five strand braid.
Cut seven strands of cording.
Arrange them so you have four on the left side and three on the right side.

Working towards the center pull the leftmost strand under its neighbor and over the next adjacent strand and then under the following one.

Repeat for this right side: pull the rightmost strand towards the center, under its neighbor and over the next adjacent strand and then under the following one. 
Keep braiding in this manner until you reach the desired length and then finish the bracelet.