Showing posts with label crafting. Show all posts

Monday, 12 January 2015

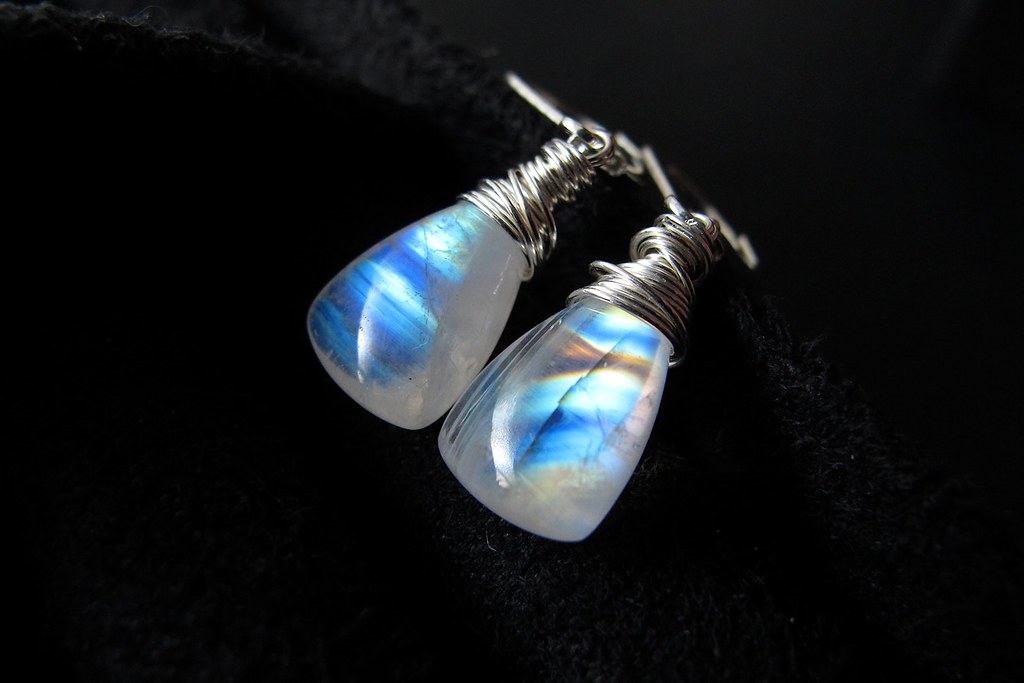
Benefits of Handmade Gemstone Jewelry

Whether you're looking for something special for yourself, a loved one, friend or family member you could walk into any jewelry store and pick out a piece. While this is possible, it's also important to remember that in doing so, you or your friend will be wearing the same item as thousands of other people throughout the country, if not the word.
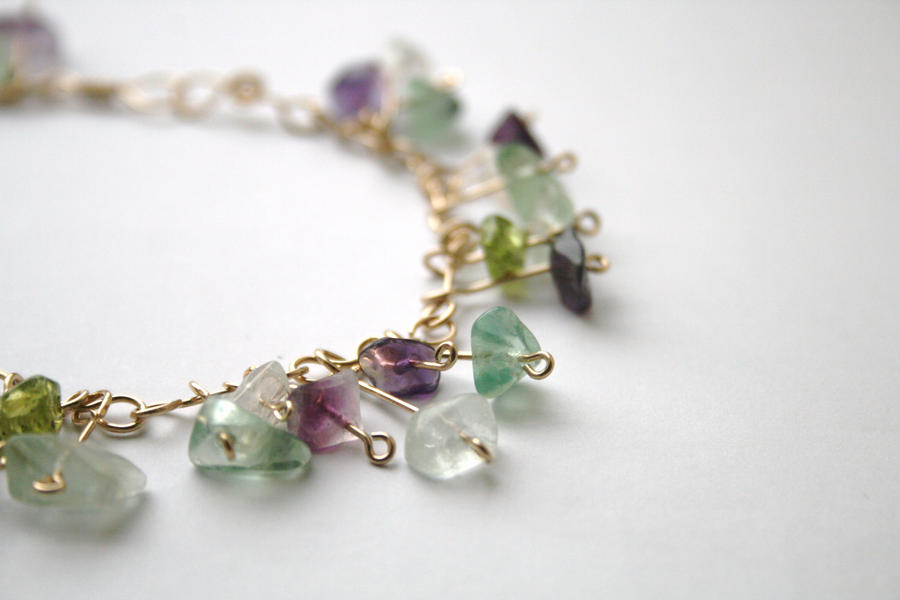
Uniqueness is just one of the benefits of handmade gemstone jewelry. Because these items are hand crafted there aren't as many of them available, ensuring that the item you purchase is different, unique and spectacular. This can make gift giving more exciting and make it a wonderful surprise for whoever receives the piece.
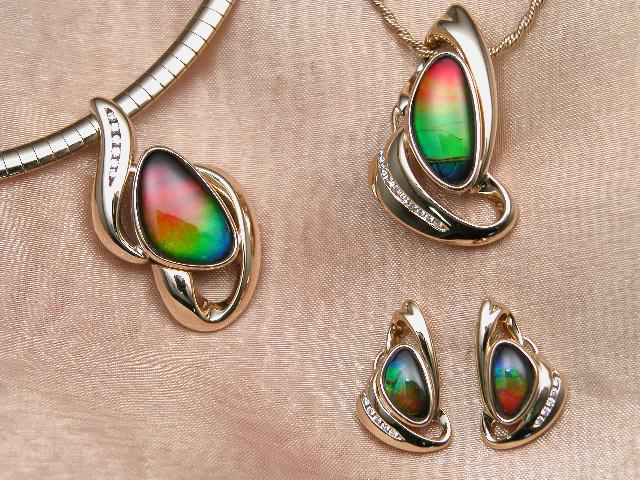
With age old traditions being used to make handmade gemstone jewelry, these pieces are exceptionally attractive. There is such an eye for detail that goes into making them that they are one of a kind. Unlike items you purchase in store that have been made on a mass scale, these have little details that show that someone spent time making this by hand and that is what makes it such an advantageous piece to own.
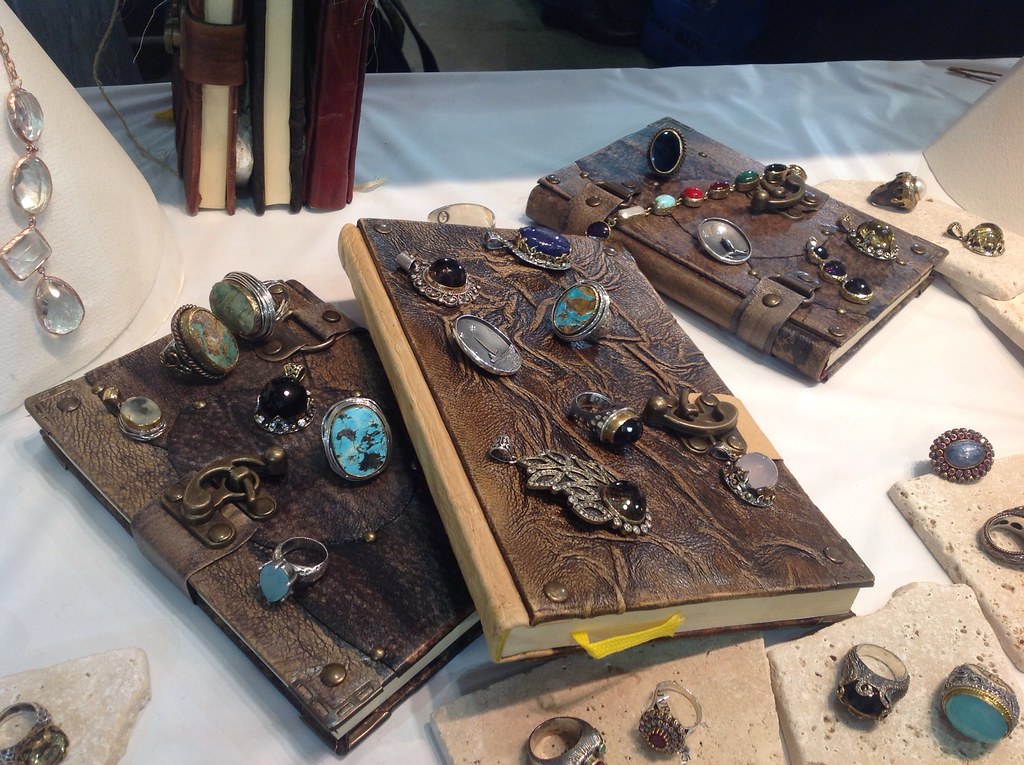
These items are works of art. Over the years the traditions are passed down from generation to generation, each one using custom techniques taught to them by the parents and grandparents. These techniques are skills, they're unique and they result in the most beautiful pieces of handmade gemstone jewelry available today.


Surprisingly, when you purchase this type of product you expect to pay a high price. In most cases when you purchase a unique item, you pay for it. This type of item isn't expensive, even though they have been made with real gem stones and real silver or gold, they tend to be more affordable, because you aren't paying for high tech machinery. If you looking for a place where you can buy amazing handmade gemstone jewelry Misi is the right place for you.
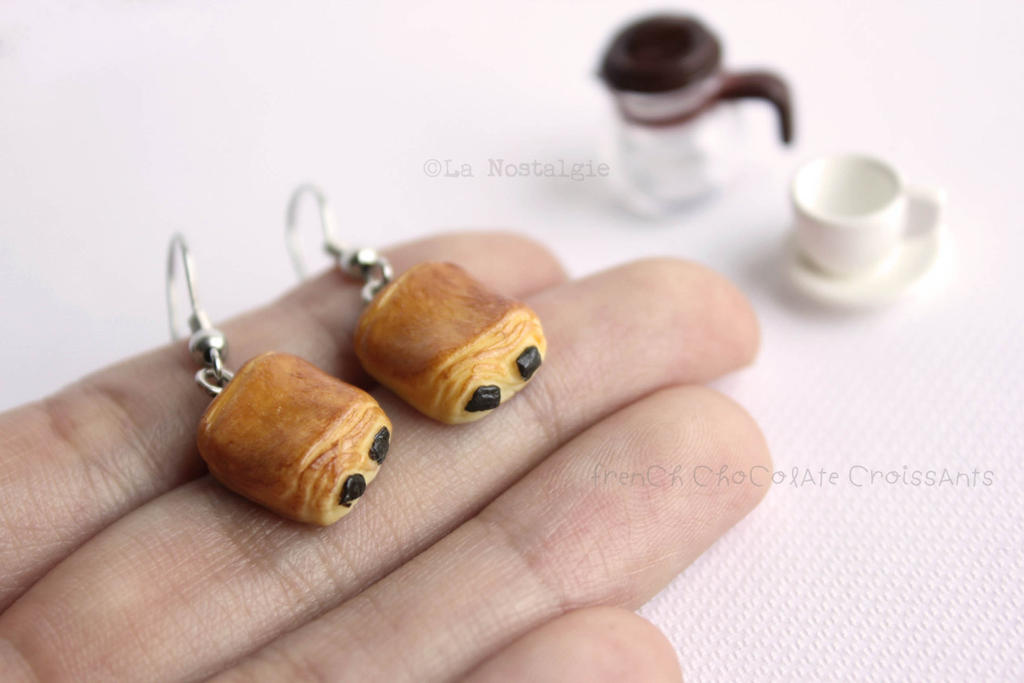
Tuesday, 23 December 2014

Show Your Unique Taste in the Wearing Of Handmade Jewelry

Jewelry has the unique peculiarity of having been created with the distinct purpose of adorning the body. Yes, there are items which have dual purposes, like watches (and medical or military identification tags), and there are items like belts and buckles which would technically be known as accessories, but items of jewelry are there expressly to be enjoyed for their decorative properties. Also, the more ornate such a piece of jewelry is, the more it can be seen as a symbol of the wearer's wealth or status.

Faster is not always better

It is no wonder that people throughout the ages have been prepared to spend large amounts of money on items of jewelry that are unique. The problem, however, arises with the mass manufacturing of jewelry by using machinery to expedite the process. The result of such a process is objects of jewelry which, although still expensive because of the materials that have been used, like gold and silver set with precious gemstones, are no longer one of a kind. Why would anyone be prepared to pay top dollar prices for items which they might see adorning the hands or necks of someone else as well?

Where did it all begin?

Traditionally, all jewelry was handmade. The earliest adornments were made from shells or stones and pieces of bark. Later, as people became skilled at creating their own beads, these were extensively used as ornamentations for necks and arms. In time the craft of jewelry making was usually undertaken by gold or silver smiths, who often gained their expertise at the hands of a father or other kinsman who was skilled at this occupation and would pass on many of his 'trade secrets' to be kept and passed on in the family.

Handmade says 'Made with Care'

The most exciting thing about handmade jewelry is that it is unique. No craftsman worth his salt is going to turn out pieces that are the same. For this reason then, one is prepared to spend more. In addition, these distinctive items are generally more hard-wearing than those that are mass produced. A jeweler who makes items of jewelry individually is one who loves his craft and this devotion will be evident each piece. If you purchase handmade jewelry you will almost always be getting better quality items than those you buy over the counter. You might also be supporting the work of an emerging artist, and who knows, the piece you buy may become very valuable as that artist gains popularity.

Where Can You Find Handmade Jewelry at Reasonable Prices
? Misi.co.uk! Anyone who has a desire to own beautiful adornments for themselves or for others can shop at Misi.

Friday, 21 November 2014

Handmade Leather Crafts

One of the easiest ways of doing away with the free time and also earning fame, recognition and money is to make crafts; of course if you have the prerequisite skills for making crafts. But then, making crafts isn't that difficult. With the many courses available on the internet as well as the guide books, you can create some beautiful crafts and sell them or gift them to your loved ones to attain that warmth and respect. One of the most famous crafts is the leather crafts. These can be given as gifts to the loved ones and believe it or not, they remain to be one of the most treasured gifts of all.

Most of the times people get confused regarding what to gift someone special on their birthdays or anniversaries, well handmade leather crafts are one of the most treasured and beautiful gift items to be given to people you love. Leather is a royal thing and many of the celebrities also flaunt their leather accessories, be it their bags, purses, shoes, leather pants, etc. But then, it's not only celebrities who love leather, even the common people are in love with leather. Leather is a royal and classy object and using leather crafts gives an extra zing to one's personality. These handmade leather crafts can be carried to any occasion like cocktail parties, birthday parties, etc with elan.

Another factor which makes these handmade leather crafts special is the fact that they have been created by hand and someone has put their heart and soul into creating these products. One can achieve a lot of finesse and beautiful designs by using hands rather than machines for making these crafts. These handmade leather crafts look beautiful when gifted and they also are durable unlike the ones bought from the market. Thus, indeed handmade crafts are one of the most treasured gifts.

If you want to buy products we have or sell your lovely products visit www.misi.co.uk

Friday, 14 November 2014

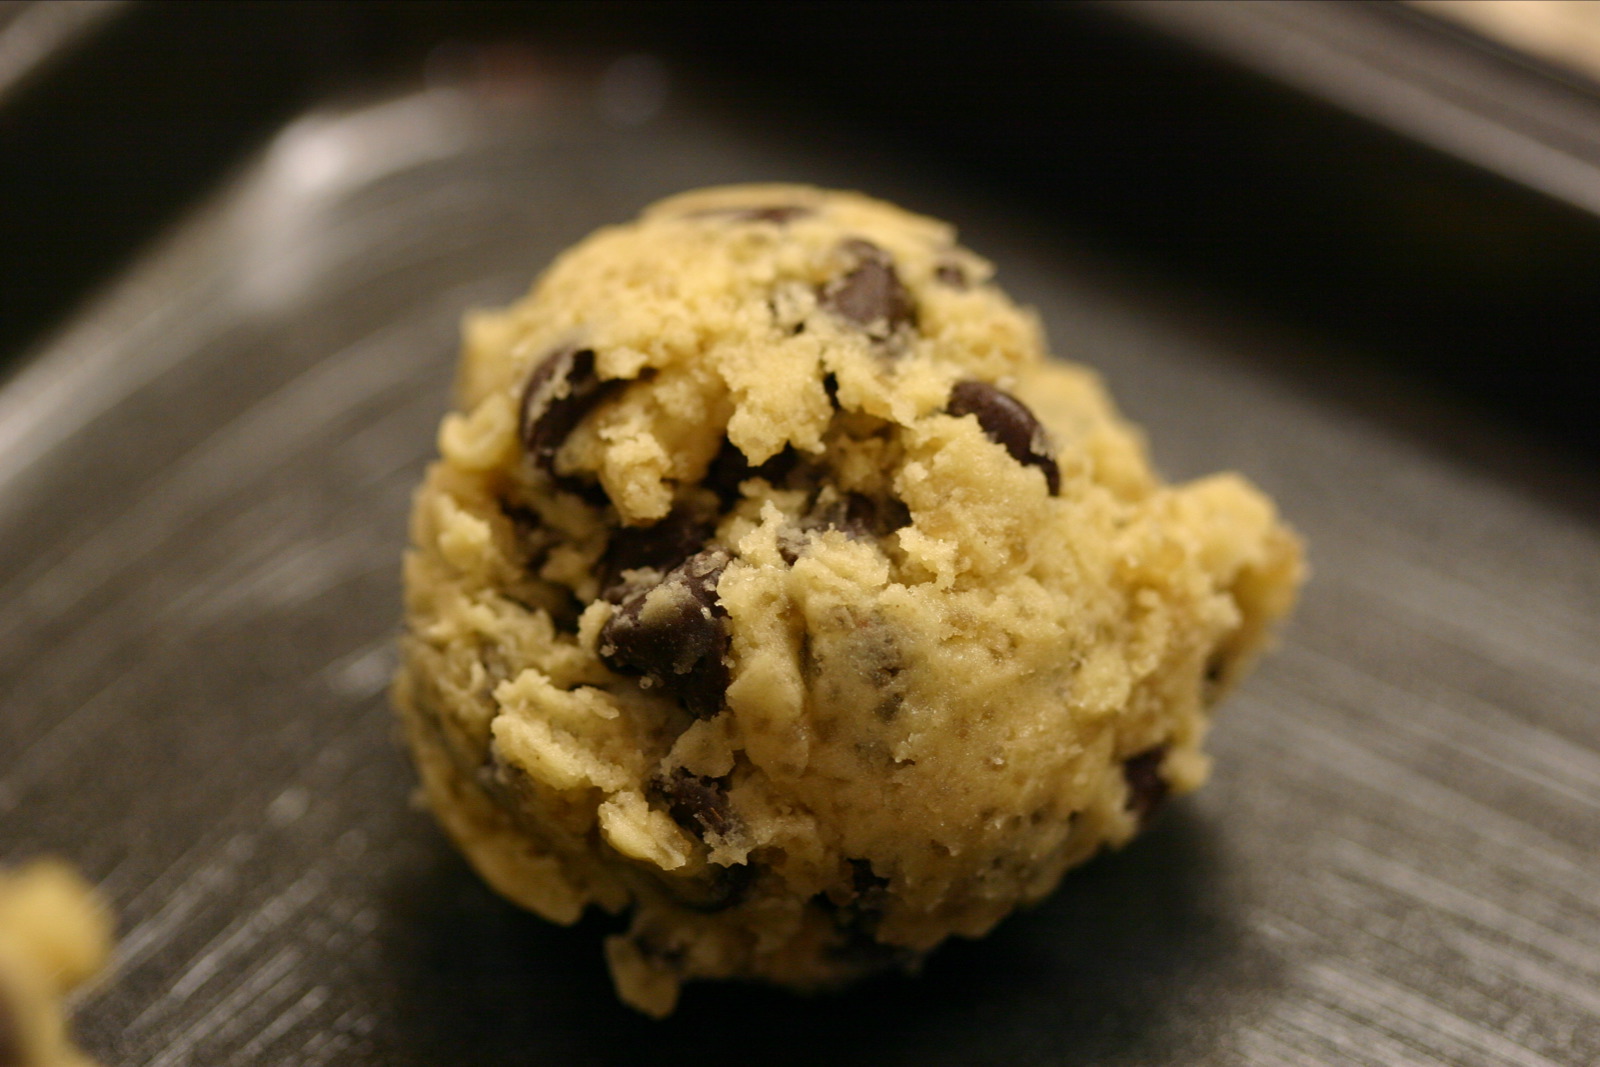
Crafting Handmade Chocolates and Sweets


Crafting handmade chocolates and sweets is a good idea if you want to give gifts or make something special for your family. Tired of your usual desserts, then this is a good alternative to your average candy or chocolate bars!

1. When making handmade chocolates, you will have to learn how to select your ingredients. You can drop by at a local chocolate supply store and purchase the items by bulk. This way, you get more at half the price compared to the pure chocolates sold at grocery stores. If you want to make handmade sweets, like candies, the same thing will apply when selecting your ingredients. To make things easier, know what to make first. Once you have a clear idea; that is when you can start making purchases. Chances are, if it's your first time in making handmade sweets, you have a tendency to horde supplies and once you get home, you are surrounded with supplies and ingredients, you are not sure if you'll use them, anyway. Make a list first to make things organized.


2. If you plan to make handmade sweets made from chocolates, the kitchen tools that you'll need are: double boiler, candy thermometer, wooden or rubber spatula, and bowls. If you plan to put some nuts, oatmeal, or fruits in your handmade sweets, you can use a food processor or a mortar and pestle to crush and grind these ingredients.


3. Once you are ready with your ingredients, melt the chocolate in the double boiler. If you want to make candies, you will need to do the same process with the option of using a double boiler. But for chocolates, it would be best to use a double boiler to avoid having the ingredients get burned. Slowly stir the ingredients at low fire.


4. If you are done melting your handmade chocolate, it is optional if you want to put the other ingredients in. But if you do, pour the ingredients one at a time and slowly stir to mix all the items in the double boiler.


5. Some would put liquor or fruit or herb essences in the mix. If you do, do it at the last part of the process and stir the mixture well. Now that you are done with the mixing, put your double boiler in a different surface and let it cool first. Once the mixture has cooled, pour them in fun containers or molds. Take note, for the cooling process; don't let the chocolates stand for a long time. The same thing when it goes to other handmade sweets. You can also put your chocolates in an airtight container and put it in the fridge for later consumption.

If you are looking for handmade chocolates and sweets than visit www.misi.co.uk  and enjoy our selection :)

Tuesday, 3 June 2014

5 Scrummy Bakes for Dad

Dads can be notoriously hard to buy for – especially when you’d rather be giving him something personal instead. These five easy bakes for dad can be quickly customised with his favourite toppings or ingredients. Plus, they’re all super simple to do – and perfect for baking beginners!


1. Shortbread

Father's Day Shortbread
Shortbread is a good bake to start with if your new to the world of baking – you don’t need a lot of ingredients or equipment to make something that both tastes and looks delicious!


2. Bread

5 Scrummy Bakes for Dad #dad #fathersday
This white loaf would make a great breakfast-in-bed treat. Cut it into thick slices with a healthy spread of butter and jam, for a delicious Father’s Day treat!


3. Flapjack

How to make Flapjack Step 6
Flapjack is a perennial bake for dad! This super simple, super sticky recipe is sure to become one of your family favourites.


4. Cookies

5 Scrummy Bakes for Dad #dad #fathersday

Cookies are a great bake for the kids to help with (and little fingers make light work!). All you need for these hand-crafted cookies are some cutters and Ready-Roll Icing!


Tuesday, 27 May 2014

Dad's token tin


Instead of the usual coupons, why not give dad some fun tokens this year. 

What you need:
*  small round tin (i got mine at michaels - it's about 4" in diameter)
*  one sheet of black cardstock
*  two or more sheets of white cardstock (depending on how many tokens you make)
*  sheet of tokens
*  black ink pad
*  scissors


Step one: print your tokens, then punch out with 3" punch.

Step two: trace and cut out white circles a little larger than your tokens. i used a large soup can. (you can probably use a cricut for this) then trace and cut out one black circle for the lid of your tin. this needs to be bigger than your white circle, but not bigger than the lid. 

Step three: ink the edges of your white circles. 


Step four: adhere tokens to your white circles. (adhere the black one for your lid) then have your child(ren) write things they are willing to do for their dad on the tokens. make sure to have them sign their names too.


Monday, 26 May 2014

How to Add Closed Captions to YouTube Videos

YouTube has the ability to display closed captions and use those captions to translate into many different languages. This article explains how to upload an prepared caption file to YouTube.
Add Closed Captions to YouTube Videos Step 1 Version 2.jpg
  1. Log into your YouTube account.
Add Closed Captions to YouTube Videos Step 2 Version 2.jpg

  1. Go to the My Videos page and scroll down to the video you want to add captions to.
Add Closed Captions to YouTube Videos Step 3 Version 2.jpg

3. Look at the bottom of that section. You'll find a set of buttons (Play, Edit, Annotations, Captions, etc.) that are used to make changes to your video.
Add Closed Captions to YouTube Videos Step 4 Version 2.jpg

4. Click the "Captions" button.
Add Closed Captions to YouTube Videos Step 5 Version 2.jpg
5. Search for the "Available Caption Tracks" section. Click on the "Add New Captions and Transcript".
Add Closed Captions to YouTube Videos Step 6 Version 2.jpg

6. Browse for the file you downloaded. Select "caption file" as the file type, Make sure the language is in English, and click the "Upload file" button.
Add Closed Captions to YouTube Videos Step 7 Version 2.jpg
Now you'll see that there's English as an available track. Play the video to the left to see your captions in action.

The Place to Buy and Sell Handmade in the UK

Thursday, 22 May 2014

Make Father's Day Handprint Cards!


Supplies:
- Heavy card of white card stock with matching envelope
- Craft paper
- Pencil
- Scissors
- Glue
- Paint (we used watercolor but, any paint will work. If fact, you could use markers or crayon, too)
- Google Eyes
- Fabric Scraps
- Markers


How to make:
- To make this Handprint Card, we traced our youngest son's hand with his fingers held tightly together onto craft paper.
- We cut out handprint. 
- Decorated the handprint and attached to card.

Monday, 12 May 2014

How to Sign Up for Pinterest

Pinterest is an image-based social media site that allows you to share your cool things that you find across the web! This article helps you to signup for an account and get started.
  1. Signup for Pinterest Step 1.jpg

    Go to the Pinterest.com website. It's found at: http://www.pinterest.com. If you don't have an account already, click "Signup" on the home page. Check your email and click on the link that is sent to you to create an account. Alternatively, you can signup thru Facebook too.
  2. Signup for Pinterest Step 2.jpg

    Log in. You can log in with either Facebook or Twitter. Create a password to go with it.
  3. Signup for Pinterest Step 3.jpg

    Click on images or items that catch your interest. Then click on "Follow People." Doing this will get you started on the site.
  4. Signup for Pinterest Step 4.jpg

    Check out the people you're now following. You can unfollow later, if you choose.

Monday, 5 May 2014

How to Use the Chatlr Application for Tumblr

Ever wanted to chat on Tumblr in a way that's more private than reblogging text posts and more effective than simply messaging back and forth? While there is no integrated chat feature for your tumblelog, there is a chatroom-like Tumblr application known as Chatlr. By following the instructions in this article, you'll learn how to set up and use Chatlr
  1. Use the Chatlr Application for Tumblr Step 1.jpg
    Log in to Tumblr using the email and password associated with your account.
    Then go on to Chatlr.com.

  2. Use the Chatlr Application for Tumblr Step 2.jpg

    You will be redirected to a Tumblr URL. Click the “Allow” button to allow the Chatlr application access to your Tumblr account.
  3. Use the Chatlr Application for Tumblr Step 3.jpg

    You will be taken directly to the main Tumblr chat screen. Choose or create a room to chat in the bottom left corner.
  4. Use the Chatlr Application for Tumblr Step 4.jpg

    Type your messages in the text input field along the bottom of the screen. Send them by hitting “Enter” on your keyboard.
  5. Use the Chatlr Application for Tumblr Step 5.jpg

    Your messages and messages from others are shown the large panel on the right.
    You can publish chat posts consisting of these messages by clicking the on “Chat” icon at the top of your Tumblr dashboard.

For amazing Handmade Creations Visit Us Here: www.misi.co.uk and to our new site: www.MyMisi.com

Monday, 28 April 2014

How to Put a Background Picture in Your Tumblr Theme

Adding a background picture to your Tumblr can be a great way to make your blog look great and express your personality. These simple steps will teach you how to add any picture you want to your Tumblr background.
  1. Click on blog title.png
    Sign up or log in to your Tumblr. Go to your own blog by clicking on the title at the top of your dashboard.
  2. Customizetheme.png
    Click on "Customize theme" on the right side of the screen.
  3. Change background image.png
    Scroll down on the customization sidebar until you reach the "Background" section. Click on the "Upload" button.
  4. Select background image.png
    Select the image you wish to use for your background. It should be as large and as high-quality as possible, similar to the desktop background on your computer.
  5. Blog background save.png
    Save your changes. When you have selected an image as your new background, you will see a preview of your new theme. Make sure that it looks how you want, and then click the green "Save" button.
  6. Confirm your changes. After you click "Save", click "Close". This will take you back to your Dashboard page. Click on the name of your blog next to "Dashboard" at the top of the page. Then click "Open [name of your blog]" near the top right corner. This will show you your blog as it appears to other users. Make sure that your new background looks how you want it to.

    Screen shot 2012 07 30 at 1.38.27 PM.jpg