
Here are a variety of tips to display your clothing for great results ranging from the most basic folded display to the most professional fashion model.
1. Know your histogram
First, make sure the camera is exposing the image correctly when you take the picture. To do that, learn how to read the histogram. Every image your camera produces has one. The histogram reviews are usually off by default. The information is there, just not being displayed on the LCD monitor when you review the photo.
Refer to your user’s manual to turn it on so you can see it after each shot. What you are aiming for is an even graph across the whole spectrum, from right to left. I know that’s a little more technical than you asked for, but histograms are easy to read once you get the hang of it. They can make a big difference in how the end photo looks.
2. Minimize shadows
Shadows could be causing the waving effect you refer to. To cure that, you need to remove or move the shadows. That is done by adjusting the lighting. What you need to do is to create soft, diffused light. Think of how a cloudy day softens or eliminates the shadows. That’s what you need to do in your studio—you need to create a cloudy day.
The first step is to turn off the flash on your camera.
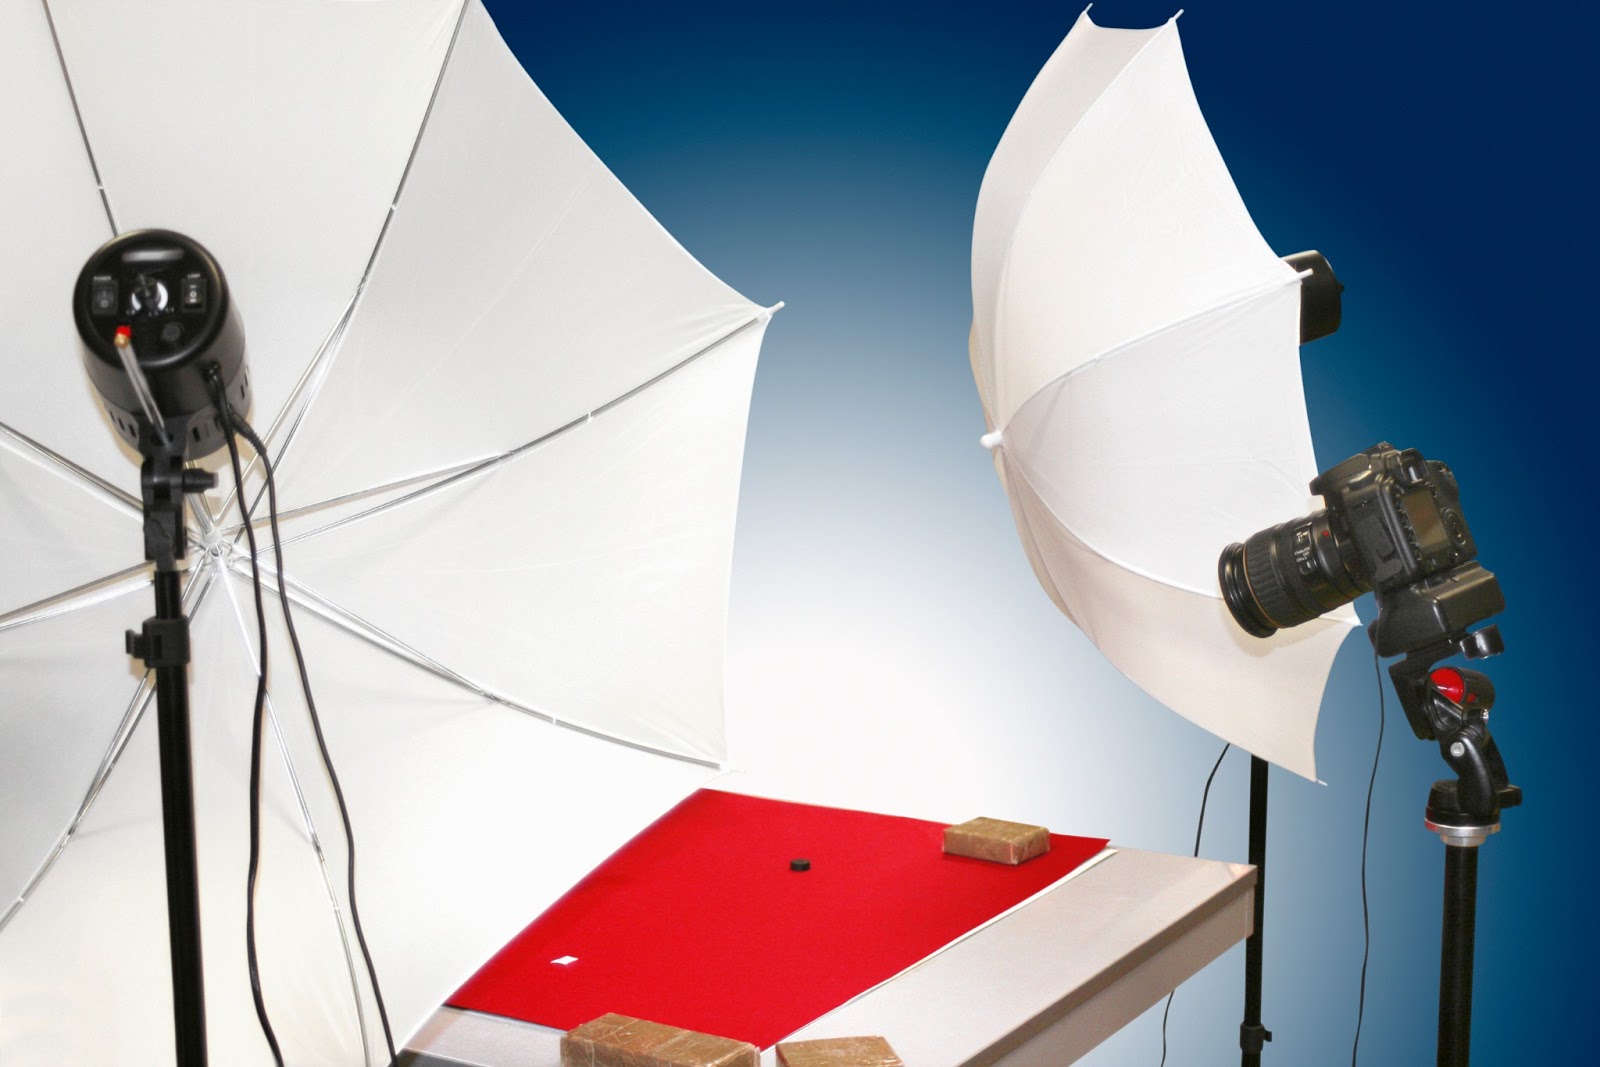
3. Soften your approach
Once you turn off the flash, you may need to add more light to expose the image correctly. Professionals use “soft boxes.” These are lights on stands that are covered in a very thin white nylon material. Light coming through the translucent material is softened (like light through clouds) and when it falls on the clothes, it minimizes the shadows.
Once you have good, diffused light, you can streamline your photographing operation and control the waving effect. Be sure to check the angle of the shadow while you are setting up—does it look pleasing to your eye? If it’s not looking good as you look through the LCD screen, the camera will exaggerate whatever is out of place! Take a second to move the lights if it might bring out the color better, or remove the shadow next to the raised material.
Always be looking!
4. Edit to bring out the best
Finally, as you know, photo editing software is your friend. Picasa’s “I’m feeling lucky” tool does a great job on most items. In other software programs, what this tool does is referred to as automatic adjustment, found under the editing menu.
I know the goal is to get those photos done as quickly as possible so you can move to the next phase—selling online. But please don’t forget there is a whole suite of tools in Picasa and other photo editing software designed to help bring out the best. Check out some of the other tabs, too.
source: theonlineseller.com


0 comments:
Post a Comment